Tevo Black Widow control box side mount
thingiverse
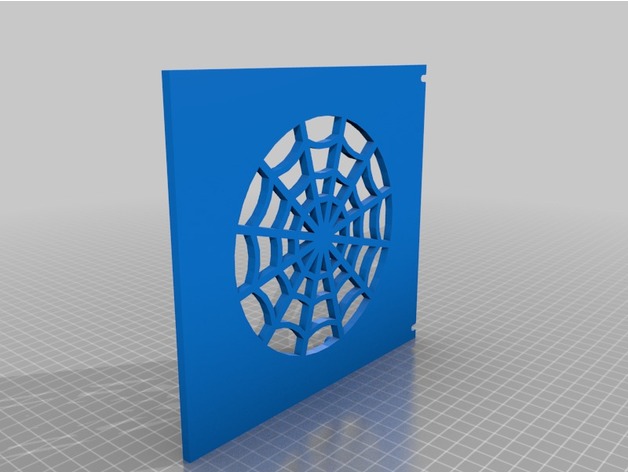
To finish this control box, I needed to get my hands on several key components. Two eighty-millimeter fans and twenty-four number six by one-half inch flat Phillips wood screws were at the top of the list. Additionally, I required zip ties, as the power supply unit was secured with a zip tie to the base. Eight M4x10 drop-in nuts for aluminum extrusion were necessary to mount the box to the printer. A single three-pin IEC320 C14 inlet with fuse and switch rounded out the essentials. To top it all off, a few smaller screws were needed to secure the board, display, and power plug in place. One crucial note: pilot drilling was required for every screw to avoid damaging the printed parts. The knob for the smart controller required some tweaking because it was too long; I inserted a short piece of plastic so the knob wouldn't slide on the shaft as far. The size of the PSU mount was based on the stock part, but if you're using a different power supply unit, you'll need to modify the base plate. To create an air flow from the bottom upwards, the bottom fan is pulling air into the box while the top fan blows it out of the box. Here are my print settings: Printer: Tevo Black Widow Rafts: No Supports: No Resolution: 0.3mm Infill: 15% Notes: The complete box will use almost a full roll of filament, weighing in at one kilogram.
With this file you will be able to print Tevo Black Widow control box side mount with your 3D printer. Click on the button and save the file on your computer to work, edit or customize your design. You can also find more 3D designs for printers on Tevo Black Widow control box side mount.