TestTower fast
prusaprinters
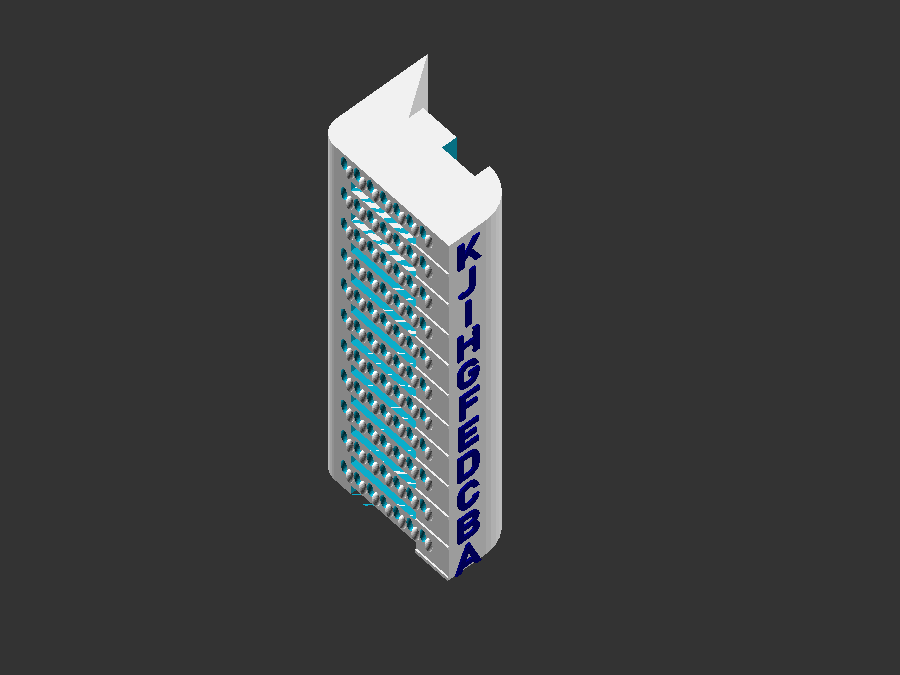
<p>Finding the sweet spot for your filament is not always easy and most test print tower take a while to print and use a lot filament.. so this is just a very quick way to see where to aim .. you can do more detailed and larger tests later not wasting time and money.</p><ul><li>This tower can be sliced in vase mode and either sit by your printer and change a setting every 5mm (speed, temp, flow/multiplier) and note down the height or letter</li><li>Or change the g-code directly.</li><li>Or use a script in your slicer to change a setting every 5mm. </li></ul><p><strong>This test is challenging even with the best settings/printer, so don't wonder if none of the Segments looks perfect - just select the best looking segment/setting - it will show you the limits.</strong></p><h5>How to proceed</h5><p>First print one with coarse settings like 200°, 210°, 220°… then a fine one with values around the best result to narrow the sweet spot further down 205°,206°,207°… </p><p>You have 10 Segments so this is just 50mm tall and you don't need a 100mm long bridge to see if it looks ok - so this is fast like 10-30 min print and cost you less than ½m (50cm) filament . </p><h5>What is tested</h5><p>There are sharp corner (35°) positive and negative, there are 90° corners pos/neg round 5/2.5 radius flat surface fine detail negative and positive , Overhangs and shallow slopes and a bridge test.</p><p>You also can check for seam settings or infill (pattern overlap) or bottom/top layer if not using vase mode. </p>
With this file you will be able to print TestTower fast with your 3D printer. Click on the button and save the file on your computer to work, edit or customize your design. You can also find more 3D designs for printers on TestTower fast.
