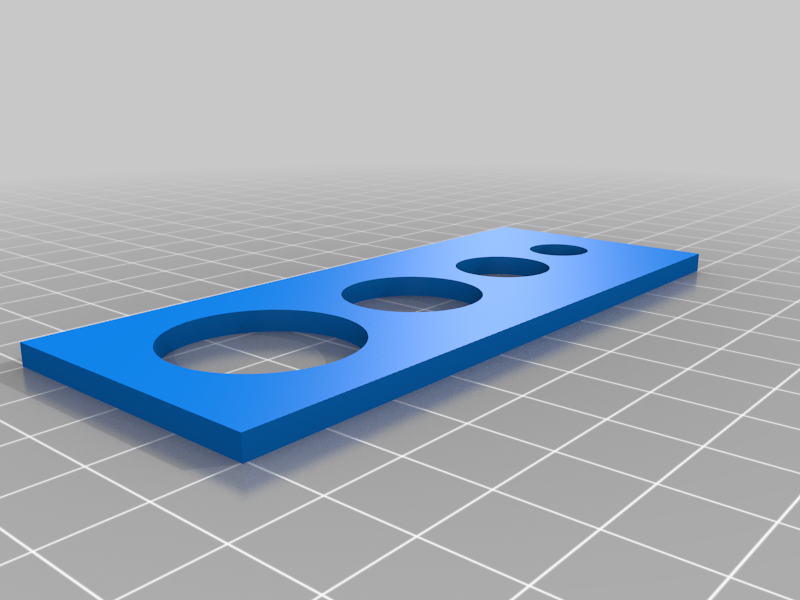
testing the 3D printer material/dimensions
thingiverse
I've watched numerous videos on finding the ideal 3D printer material temperature and understanding printer tolerances. Unfortunately, none of them completely satisfied my needs. Temperature towers often failed to demonstrate layer adhesion, while determining printer tolerance involved multiple factors like material type, nozzle temperature, and nozzle size. To address these issues, I created a customized approach that addresses both concerns simultaneously. Here's how it works: 1) Print the STL file using Cura's default settings. 2) Experiment with various temperatures between 190°C to 220°C. 3) Attempt to break the print. 4) Observe the results from my PLA prints, which demonstrate: - At 190°C, there is minimal layer adhesion. - At 200°C, the print breaks due to brittleness. - At 210°C, it exhibits significant improvement. - At 220°C, no noticeable difference from 210°C occurs. This means we're aiming for the lowest optimal temperature that eliminates the need for cooling. Once you've selected your preferred temperature, reprint the model and take precise measurements. As evident from my pictures, you'll gain a deeper understanding of your printer's tolerance (e.g., divide hole diameters by 2). In my case, the tolerance is approximately 0.25mm. You can utilize Cura to compensate for this deviation and enlarge models using the "expansion" parameters. Keep in mind that printer tolerance varies based on nozzle dimensions and material type. Therefore, it's essential to repeat the test for PETG, ABS, and other materials. If you switch between brands with the same material, the results tend to be consistent, so you may not need to retest.
With this file you will be able to print testing the 3D printer material/dimensions with your 3D printer. Click on the button and save the file on your computer to work, edit or customize your design. You can also find more 3D designs for printers on testing the 3D printer material/dimensions.
