Testing Different Temperatures with 3D Prints: Thermodynamics Project
thingiverse
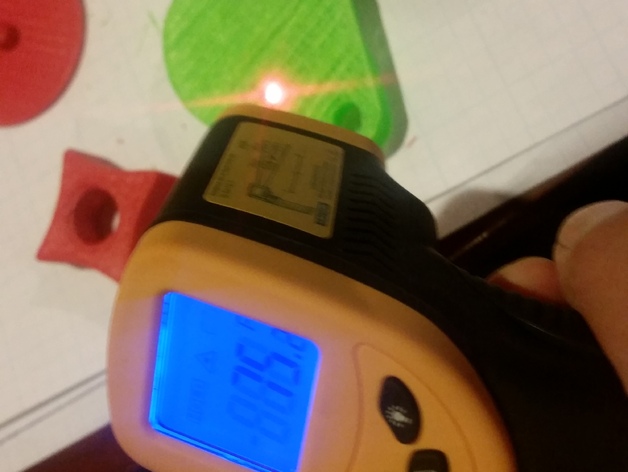
Project #7: Examining Temperature's Impact on 3D Prints While 3D printing enthusiasts are well aware of the necessity to print at suitable temperatures for various materials, this knowledge should be put to the test in a classroom setting where students can assess the effects of three different temperature settings on a specific 3D printed object. Print Settings: Printer: Flashforge 3D Creator Pro Rafts: Yes Supports: Yes Resolution: .27 Infill: 10% Notes: For this project, any print settings are acceptable as the primary focus is to enable students to measure the effects of different temperatures on specific shapes using ABS or PLA plastic. Post-Printing: An easy way to ensure accurate temperature control in printing is by removing the hood and utilizing a thermal sensor (such as a Thermal Sensor Gun) over various time intervals to guarantee temperature consistency. How I Designed This Project: Any type of object can be printed for this project to test the effects of different temperatures on 3D prints. The object was designed using SketchUp. Standards: NGSS Overview and Background: Students in physics, physical science, or chemistry settings can explore the structural effects of different temperatures within the context of 3D printing. Knowing that temperatures can affect how plastic melts through extrusion nozzles, teachers can specify particular temperatures they would like students to test on a specific object. By creating a chart and comparing different temperatures to print results, a classroom can gain a better understanding of thermodynamics and 3D printing. Objectives: Students will use an infrared temperature sensor to ensure that the 3D printing temperatures for the printer used in the prints are consistent. Students will evaluate the differences in structural integrity and form for a specific 3D printed object printed at different temperatures (200°C, 220°C, 240°C). Audiences: Grades: 7-12 Ages: 12-18 Skill Levels: All Subjects: Science, Physics, Physical Science, Chemistry, Intro. to Engineering Skills Learned (Standards): HS-PS1-5. Apply scientific principles and evidence to provide an explanation about the effects of changing the temperature or concentration of reacting particles on the rate at which a reaction occurs. Lesson Plan and Activity: Teacher will need to create groups of at least two students (up to six) and have enough 3D printers for these groups to surround them to conduct the lab. Each printer should have its own handheld thermal IR sensor gun. Split up groups to designated 3D printers Have students wait for you (the instructor) to start the first set of prints at 200°C Have students observe and write down notes about print quality and overall structural integrity of the print (such as working/not working, layers binding, filament looks burnt, etc.) Test heat consistency of the 3D printing environment with the sensor gun periodically (every three minutes) Allow print to cool before removing and evaluating it for overall quality. Repeat steps two through five for the same print at 220°C and 240°C Finalize all recorded data and sit down quietly at desks when finished. Share data and debrief lab activity with the class. Materials Needed: Handheld thermal IR sensor guns (one per group) Enough 3D printers so that at least four groups can observe/record effects of a print at a designated temperature Large enough lab space for groups of students to stand around the printers Skills Learned: HS-PS1-5 Duration of Lesson: Two-hour lab - Fifteen minutes to brief students on lab assignment - One and a half hours to record data and conduct observations - Thirty minutes to debrief lab and share data References: http://www.nextgenscience.org/dci-arrangement/hs-ps1-matter-and-its-interactions https://filaments.ca/pages/temperature-guide Rubric & Assessment: See attached rubric. No assessment required. Handouts & Assets: See attached worksheet for the lab assignment.
With this file you will be able to print Testing Different Temperatures with 3D Prints: Thermodynamics Project with your 3D printer. Click on the button and save the file on your computer to work, edit or customize your design. You can also find more 3D designs for printers on Testing Different Temperatures with 3D Prints: Thermodynamics Project.
