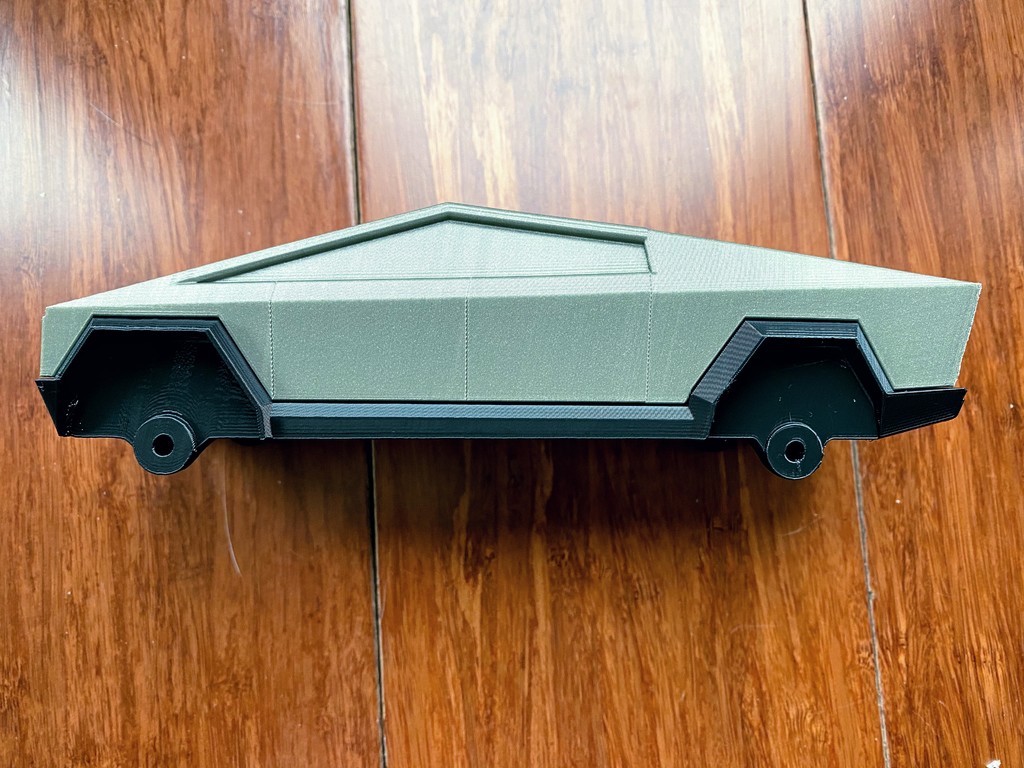
Tesla Cybertruck one part base and one part top
thingiverse
I was struggling to get my printer to print the base and top parts without warping, so I decided to print them as one unit. Now, those unsightly warped seams between the parts are gone! To build the combined parts, I used: * black_chassis_front.stl (01-12-20) * black_chassis_rear.stl (01-19-20) * silver_body_rear.stl (01-19-20) * silver_body_front.stl (12-23-19) * silver_rear_hatch.stl (12-23-19) Notes on Printing: I used Cura 4.4 as my slicer. Here are the settings I used for each part: Cybertruck_Black_Base_One_Part.stl * Rotate the part 80 degrees to get the rear bumper flat against the printer bed. * Create a support blocker that goes down to the top of the read wheel well using the Support Blocker feature. * Enable supports everywhere, bumping up the default support density to 40%. * Turn on raft printing and consider reducing the air gap between the part and the raft for better adhesion. * Combine the parts using Meshmixer, then remove the humps for screws and inserts in Tinkercad.com. Cybertruck_Silver_Body_One_Part * Rotate the part -80 degrees to get the tailgate flat against the printer bed. * Disable supports entirely. * Disable raft printing. * Use a brim to help hold down the part. * Combine the parts using Meshmixer.
With this file you will be able to print Tesla Cybertruck one part base and one part top with your 3D printer. Click on the button and save the file on your computer to work, edit or customize your design. You can also find more 3D designs for printers on Tesla Cybertruck one part base and one part top.
