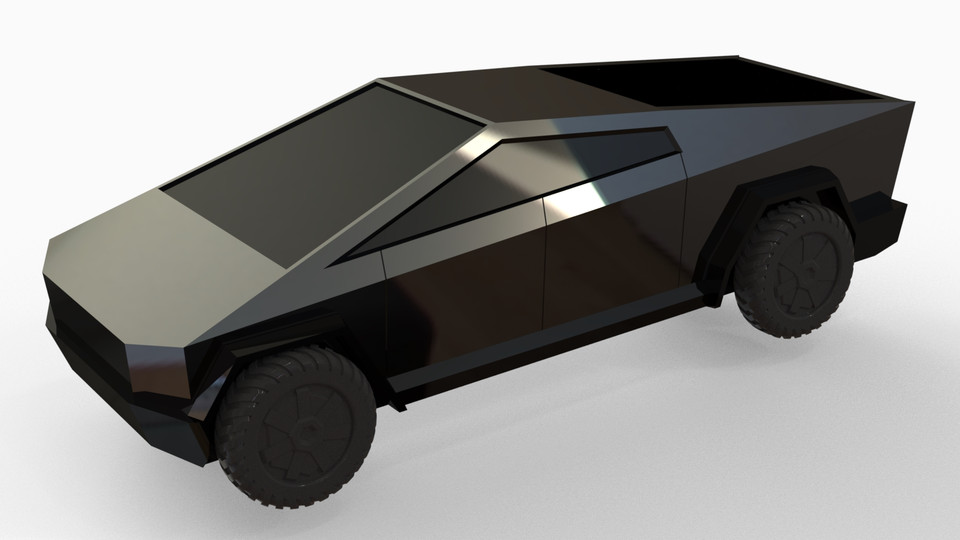
Tesla cybertruck
grabcad
Here is a YouTube tutorial on how to model a Tesla Cybertruck using SolidWorks: In this tutorial, we'll be taking a closer look at how to create a 3D model of the highly anticipated Tesla Cybertruck using SolidWorks. As one of the most hyped electric trucks on the market, the Cybertruck has garnered a lot of attention from designers and engineers alike. To get started, you'll need to have SolidWorks installed on your computer, as well as a basic understanding of 3D modeling principles. If you're new to SolidWorks, don't worry - we'll be covering the basics in this tutorial as well. First things first, let's create a new part in SolidWorks and set our units to inches. We'll also want to make sure that our sketch mode is set to "3D Sketch" so that we can take full advantage of SolidWorks' 3D modeling capabilities. Next, we'll begin by creating the truck's body using a series of extruded sketches. To do this, simply draw a rough outline of the truck's shape on your screen, making sure to include all of its key features such as the windshield, doors, and bed. Once you've completed your sketch, select it and click on the "Extrude" tool in the toolbar. This will bring up a dialog box where you can specify the depth of the extrusion. For this tutorial, we'll be setting our extrusion depth to 12 inches. Now that we have our body, let's move on to creating the truck's wheels and tires. To do this, simply create a new sketch and draw a circle for each wheel. You can use the "Circle" tool in the toolbar to help you get started. Once you've completed your circles, select them and click on the "Extrude" tool again. This time, we'll be setting our extrusion depth to 2 inches, which will give us a nice-sized tire for our truck. Now that we have our wheels and tires, let's move on to creating the truck's bed. To do this, simply create a new sketch and draw a rectangle that fits inside the truck's body. You can use the "Rectangle" tool in the toolbar to help you get started. Once you've completed your rectangle, select it and click on the "Extrude" tool once again. This time, we'll be setting our extrusion depth to 6 inches, which will give us a nice-sized bed for our truck. And that's it! With these simple steps, you should now have a fully functional model of the Tesla Cybertruck using SolidWorks. As always, if you have any questions or need further assistance, feel free to ask in the comments below. I hope this tutorial has been helpful and informative. If you're interested in learning more about 3D modeling with SolidWorks, be sure to check out our other tutorials on YouTube.
With this file you will be able to print Tesla cybertruck with your 3D printer. Click on the button and save the file on your computer to work, edit or customize your design. You can also find more 3D designs for printers on Tesla cybertruck.