Tesla Cyber Truck
prusaprinters
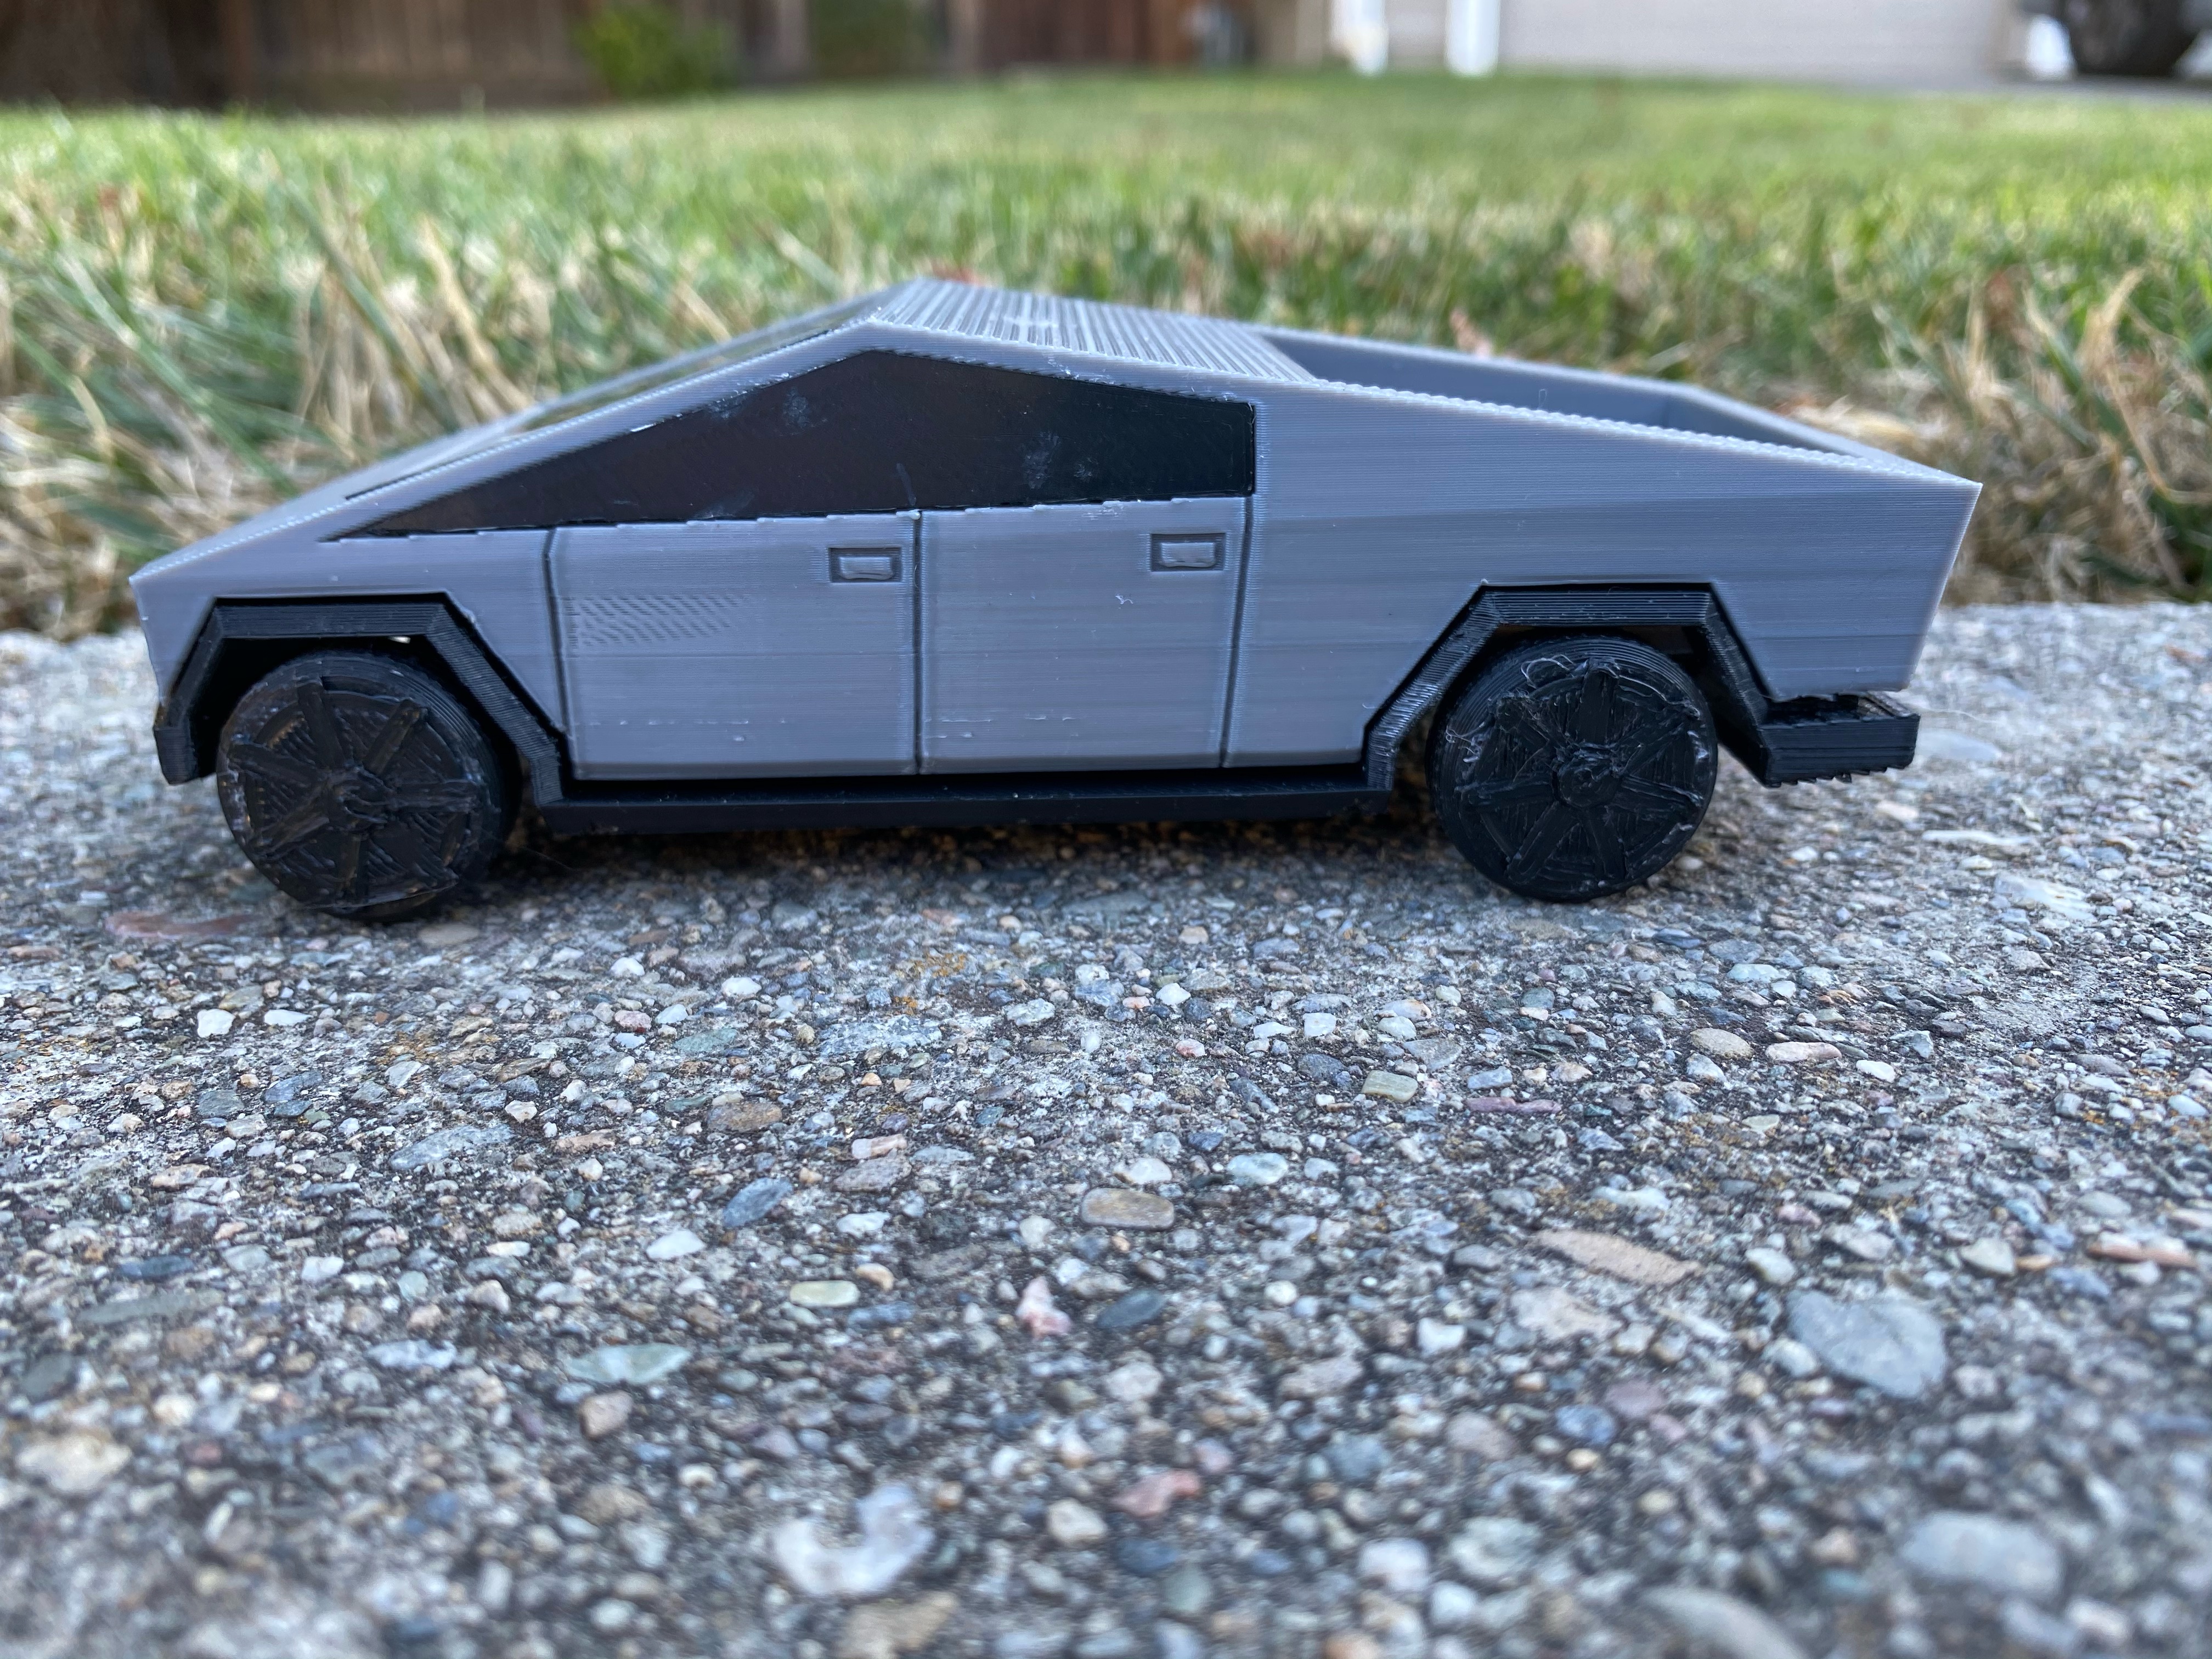
<p>This is a model of the Tesla Cybertruck!</p> <h3>Print instructions</h3><h3>PARTS:</h3><p><b>Printed:</b><br/> 1x Main Body - <i>ideally silver</i>, supports required<br/> 1x Lower Body - <i>ideally black</i>, supports required<br/> 1x Wind Shield - <i>Black</i><br/> 2x Side windows - <i>Black</i>, Make sure these are mirrored<br/> 4x Wheels - <i>Black</i><br/> 4x Wheel Caps - <i>Black</i></p> <p><b>Other Mechanical:</b><br/> 6x m3 threaded inserts - <a href="https://www.amazon.com/cSeao-120pcs-Inserted-Knurled-Embedded/dp/B07D683Q26/ref=sr_1_4?crid=NFDFPKH6DV60&dchild=1&keywords=m3+threaded+insert&qid=1613107496&sprefix=m3+threaded%2Caps%2C238&sr=8-4">amazon link</a><br/> 6x m3 by 8mm - <a href="https://www.amazon.com/Socket-Screws-Bolts-Thread-100pcs/dp/B07CMQ1SQH/ref=sr_1_1?dchild=1&keywords=m3+by+8mm&qid=1613107390&sr=8-1">amazon link</a><br/> 4x m4 screw, at least 8mm - <a href="https://www.amazon.com/Machine-Finish-Phillips-M4-0-7-Threaded/dp/B00F33UKJK/ref=sr_1_3?dchild=1&keywords=m4+by+12mm&qid=1613107577&sr=8-3">amazon link</a></p> <p><b>Other Tools/Materials:</b><br/> Super Glue - used for windows wheel caps<br/> Hex Driver 2.5mm<br/> Philips Head Screw Driver<br/> Soldering Iron</p> <p><h3>Assembly Steps:</h3><br/> <strong>all steps are the same for medium size and small size</strong></p> <p><b>Step 1: </b>Once all items are printed make sure to clear off all support material</p> <p><b>Step 2: </b>Preheat your soldering iron. Place all inserts above their holes(all holes are on the top piece, the silver one). One by one heat them up and push them in paying special attention to keep them straight.</p> <p><b>Step 3: </b>Screw on the bottom plate to the top piece using the m3 screws. There should be six in total.</p> <p><b>Step 4: </b> Super glue the windows in place, make sure the build plate surface faces out for nicer looks(especially if you have a glass bed)</p> <p><b>Step 5: </b> Screw the wheels on using the philips head m4 screw. Make sure that all wheels can spin freely at this point.</p> <p><b>Step 6: Super glue wheel caps into place - ensure that all wheels spin freely... there is no going back</b></p><p>Congrats, Your Done! Hope you enjoy!</p> <p>DISCLAIMER: There is an Etsy Listing for this product, I am the owner and only one authorized to sell it.</p>
With this file you will be able to print Tesla Cyber Truck with your 3D printer. Click on the button and save the file on your computer to work, edit or customize your design. You can also find more 3D designs for printers on Tesla Cyber Truck.