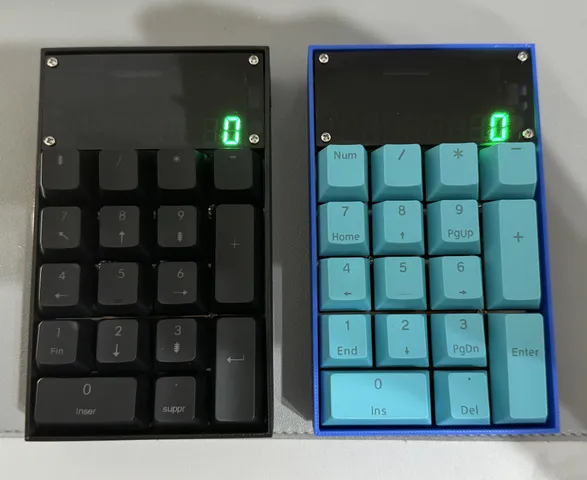
Tentaku Mechanical Calculator Slim Case
prusaprinters
(DO NOT USE ACYRILIC BACKPLATE)Use screws that come with Tentaku, Place the assembled Tentaku power-switch side first into the case and press down evenly. It is a snug fit. Once placed, screw from the underside, exactly the same as you would with the acrylic sheet. I took inspiration from https://www.printables.com/model/108646-tentaku-mechanical-calculator-case but was too bulky for my needs. I created this in Tinkercad using basic shapes and took hole positions from acrylic backplate. Prints fine in PLA with no support, but supports are easy to remove in PETG too. I printed at 100% infill due to the thin walls. Battery replacement will require removal from case (maybe just the acyrlic screen? not had to change yet) but for me the small form factor is worth 5 minutes of hassle when it eventually happens.
With this file you will be able to print Tentaku Mechanical Calculator Slim Case with your 3D printer. Click on the button and save the file on your computer to work, edit or customize your design. You can also find more 3D designs for printers on Tentaku Mechanical Calculator Slim Case.
