Tensegrity
myminifactory
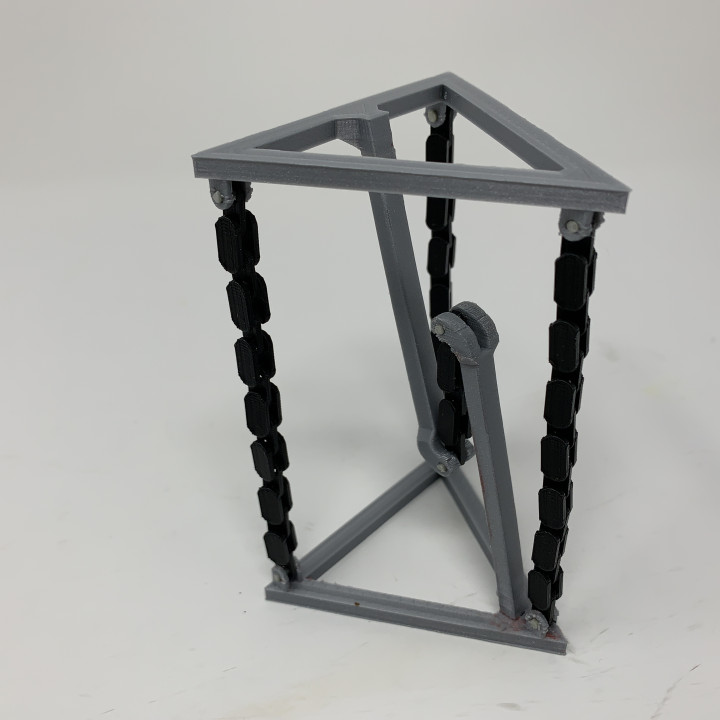
I really do need to get out from under my rock more often... Many "tensegrity" styled chairs, tables and Lego models have been showing up in my "suggested video" feed as of late and I must admit, I had never heard of tensegrity and as such had no clue what it meant. So I watched a few of the videos in my feed on the subject, and decided to try my hand at designing, 3D printing and assembling a small and simple tensegrity model. This tensegrity ("tensional integrity") model is entirely 3D printed including the three longer "print in place" outer chains and the single "print in place" shorter center chain. And what makes these chains so important? Well, while the three outer chains hold the top and bottom together (compression), at the same time the single center chain pulls the top and bottom apart (tension). With proper chain length design, the model compression and tension forces are balanced and thus the model appears to "float". And why are 3D printed chains more useful than string or twine? By using Autodesk Fusion 360, I was able to design 3D printed chains that were precise enough in length to balance the compression / tension forces required by this model, as opposed to the trial and error string / twine assembly requiring numerous adjustments. And after printing and assembling quite a few copies of this model, the 3D printed chains indeed proved to be much easier to assemble than my string/twine versions, so I stuck with the chains. As usual I probably forgot a file or two or who knows what else, so if you have any questions, please do not hesitate to ask as I do make plenty of mistakes. Designed using Autodesk Fusion 360, sliced using Cura 4.6.1, and 3D printed in PLA on an Ultimaker 2+ Extended, an Ultimaker 3 Extended and an Ultimaker S5.
With this file you will be able to print Tensegrity with your 3D printer. Click on the button and save the file on your computer to work, edit or customize your design. You can also find more 3D designs for printers on Tensegrity.
