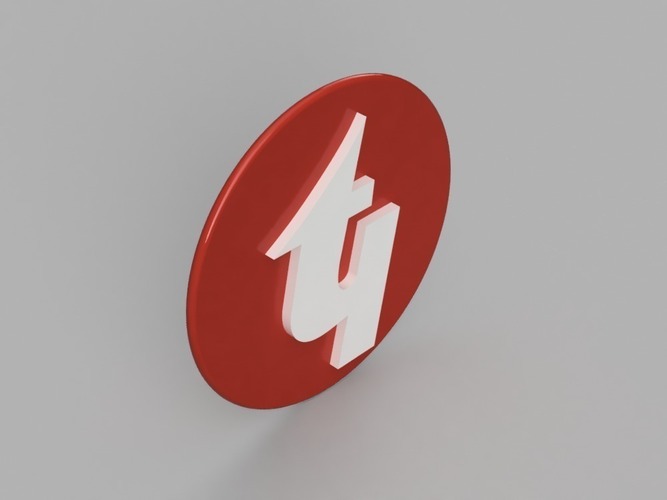
Techno India Logo
pinshape
Summary Get Ready to Rock Your Techno Indian Badge! Go ahead and print out your very own Techno Indian badge. Once you're done, share a picture of it here so everyone can see how cool it looks! Show it off with pride! Standards CCSS Overview and Background Time to Get Creative! This lesson plan is all about designing an awesome Techno Indian logo using Autodesk Inventor. Lesson Plan and Activity Step 1: Sketch the Logo First, attach a canvas, calibrate it, and start sketching your logo. Use lines, splines, arcs, and fillets to make it look sharp! Step 2: Extrude It! Now that you've got your logo sketched out, extrude it to give it some depth. Make the base circle and the logo separate bodies if you want them to be different materials or colors. Step 3: Create a Rigid Group Next, convert those two bodies into components and create a Rigid Group. This will help keep everything together! Step 4: Render It! Time to get creative with appearances! Experiment with different types of renderings and try out various scene settings. Make it look AMAZING! Step 5: Post It to Autodesk Gallery! Finally, share your masterpiece on the Autodesk gallery! Check out my post here: https://gallery.autodesk.com/projects/techno-india-badge Materials Needed Use this logo as your canvas and get started on designing your very own Techno Indian badge!
With this file you will be able to print Techno India Logo with your 3D printer. Click on the button and save the file on your computer to work, edit or customize your design. You can also find more 3D designs for printers on Techno India Logo.
