Teaching Clock for CNC
thingiverse
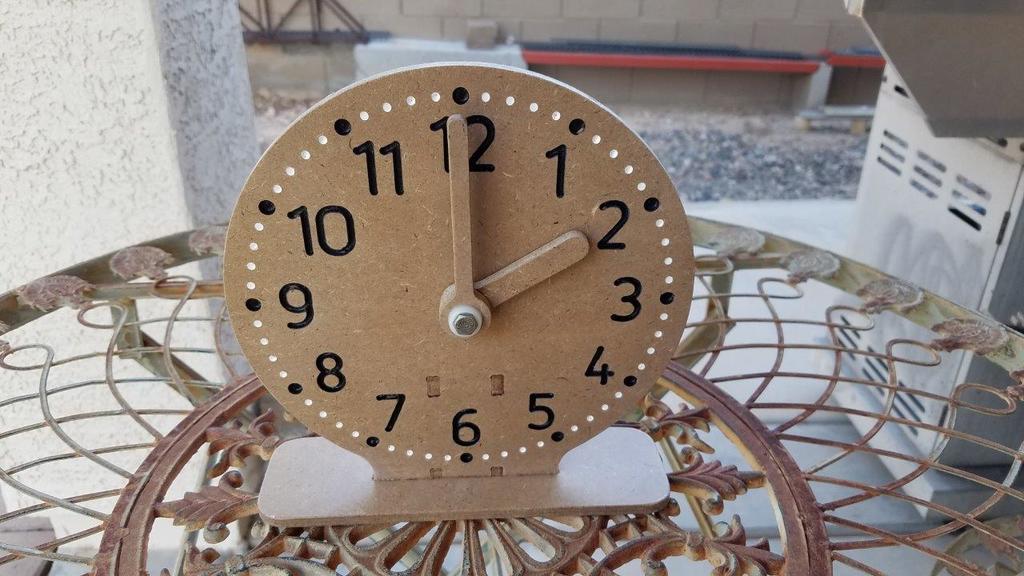
Thank you ZenziWerken for creating this initial drawing file. I modified the Teaching Clock by ZenziWerken to make it CNC-friendly. To do so, I had to scale the numerals for a 1/8" end mill and add a line in the middle of the digits to enable the CNC machine to engrave them accurately. The CAD work was completed in AutoCAD, and the DWG and DXF files are included as attachments. The CAM work was done using CamBam, which generated the attached G-code that controls the machining process. Mach3 software was used to operate the CNC machine. The project material is 1/4" MDF (actual thickness .240"), mounted on a thin spoiler-board for stability. To prevent components from breaking loose during the process, I added tabs for secure holding. Before painting, an initial light sanding with an orbital sander was performed to smooth out the surface. A clear coat of paint was applied to seal the wood and protect it from further damage. The numerals, 5-minute marks, and 1-minute features are 0.09" deep and filled with acrylic paint for a precise finish. After the paint dries completely, another layer of sanding is done to refine the surface. Finally, a clear coat is applied to complete the project.
With this file you will be able to print Teaching Clock for CNC with your 3D printer. Click on the button and save the file on your computer to work, edit or customize your design. You can also find more 3D designs for printers on Teaching Clock for CNC.