Tea Jar lid
prusaprinters
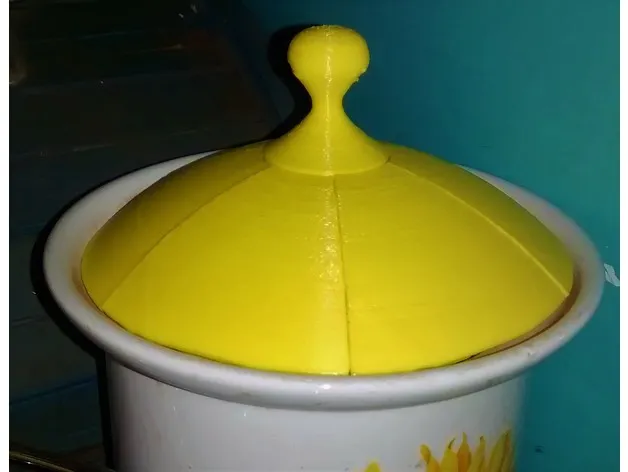
Assembly Instructions Print the following parts:Handle x1Arc Section x6Pin x12 (Optional)Additional parts:6 M3x15mm screwsAssembly is fairly simple, just print the parts, then use the M3 screws to bolt the arc sections to the handle. If you decide to install the pins, assembly the arc sections into sets of three with superglue or 5-minute epoxy, then glue halves together before installing handle with screws.https://cobaltgriffonary.blogspot.com/2017/06/design-tutorial-modeling-jar-lid-in.html
Download Model from prusaprinters
With this file you will be able to print Tea Jar lid with your 3D printer. Click on the button and save the file on your computer to work, edit or customize your design. You can also find more 3D designs for printers on Tea Jar lid.