Taz Magnetic Bed System
thingiverse
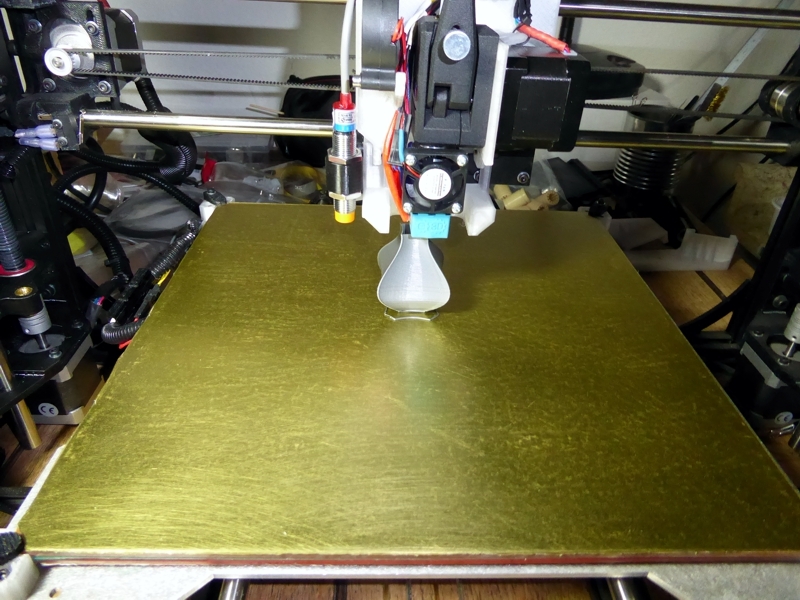
I've been using an auto level probe for a while now. At first, I clamped a 0.4-inch thick sheet of aluminum with a 1mm sheet of PEI over it, securing the glass bed with 12 clamps. It worked okay but was a hassle due to the clamps and the center of the PEI being slightly flexible. The nozzle prevented any serious bowing, though I had to use a large 18mm inductive probe because the aluminum cut the probe's sensing gap in half. Then, I tried using a piece of steel sheet metal and switched to a smaller 12mm probe, achieving the same gap distance. I've now upgraded to a magnetic bed and am extremely satisfied with it. The concept should work on similar machines as well. This is my latest bed for my Taz-enstein 4. It's a sheet of 285°F (141°C) phenolic cut to 300x300mm using my slide miter saw. I routed 25 holes spaced at 60x60mm. The magnets are high-temperature 3/8" x 1/16" N42SH, while the metal removable bed is a piece of zinc-plated sheet metal from Home Depot, measuring 12"x24"x26ga. This was about $5 and enough to make two plates, working better than expected. The top layer is a 0.2mm 300x300mm PEI sheet with pre-applied 3M adhesive I obtained on Amazon. To cut the plate, use a cutoff wheel instead of tin snips to avoid kinking or creasing it. It needs to be handled carefully and kept as flat as possible. On my first attempt, I used a Dremel-type tool with a 1.5" cutoff wheel. For my second try, I employed a small circular tile saw with an edge guide and a 4.5" metal cutoff disk. Both methods worked fine. My miter saw has a 5% reverse hook thin kerf blade and cut the phenolic accurately without any burn or kickback. The only challenging aspect might be creating the circular pockets for the magnets if you don't have access to a CNC machine, as it requires precise placement of material between the magnet and metal sheet. The bed corners are based on the stock bed corners, with springs removed and screws reversed to mount the modified corner. I've kept the old finger in place. Some 3mm inserts I obtained on Amazon will likely require modifying the hole in the STL file or redesigning the corner, as they're small. Note that the pocket depth for the glass heater bed and phenolic is about twice as deep as it was on the stock corner. I intended to use high-temperature silicone to hold the magnets in the pockets but found it unnecessary. You can simply turn the phenolic upside down (pockets up), place all the magnets in the pockets, add the metal plate under the phenolic plate, and the magnets will stay put while the plate is there, remaining in place until you attach them to the glass bed. The metal plate needs to be close to 300x300mm but can be a bit smaller. The edges on top and bottom need to be dressed with a file, and the corners ground off to clear the clamps. Make sure to eliminate all sharp edges and burrs before thoroughly cleaning both sides with Windex and alcohol, then applying the PEI sheet. The corners of the metal sheet are removed to clear the bed fingers so the plate can be removed without releasing the corner fingers. Parts: * 25, 3/8 x 1/16" D61SH (N42SH spec), neodymium magnets from www.kjmagnetics.com * 1, 887480015379 * Zinc sheet metal, 24x12x26ga from Home Depot * Wisamic PEI Sheet 300x300mm with 3M Adhesive Tape from www.amazon.com/gp/product/B079FQPFXW/ * Phenolic Sheet, Tan, 0.125" Thickness from www.amazon.com/gp/product/B0013HKZD6 * 4 Bed corners
With this file you will be able to print Taz Magnetic Bed System with your 3D printer. Click on the button and save the file on your computer to work, edit or customize your design. You can also find more 3D designs for printers on Taz Magnetic Bed System.