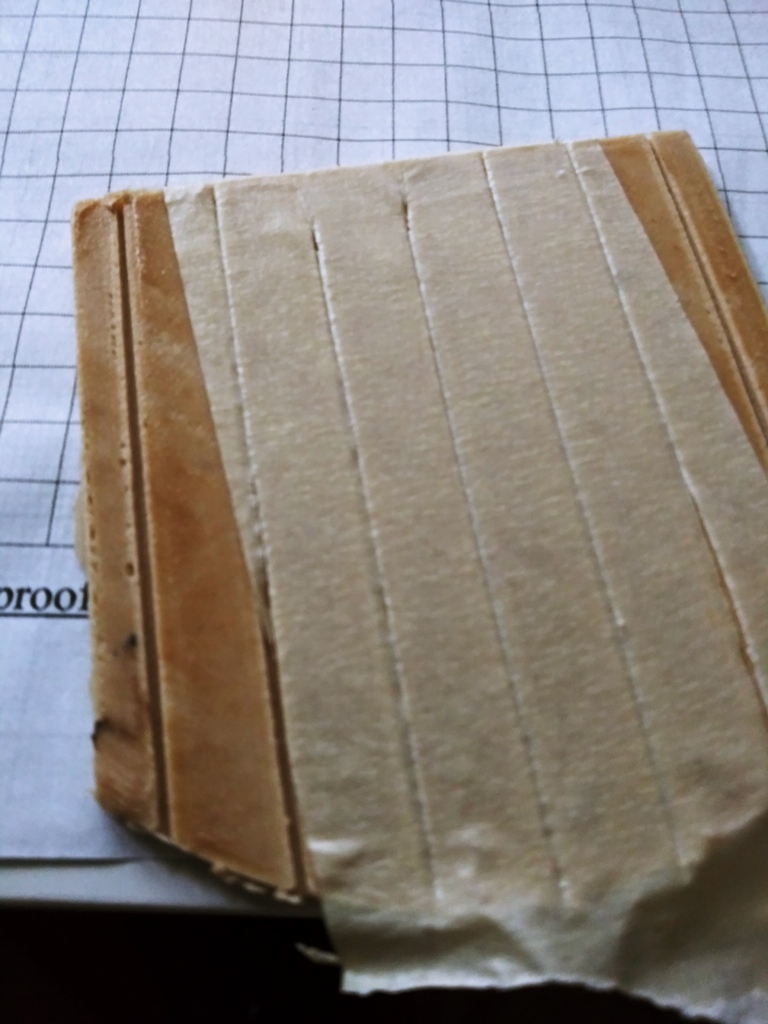
Tape guide
thingiverse
When I print directly onto the glass bed, I opt for no glue, but it doesn't stick as expected. So, I frequently print with brim instead, and I utilize a specific method found at https://www.thingiverse.com/thing:3696217 to determine where to apply tape underneath the brim, resulting in a smooth shine (captured poorly due to overcast lighting, but note the window coverings reflected on the green can in the photo). To accomplish this, I opened Fusion 360 and designed the following print. I applied 3M/Scotch #2020CG tape and cut it into 10mm strips. Remember to adjust the orientation of the strip according to the STL file, as the cut grooves are aligned downward during printing. Using ironing in your slicer is recommended, as it adds a few extra minutes for a superior surface finish. My print time was 2 hours and 34 minutes at 40mm/sec with 0.8mm walls, 4 top/bottom layers, 5% grid, ironing, 5 or 10mm brim, and first-layer speed reduced by half. I found this process to be significantly faster than conducting a dry run previously. In the past, I would manually tear the tape. Then, I started reusing rafts from prints for cutting purposes. However, I wanted more precise and straighter cuts.
With this file you will be able to print Tape guide with your 3D printer. Click on the button and save the file on your computer to work, edit or customize your design. You can also find more 3D designs for printers on Tape guide.
