Talon - Version 5 - garden ball holder
prusaprinters
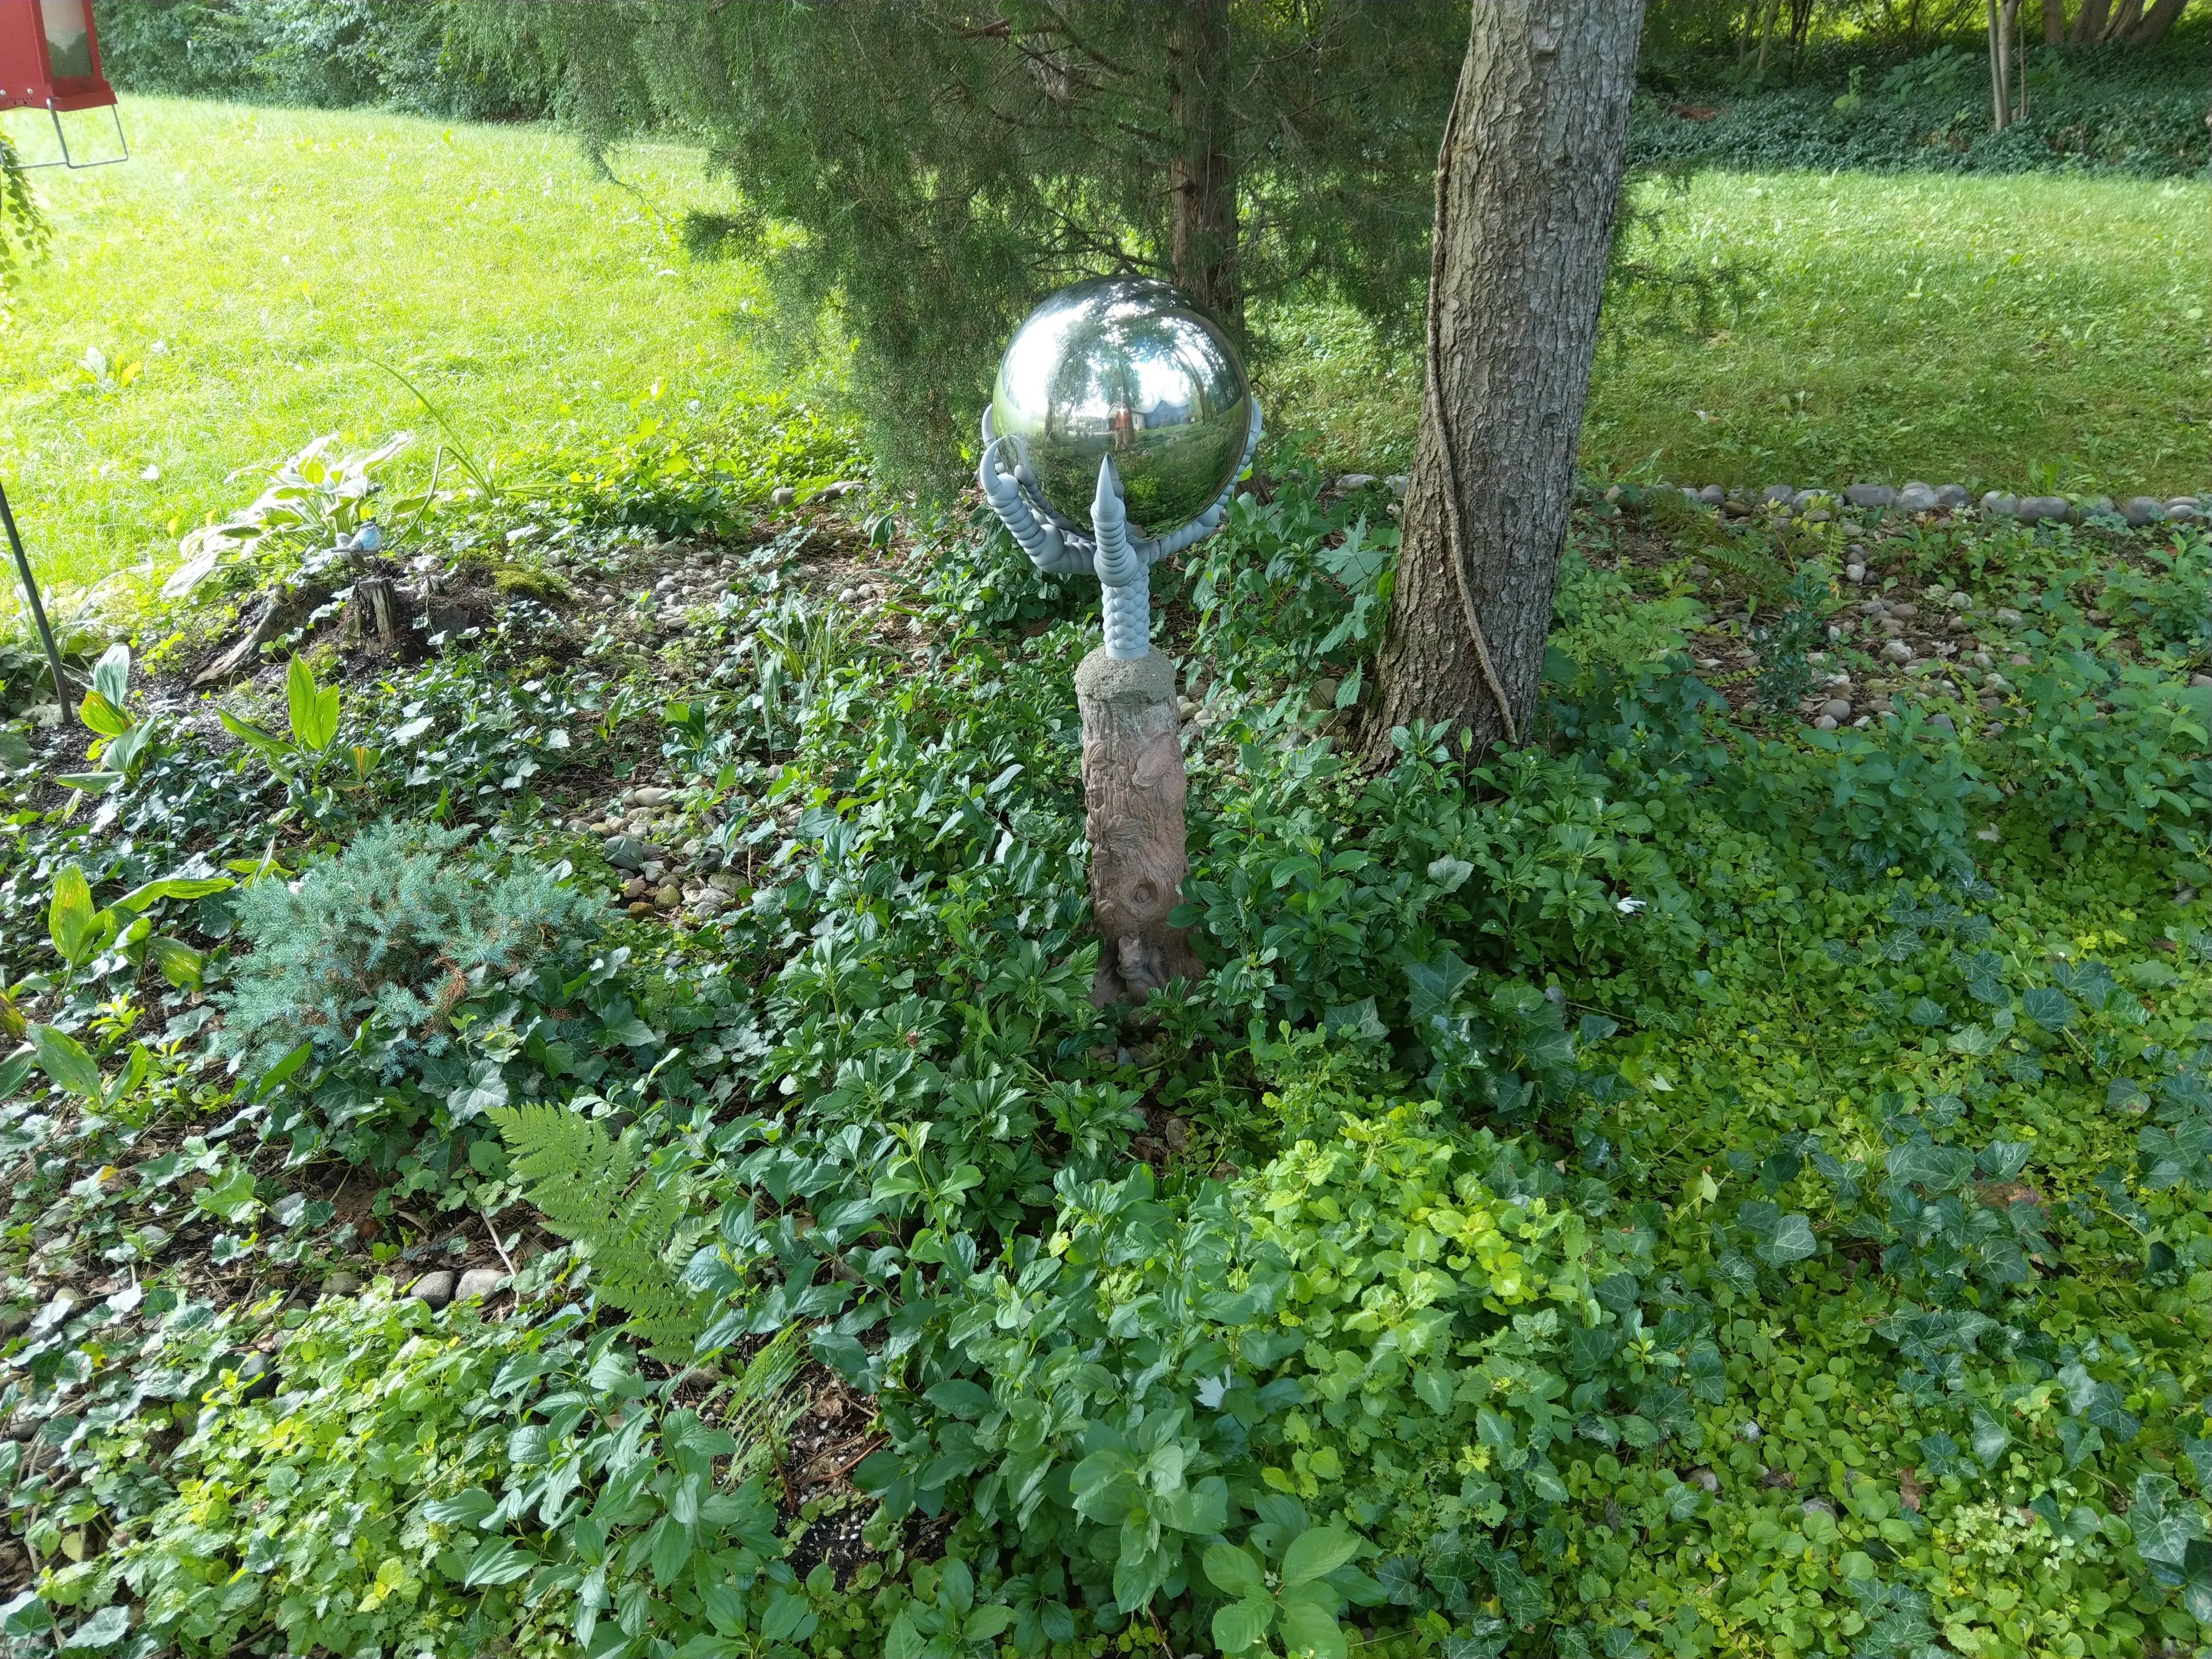
<p>When I originally created the talon print on which this re-mix is based I had in mind the idea of eventually using it in scaled up form to support a "garden ball" (decorative reflective stainless steel ball). However, I needed to scale up the original design by 470%, which was too big to print on my machine.</p> <p>The original print consisted of four separate "finger" prints, and a sleeve/plug to hold them together. For this re-mix I broke each claw into four separate pieces with "tenons" to enable them to be glued together. The tenons and their corresponding sockets are designed with an intentionally loose fit, so that epoxy cement can be used to glue them together (I recommend epoxy both for strength and for gap-filling).</p> <p>A note about scaling: The talon in it's 100% size is scaled to hold a ball 2.5 inches (63.5 mm) in diameter. I needed to scale this up to hold a ball 11.75 inches in diameter, scaled as follows:</p> <pre><code> 11.75 / 2.5 = 4.7 so a scale factor of 470% </code></pre> <p>Print files are provided for a complete "talon", but this does not include a stand to hold it; this needs to be provided separately. In my case I had a broken birdbath column - I used concrete to mold a socket for the talon sleeve on top of it.</p> <p>The complete talon consists of:</p> <ul> <li>four "fingers", each made up of four separate prints</li> <li>a "sleeve" to hold the four fingers together</li> </ul> <p>Some additional thoughts:</p> <p>The "tenon and socket" method I used to help align the parts for gluing worked reasonably well (and also provides a relatively large surface area for better glue strength), but could be improved. If I do any large scale multipart projects like this in the future, I will experiment with better connection methods.</p> <p>This is a large project, I estimate the totals for the entire project as follows:</p> <ul> <li>total filament used = 140m (about 415g)</li> <li>total print time = 44 hours</li> </ul> <p>The OnShape 3D CAD files for this can be found here:</p> <p><a href="https://cad.onshape.com/documents/0716787efa057a8839b09f7f/w/1e343278069a753c83a7de07/e/98bedb8e584a90d0fac62631">https://cad.onshape.com/documents/0716787efa057a8839b09f7f/w/1e343278069a753c83a7de07/e/98bedb8e584a90d0fac62631</a></p> <h3>Print instructions</h3><p>All parts are printed in PETG (at 0.20mm), since the print is intended to be used outdoors. I recommend the use of a textured build plate for this, as I found the PETG difficult to remove from the smooth build plate. For best results, be sure to allow the build plate to cool to room temperature before removing the print. I used a bit of ethyl alcohol and a plastic scraper to remove residual PETG from the build plate. This scraper does a good job:</p> <p><a href="https://www.prusaprinters.org/prints/28337-scraper-for-build-plate-version-2">https://www.prusaprinters.org/prints/28337-scraper-for-build-plate-version-2</a></p> <p>Part names: Each "finger" is labeled A-B-C-Claw where the 'A" part is the bottom/central part that fits in the sleeve/plug.</p> <p>Note that while the four "fingers" are very similar, they are not identical, so the specific parts for each finger need to printed and assembled together. I recommend printing each of the four parts for a single finger, one finger at a time. In this way a set of parts can be glued up while more parts are printing. I also recommend labeling each finger numbered 1 - 4 so that they can be assembled in proper order (counter-clockwise starting with finger #1).</p> <p>Use the 3mf files for easiest printing - these are all pre-scaled to 470% but this can easily be changed (see Description). If you start with the STL files, they will all be 100% scale and in various orientations - these orientations are from the CAD model and are typically NOT the best orientation for printing. If you start with the 3mf files you can easily change the scaling to whatever size you need.</p> <p>The file names tell you finger the parts belong to; for example</p> <p>talon-04-1- is finger #1<br/> talon-04-2- is finger #2<br/> . . . and so on.</p> <p>In general the parts are printed with 10% rectilinear infill (except the actual claw segment which is 20% infill). I experimented with various orientations to find orientations which would give the best print quality with the least amount of support material. My results may not be completely optimal, but I think they are pretty good.</p>
With this file you will be able to print Talon - Version 5 - garden ball holder with your 3D printer. Click on the button and save the file on your computer to work, edit or customize your design. You can also find more 3D designs for printers on Talon - Version 5 - garden ball holder.