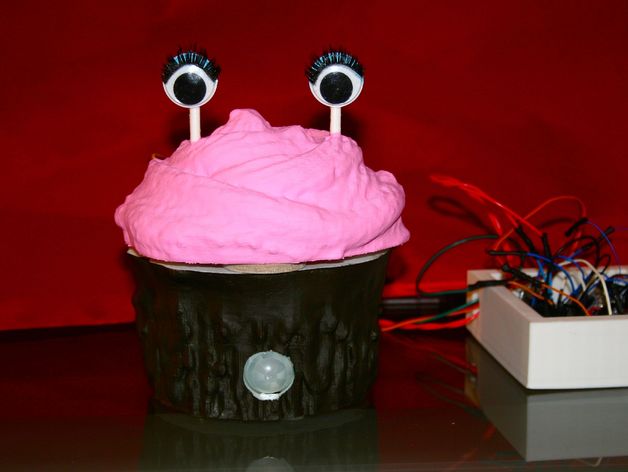
Talking Cupcake
thingiverse
I decided to create a talking cupcake as a fun project, thanks to my friends who own a bakery - no specific reason was needed, just the desire to make something unique. To get started, I scanned a cupcake and then divided it into two distinct halves: one top half and one bottom half. Next, I carefully hollowed out the bottom portion of the cake and adjusted its size to fit motors and electronics seamlessly inside. Anyone looking for more information on building the electronic components can visit instructables.com for a detailed guide. This project has a 20-second limit on the length of any recorded message you choose to play, giving you the flexibility to update it as needed. The talking cupcake is set up to activate whenever someone walks by, making it perfect for advertising any item - from a simple sandwich to anything else you can imagine. For more information and technical details, I encourage you to check out this video on YouTube: http://youtu.be/o26WH8pdd1A If you're interested in replicating this project, here's how: 1. Visit http://www.instructables.com/id/Talking-Cupcake/ for comprehensive instructions on the electronic construction. 2. Note that printing each half of the cupcake - top and bottom - requires about 5 hours, totaling around 10 hours for both pieces. Note: Please refer to the instructables.com page for detailed technical information, as the space here is limited to provide an overview.
With this file you will be able to print Talking Cupcake with your 3D printer. Click on the button and save the file on your computer to work, edit or customize your design. You can also find more 3D designs for printers on Talking Cupcake.
