Tactile Switch Holder, 2 Prong
thingiverse
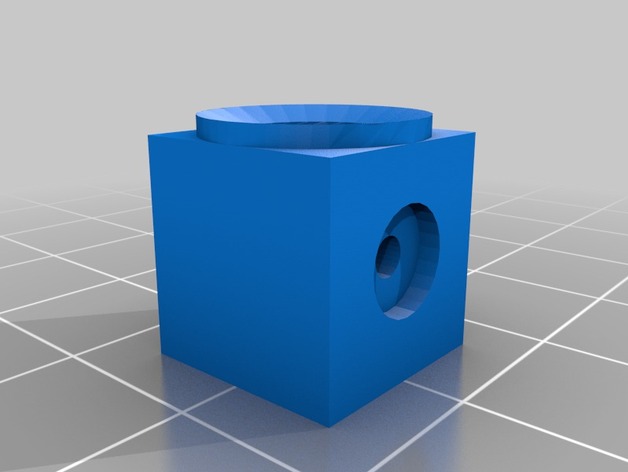
Tinkerers will appreciate this DIY tactile switch holder for Arduino Micro projects in an industrial tank setting. Attach screws to the frame under the front bumper on the side. When drilling out wire holes, target .120" precision to ensure a snug fit. Be cautious when working with the tactile switches - once they're in place, it's nearly impossible to remove them without significant effort. To make installation easier, begin by wiring up the switch and sliding wires through the tank's body. Push the switch firmly into position before sealing any gaps with silicone. Assembling these switch holders can be a bit tricky, so ensure that the terminals are correctly aligned during insertion - their offset design demands precise positioning to secure them in place.
With this file you will be able to print Tactile Switch Holder, 2 Prong with your 3D printer. Click on the button and save the file on your computer to work, edit or customize your design. You can also find more 3D designs for printers on Tactile Switch Holder, 2 Prong.