Table Saw Fence Jigs
thingiverse
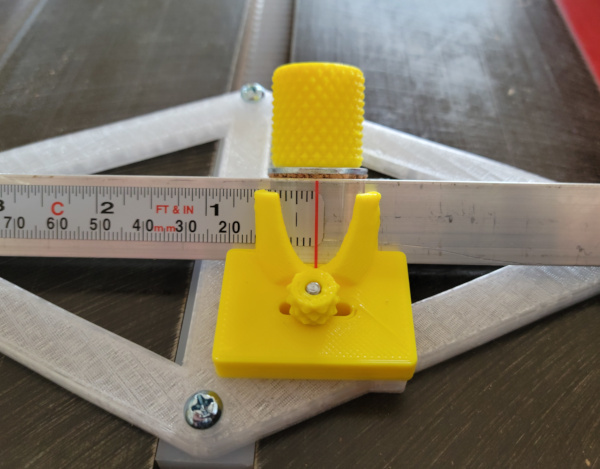
Basic idea: Jigs that sit in miter slot with aluminum angle probes that slide at right angles and can be locked in position. Set the fancy probe distance to the width you want to rip and move the fence against it. Set the plain probe against the same spot and lock it in place. Then move the plain probe to the far end of the fence and the fancy probe to the near end, and lock the fence so it is touching both of them. Now a crappy fence that never winds up in the right place can actually be set accurately. Infinite amount of babbling and photos about this available here: https://tomhorsley.com/hardware/saw/fence.html Printing the knobs expects you to be able to pause and insert nuts then resume printing to embed the nuts in the knobs. The web page above describes how I did it with Cura and Octoprint, other software might need a different technique. Eventually I plan to replace the fence on my Craftsman 113 with just a wooden angle that has a magswitch at each end, and position it with these jigs (much cheaper than fancy 3rd party fence add ons).
With this file you will be able to print Table Saw Fence Jigs with your 3D printer. Click on the button and save the file on your computer to work, edit or customize your design. You can also find more 3D designs for printers on Table Saw Fence Jigs.
