Table Saw Cross-Cut Setup Helper
prusaprinters
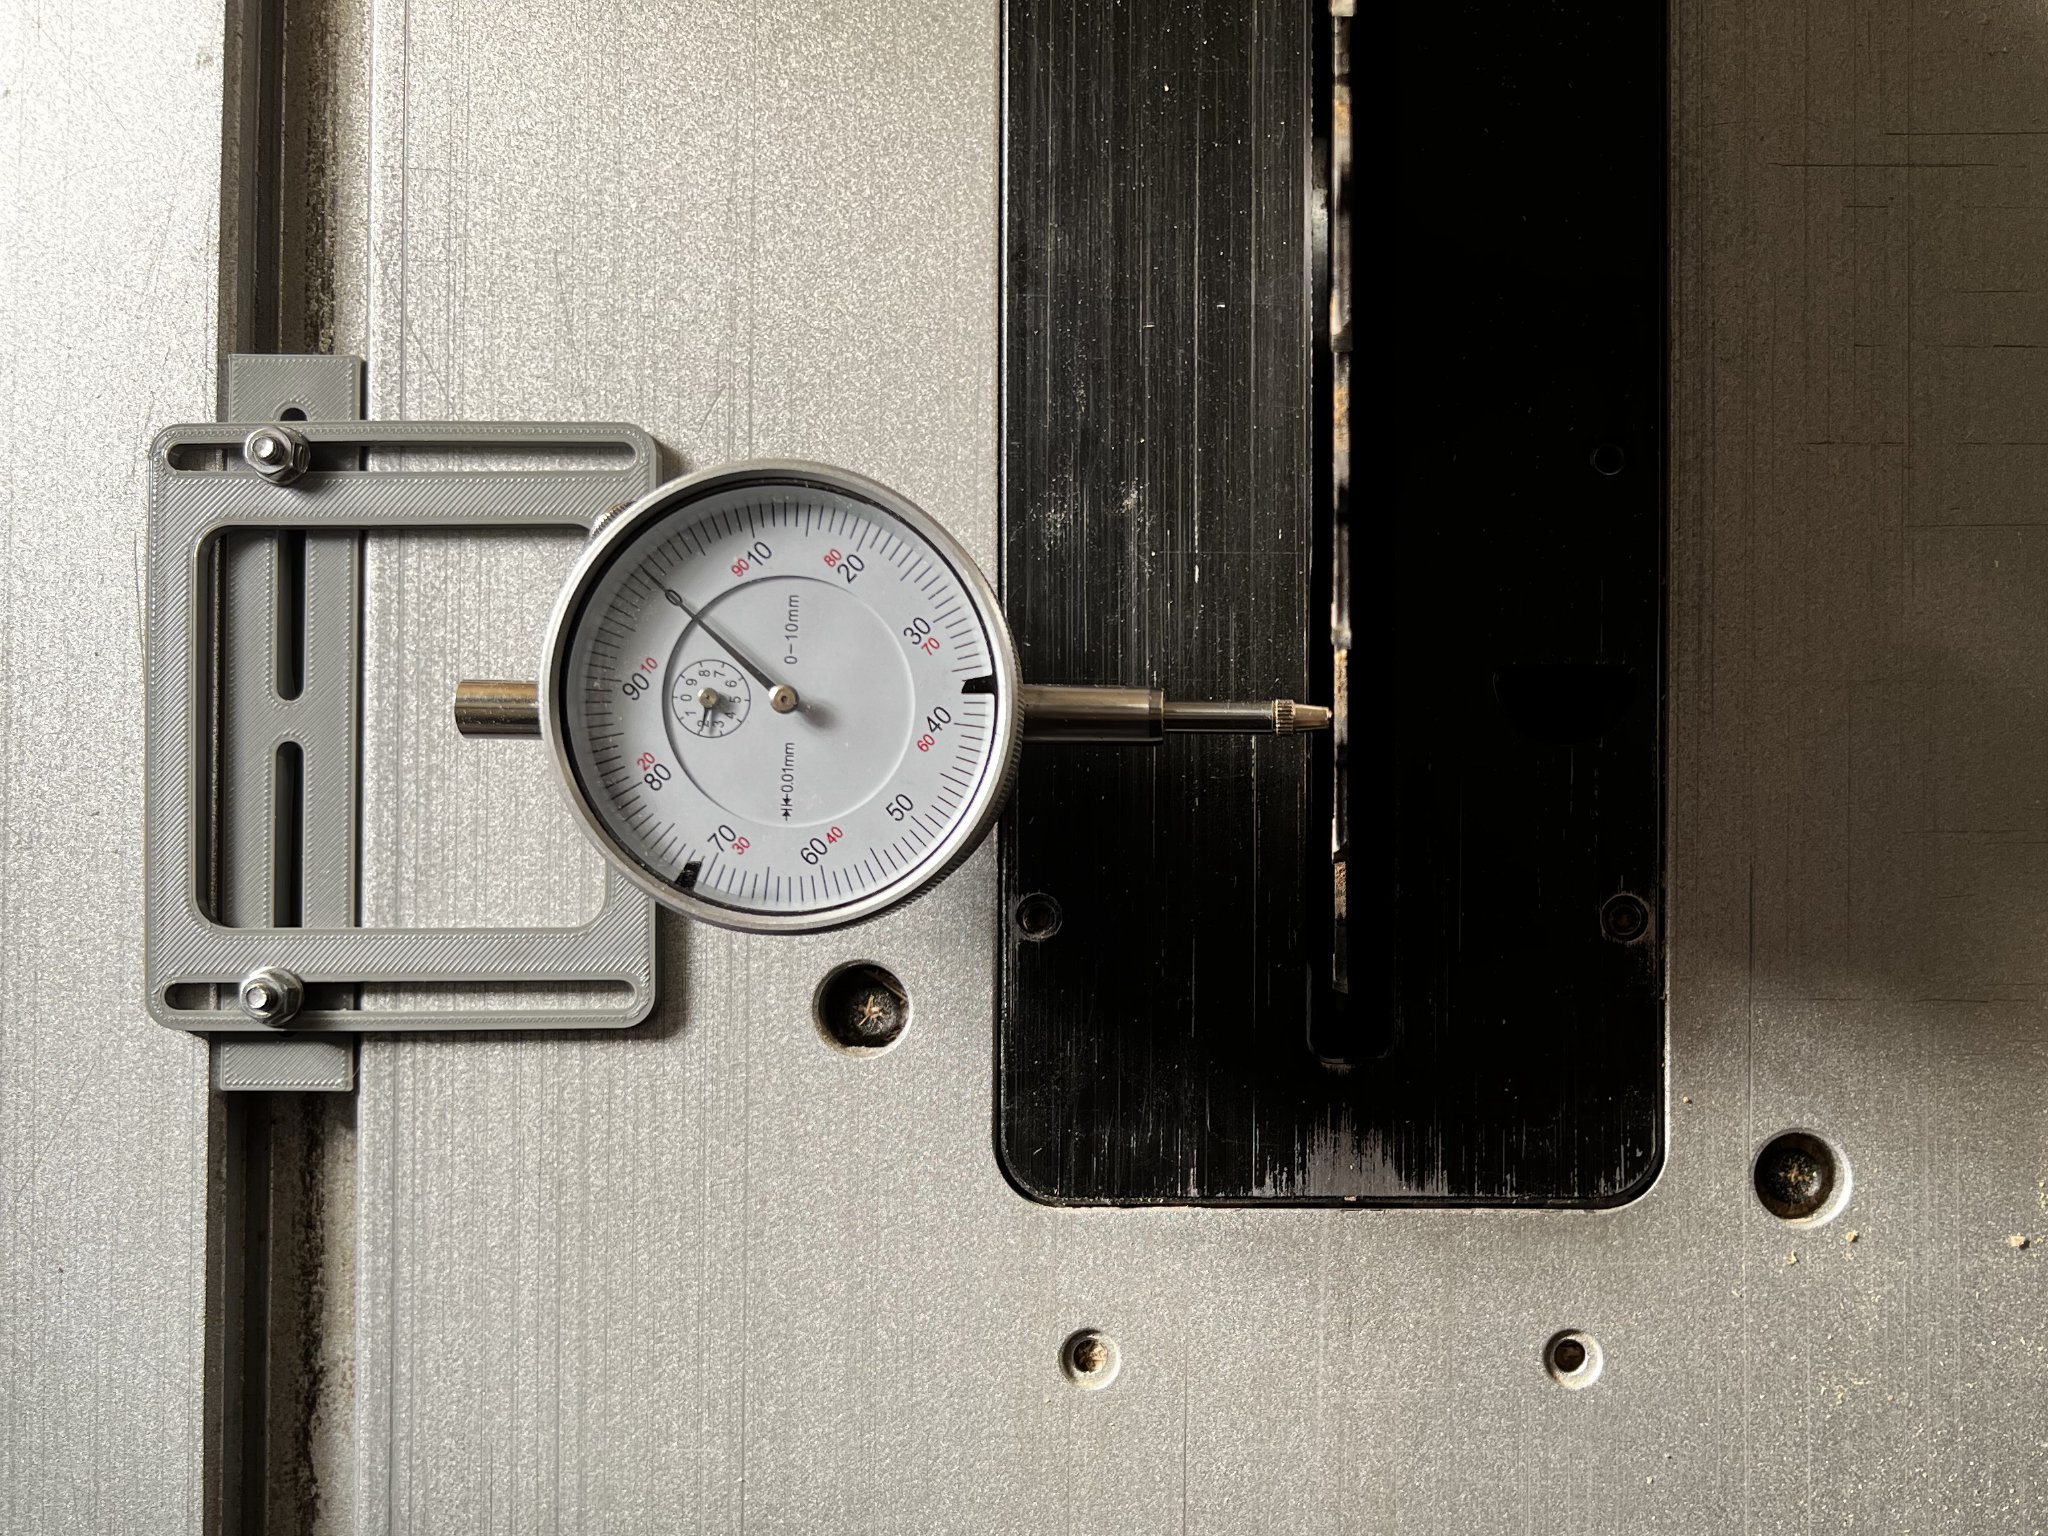
<p>For perfect and square cross cuts, it is essential that the mitre slot and saw blade are parallel to each other. With this holder for a dial gauge, parallelism can be easily checked.</p><p>The distance between mitre slot and saw blade must be the same at the front and back of the blade. Mark a spot on the saw blade and turn the saw blade so that the mark is in front. Bring the dial indicator to the mark and set the scale to 0. Then turn the mark so that it is in the back and measure the distance there. Adjust the saw blade so that the dial indicator also reads 0. Repeat the measurements until the dial indicator shows the same value in the front and in the back.</p><p>The rail is suitable for normal 19.5 mm (¾″) wide mitre slots. The rail and the support for the dial gauge are connected with two M4 screws, the dial gauge is fastened to the base with a M6 screw.</p><p>Parts list:</p><ul><li>2 screws M4x14 (longer is ok)</li><li>4 washers M4</li><li>2 nuts M4</li><li>1 screw M6x15 (longer is ok)</li><li>2 washers M6</li><li>1 nut M6</li></ul><p>Print the rail with support for the slot, the holder doesn't need any support.</p><p>PLA or PETG is sufficient as material.</p><p>The rail is parametric which means that for example the width can be easily adjusted. Download the FreeCAD file and adjust the "Width Slot" parameter (Cell B2) in the spreadsheet (see screenshot).</p><p>The dimensions (19.55 mm width) fit perfectly for my Makita 2704N.</p><p>Due to the slotted holes in the bracket, the distance between mitre slot and saw blade can easily be adjusted for many (all?) other saws.</p>
With this file you will be able to print Table Saw Cross-Cut Setup Helper with your 3D printer. Click on the button and save the file on your computer to work, edit or customize your design. You can also find more 3D designs for printers on Table Saw Cross-Cut Setup Helper.