Table Leg Connector
thingiverse
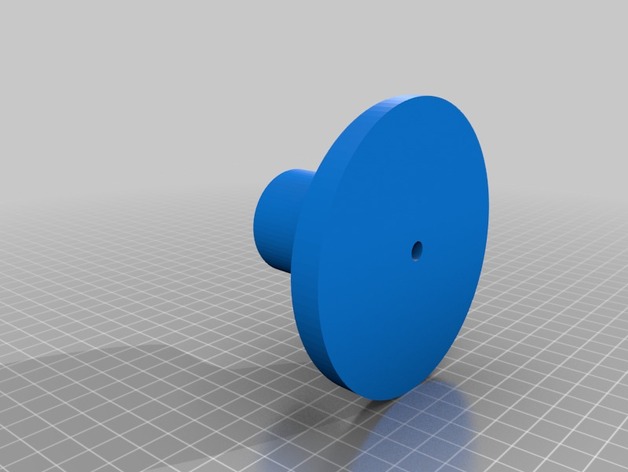
I designed this sleek desk upgrade as a simple way to elevate any ordinary office space. The subtle 5 degree angle tilts the feet outward, resulting in an attractive design. Settings Rafts: It doesn't really matter. I'll add one just the same. No supports are needed. Resolution:.20 provides clear detail and precision. Infill: 15 to 20% density fills the model properly. Post-Production Instructions Materials Required: 4. 1.5 in thick Dowels (Select a length that suits your needs) 4 Quarter inch x Three inch Hanger Bolts Drill Bit Sixteen one-half inch machine screws To get started, drill four small holes at the base of each print piece, then countersink them to conceal any visible fasteners. Insert the hanger bolts into these holes. Now drill a smaller hole in the center of each dowel rod, ensuring that it's wide enough for your bolt to fit comfortably. Screw the connector to the rod and double-check that they're aligned correctly. Next, determine the ideal spot for attaching the legs on your desk surface and secure them firmly in place. Finally, proudly display your beautifully renovated workspace in a high-traffic area of your home.
With this file you will be able to print Table Leg Connector with your 3D printer. Click on the button and save the file on your computer to work, edit or customize your design. You can also find more 3D designs for printers on Table Leg Connector.