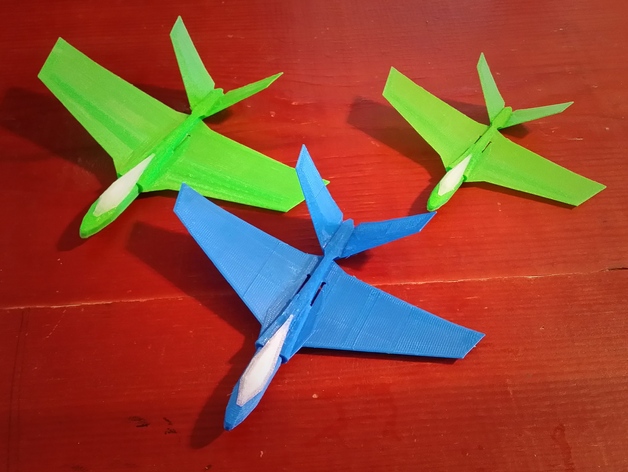
T-49 next generation jet Glider
thingiverse
A revolutionary "jet" glider, the T-49 follows in the footsteps of the F47, but with enhanced stability and streamlined adjustment. Huge flights, massive loops, and seamless glides are sure to unleash the inner jet pilot in every aspiring aviator. Premium versions, the Large T48, the unbranded T-49, and the long-distance F-48, can be accessed at http://threedsy.com. Larger models aren't just scaled up, their wings have been reimagined for lightness and strength, and the hinges adjusted accordingly. Too big? A comparable full-sized glider that can be printed on a 100MM bed can be found at http://www.thingiverse.com/thing:300168 Videos are available here: http://goo.gl/6o795H http://www.youtube.com/watch?v=vPl3sYQPwMY http://www.youtube.com/watch?v=NUUEdk1EsTg The launcher and tools required can be accessed at http://www.thingiverse.com/thing:95765. For comprehensive instructions, refer to the glider instruction thing:1465700. If you need help with printing glider wings, check out this guide at threedsy.com. If you enjoy my gliders, explore my other models here on Thingiverse and discover more models and books I've written on 3D Design and 3D Printing at http://threedsy.com. To learn how to design advanced, highly functional designs for 3D printing, print useful repair parts, and accelerate your 3D printing capabilities, refer to my books Functional Design for 3D Printing and the Zombie Apocalypse Guide to 3D Printing on Amazon! Printing Settings: Rafts: Don't worry about it. Supports: Same thing – don't sweat it. Resolution: Stick with .20mm layers. Infill: Go with 30%. Notes: Some key printing tips can be found below. Printing Instructions: ABS or PET is your best bet for durability. Make sure to level the bed and adjust the printer to produce crisp single-layer prints. Take some time to measure and calibrate your filament for optimal results. When it comes to layer height, 2mm or .1mm work well, along with 30% infill and 2 outer perimeters. This glider was designed specifically for use with nozzles smaller than 0.5mm. For smooth flying performance, make sure the first-layer infill is aligned parallel to the wings' span. If you print your model with diagonal infill in the wings, it may not fly straight. When removing your printed glider from the bed, be gentle and use a spatula or similar tool. The wings can be easily damaged by bending. You'll find a printable one included in the zip file along with more comprehensive instructions. Post-Printing Download the .zip file for in-depth information on building and flying this glider.
With this file you will be able to print T-49 next generation jet Glider with your 3D printer. Click on the button and save the file on your computer to work, edit or customize your design. You can also find more 3D designs for printers on T-49 next generation jet Glider.
