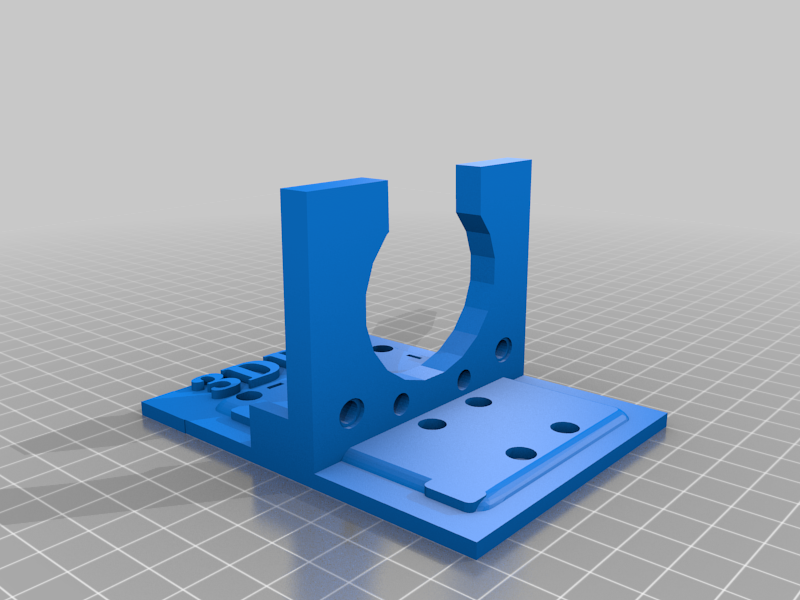
syringe mount for x-axis
thingiverse
Mounting a Syringe to Your X-Axis Cartridge System When it comes time to install your syringe onto the X-axis carriage of your machine, precision is key to ensure accurate and precise movements. To properly secure the syringe in place, follow these steps carefully. 1. Position the Syringe: Place the syringe at a 90-degree angle to the X-axis carriage, ensuring it is centered directly above the mounting bracket. 2. Align the Mounting Pins: Locate the two small pins on the X-axis carriage that correspond with the holes on your syringe mount. These pins are usually colored or marked in some way for easy identification. 3. Secure the Syringe: Carefully insert the pins into their respective holes on the syringe, making sure they click securely into place. 4. Tighten the Locking Screw: Once the pins are fully seated, tighten the locking screw to prevent any movement of the syringe during operation. By following these simple steps, you can ensure a secure and stable installation of your syringe onto the X-axis carriage, allowing for smooth and precise movements throughout your machine's operation.
With this file you will be able to print syringe mount for x-axis with your 3D printer. Click on the button and save the file on your computer to work, edit or customize your design. You can also find more 3D designs for printers on syringe mount for x-axis.
