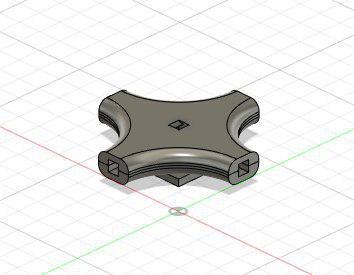
Syma x6 central part
thingiverse
Replacing the Center Part on a Quadrocopter Syma X6 First, turn off the quadcopter by disconnecting it from power or switching off the remote control. This will prevent any accidental starts during repairs. Next, remove all propellers and motors from the center part to access the main hub. Be careful not to strip screws, as this can damage the surrounding components. Now that you have access to the center part, replace it with a new one. Make sure it is compatible with your quadcopter model. If you are unsure about compatibility, refer to the user manual or contact Syma customer support. Once the new center part is installed, reattach all motors and propellers in their original positions. Secure them firmly using the provided screws. Reconnect the quadcopter to its remote control and power it on. Perform a series of test flights to ensure that everything functions properly.
With this file you will be able to print Syma x6 central part with your 3D printer. Click on the button and save the file on your computer to work, edit or customize your design. You can also find more 3D designs for printers on Syma x6 central part.
