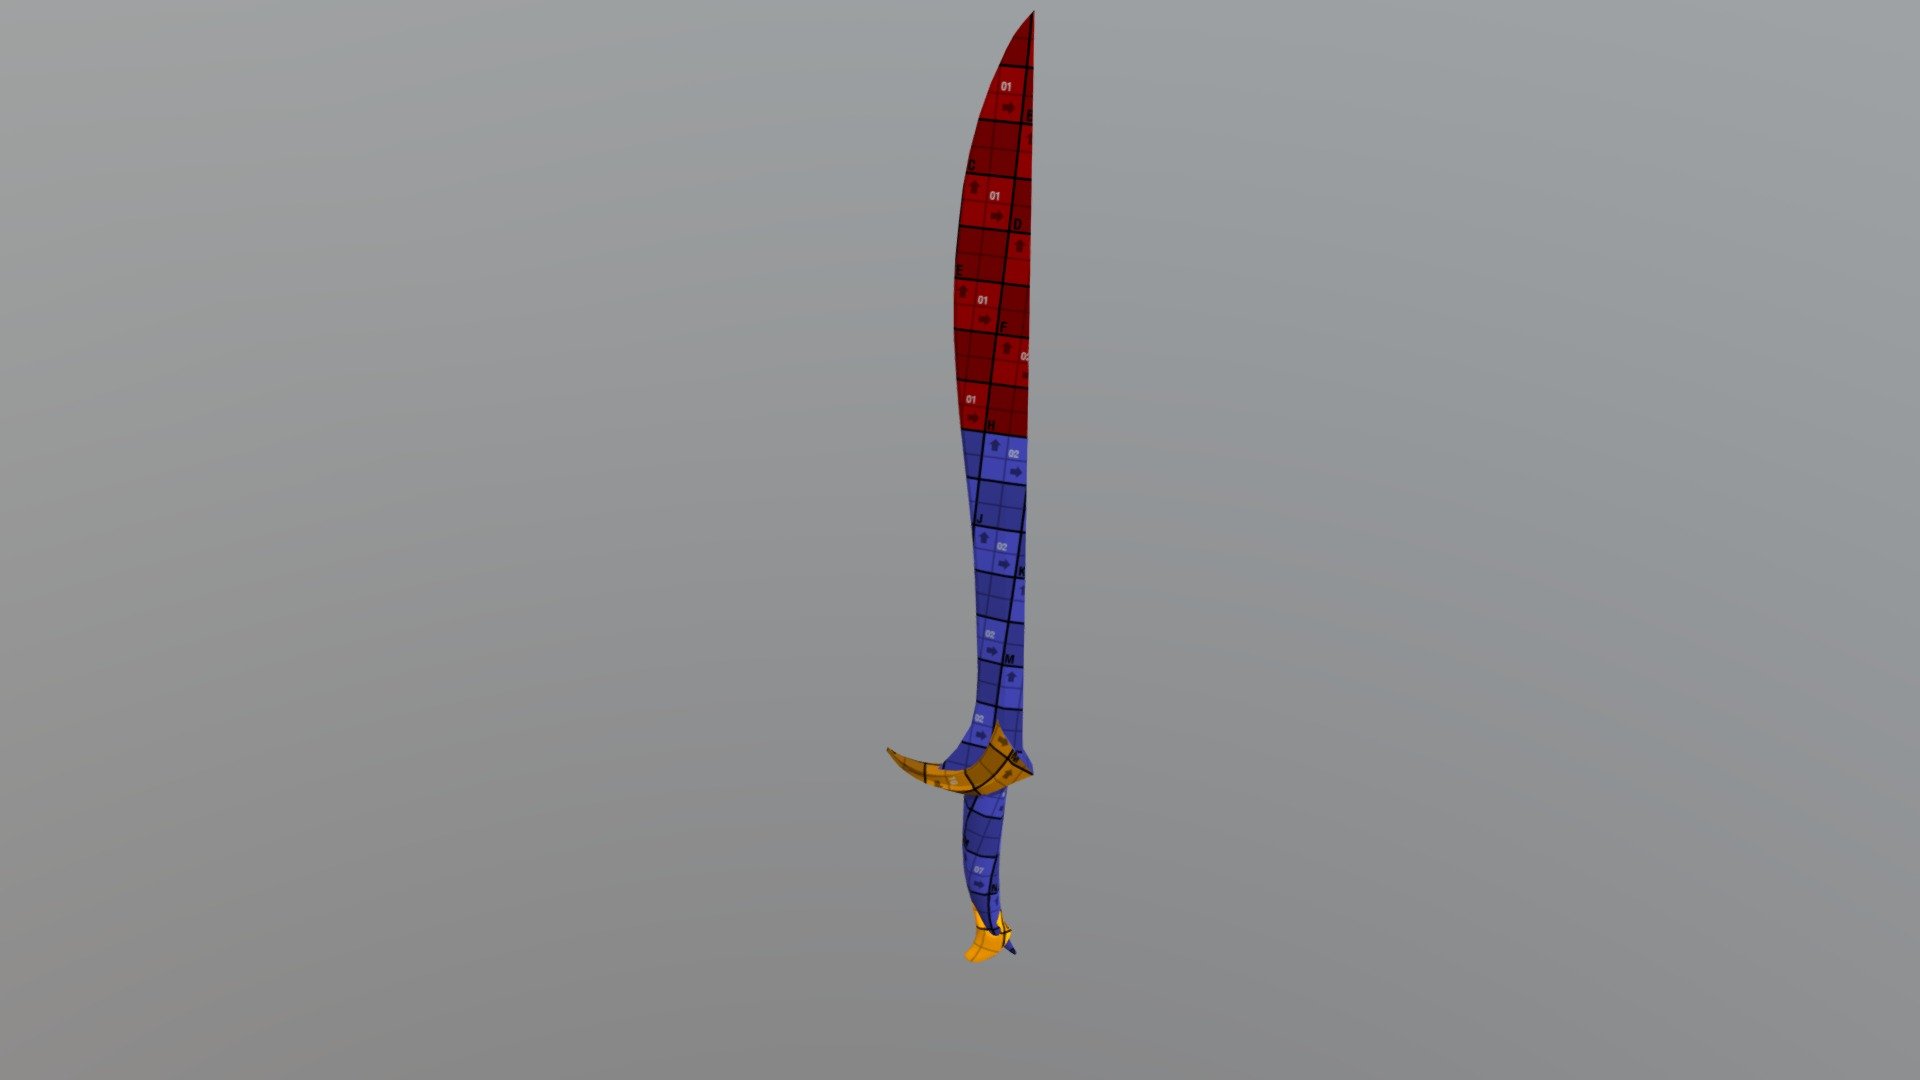
Sword UV
sketchfab
Creating a UV map example of a sword involves several key steps to ensure accurate texture application and seamless unwrapping. First, import the 3D model into your preferred software, such as Blender or Maya, and set up the scene for optimal workflow. Next, isolate the sword object from the rest of the scene by selecting it and using the 'Isolate Mode' function. This will prevent unwanted selections or modifications to other objects in the scene. With the sword isolated, activate the UV Unwrap tool and begin unwrapping the model. Start with the flat areas first, such as the blade's surface, and work your way up to the more complex regions like the hilt. Use the 'Auto-Unwrap' feature to quickly assign a basic UV layout, then manually refine the unwrap by adjusting edge seams and optimizing vertex placement. To create a seamless texture, set the unwrapped mesh to the correct size and resolution for the desired output format. For example, if the final product is intended for gaming or high-resolution display, use a higher resolution setting. Finally, save the UV map as a separate file or export it along with the 3D model for further processing. Throughout this process, monitor the unwrap's progress and adjust settings as needed to achieve optimal results. With practice, you'll develop a keen sense of what works best for your specific project, allowing you to create high-quality UV maps that bring your sword model to life in stunning detail.
With this file you will be able to print Sword UV with your 3D printer. Click on the button and save the file on your computer to work, edit or customize your design. You can also find more 3D designs for printers on Sword UV.
