Swiss Saber
sketchfab
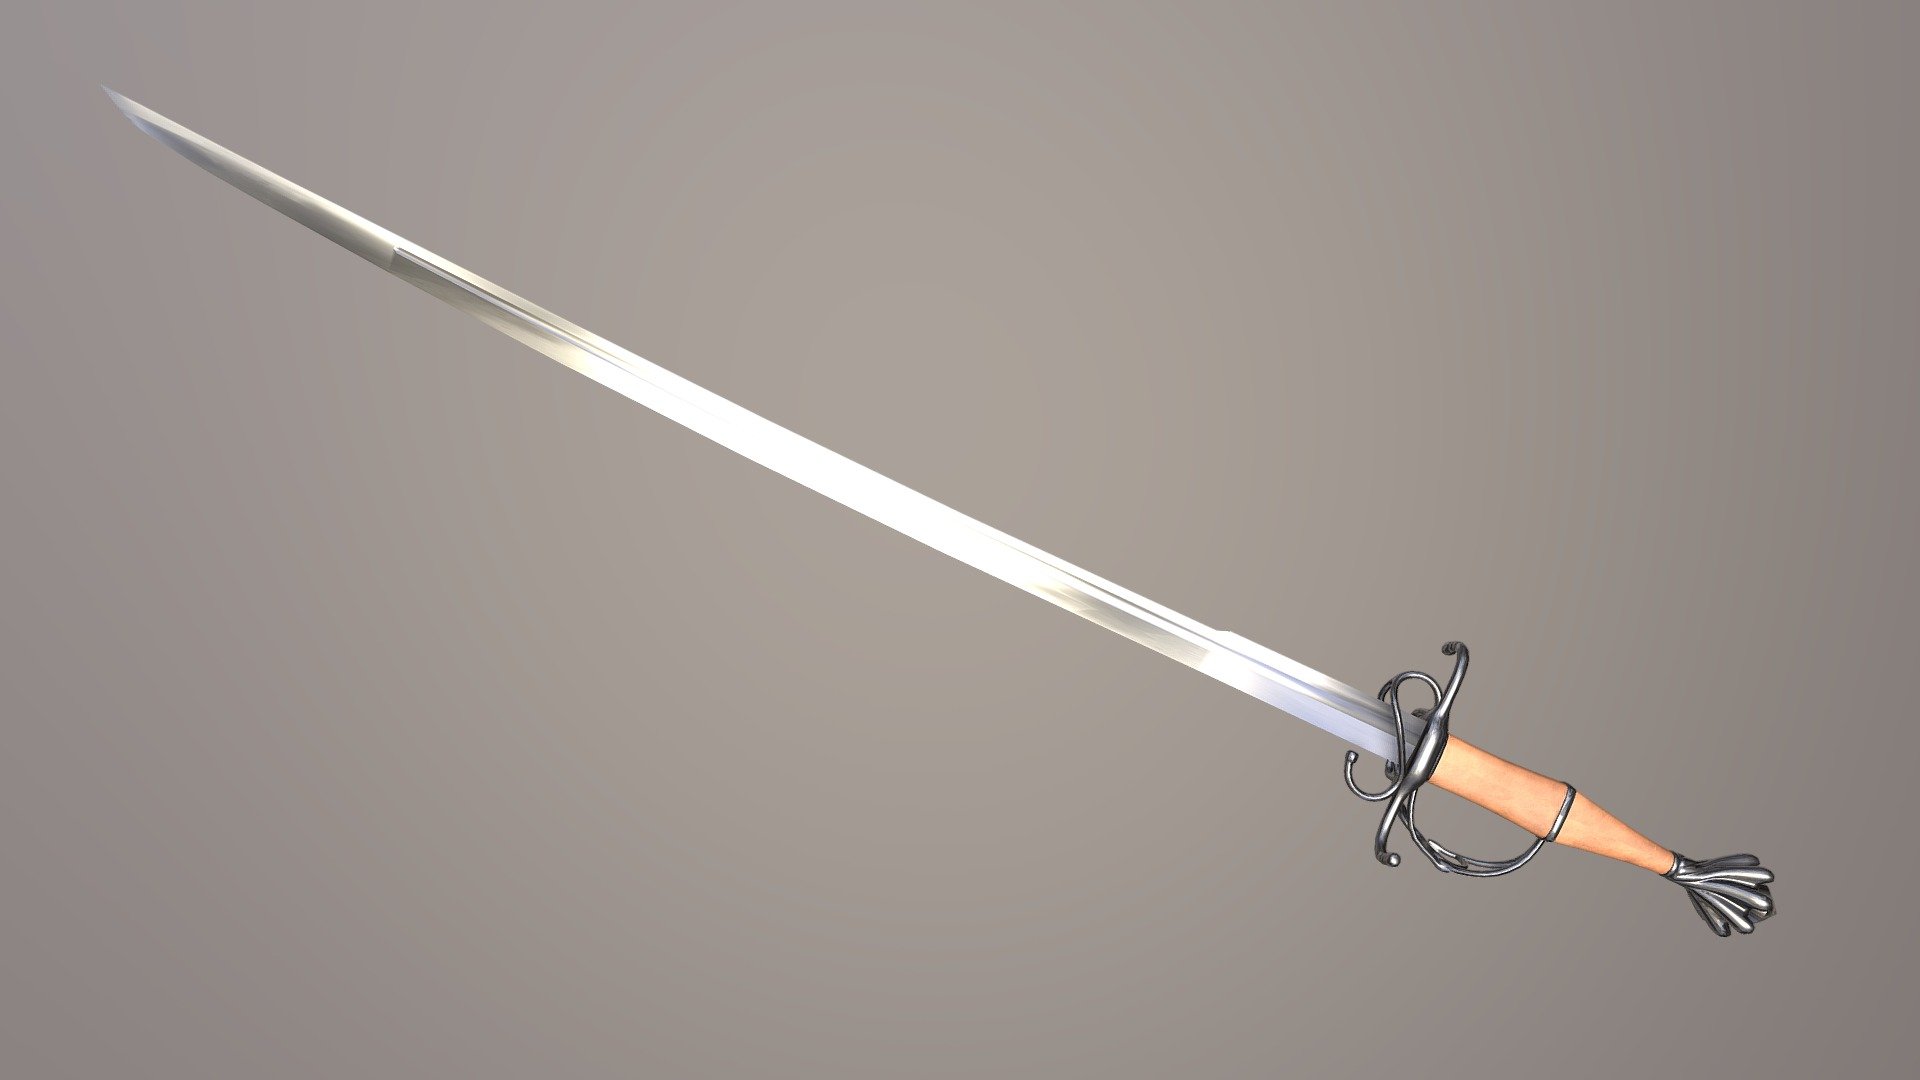
Crafting a majestic Saber with 3ds Max 2018 requires finesse and precision. First, launch the software and establish a new project, setting the units to meters and the template to a standard unit system. Next, create a new object by going to Create > Mesh > PolyExtrude and selecting a basic polygon shape. Name this object "Saber_Hilt" in the Object Properties panel for future reference. Now, extrude a series of connected polygons to form the hilt's body, adjusting the Loop Cut tool to achieve the desired shape. Use the Edit Spline tool to refine the curves and edges of the hilt. For the saber's guard, create a new object by going to Create > Mesh > PolyExtrude again, this time choosing a more complex polygon shape. Name this object "Saber_Guard" for easy identification. Extrude a series of connected polygons to form the guard's body, using the Loop Cut tool and Edit Spline tool to refine the curves and edges. To add details to the saber, create new objects by going to Create > Mesh > PolyExtrude once more. Name these objects "Saber_Scroll" and "Saber_Pommel". Extrude a series of connected polygons for each object, using the Loop Cut tool and Edit Spline tool to achieve the desired shapes. Finally, assemble all the components together by selecting the hilt, guard, scroll, and pommel objects and going to Modify > Join. This will merge all the objects into a single entity, creating the final saber model. Use the Modify panel to adjust the positioning and scaling of the components as needed. With these steps, you can create an elegant and deadly saber using 3ds Max 2018.
With this file you will be able to print Swiss Saber with your 3D printer. Click on the button and save the file on your computer to work, edit or customize your design. You can also find more 3D designs for printers on Swiss Saber.