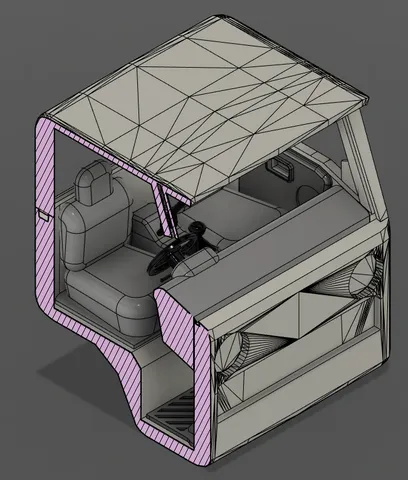
Suzuki Carry Kei Truck Interior
prusaprinters
This model contains only the files that I modified from the separated part remix found here: https://www.printables.com/model/471565-every-part-separated-in-the-suzuki-carry-kei-truck/filesFor the full model, you will need to print everything included here as well as the rest of the parts from that link (minus the original full cab model). The following are instructions for only the interior of the cab. Assembly Instructions:Print the Cab and Roof, and check the fit of the pegs and holes where they attach.Print the floor mat and door panels and glue them in place, making sure not to fill the window gaps with glue.Print either the Console - Joined file or Console, Stick, Handle, and E-Brake and glue them together as shown:Print the chairs and glue the console assembly between the chairs, then glue the chairs into the cab.Print the dash, wheel, steering column, and 1 or 2 of the control sticks. Glue them as shown:Print the dash and glue the wheel assembly into the hole in the dash, then glue the dash into place in the cab, again making sure not to get glue in the front window slot.Either print the window pieces in clear filament (using a method to get as clear as possible) or use 1mm clear plastic like this and cut out the shapes using the window pieces as templates.Glue the desired window pieces into the roof, and glue the roof to the cab, using the pegs for alignment. Suggested Colors:Main Truck Body Color (White):CabRoofBlack:Floor MatWheelSteering ColumnControl Stick x 2StickHandleE-BrakeGrey:DashDoor Panel Driver SideDoor Panel Passenger sideConsoleSeats
With this file you will be able to print Suzuki Carry Kei Truck Interior with your 3D printer. Click on the button and save the file on your computer to work, edit or customize your design. You can also find more 3D designs for printers on Suzuki Carry Kei Truck Interior.
