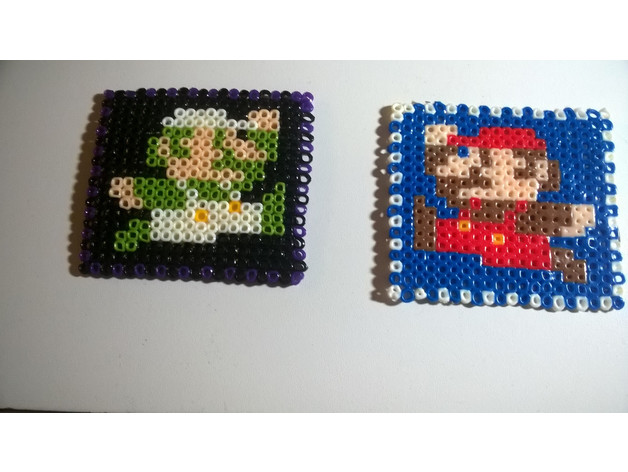
Super Mario melting bead guide
thingiverse
Melting Beads Fun Guide for Mario and Luigi Are you ready to get creative with your favorite plumbers? Melting beads are a blast to work with, and we're here to show you the ropes. **Gather Your Materials** To start melting beads, you'll need a few simple tools. Grab these essential items: * A heat gun or hair dryer * A pair of melting beads (we recommend using the Mario-themed ones) * A surface to work on (like a table or countertop) **Get Your Beads Ready** Before we begin, make sure your melting beads are in good condition. Check for any damage or imperfections that could affect their performance. **Melting Time!** Now it's time to get started! Hold the heat gun about 6 inches away from the bead and slowly move it back and forth until the bead starts to melt. You'll know it's working when you see a shiny, molten surface. **Tips and Tricks** * Use a steady hand to avoid burning yourself or your beads. * Keep the heat gun moving to prevent hotspots. * Experiment with different colors and patterns to create unique designs. **Cooling Down** Once your bead has melted, let it cool completely before handling it. This will help prevent any damage or warping. **Get Creative!** Now that you've mastered the art of melting beads, it's time to get creative! Use your new skills to make amazing Mario-themed crafts, like jewelry, decorations, or even a melted bead Mario Bros. sculpture! **Troubleshooting** Having trouble with your melting beads? Don't worry, we've got you covered. Check out our troubleshooting guide for common issues and solutions. With these simple steps and tips, you'll be well on your way to becoming a master melter of beads! So grab some beads, get creative, and have fun!
With this file you will be able to print Super Mario melting bead guide with your 3D printer. Click on the button and save the file on your computer to work, edit or customize your design. You can also find more 3D designs for printers on Super Mario melting bead guide.
