Sunlu Rear Filament Route
prusaprinters
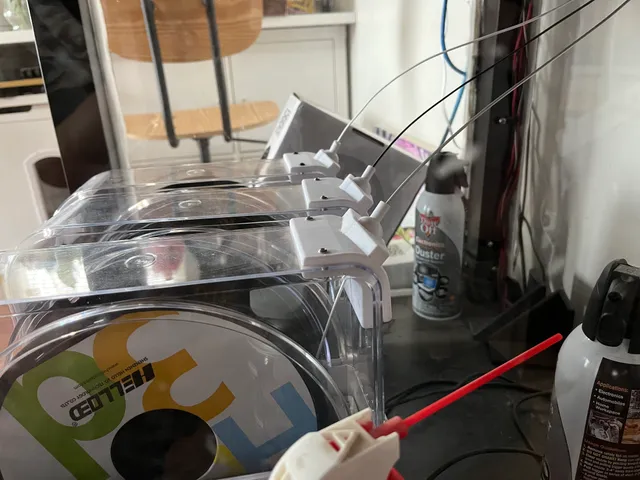
If you look at my prints, you'll see I set up my lack enclosure for the filament to be on the bottom and the printer on top. I made routing PTFE and the associated routing paths for those, and the Sunlu dehydrators on are on the bottom shelf.I wanted the filament to go out the back of the Sunlu container, and I've been printing with this setup since June of 2021 with no problems (well, some, but minor, and mostly due to complaints about the stupid PTFE couplers having an edge that catches filament and my MMU being goofy).Regardless, I also screwed up on the thickness of the Sunlu container so the screws don't fit correctly. I made these almost a year ago and just said “oh well, two screws is fine”. I wasn't very good at Fusion (still not that great) and had a hell of a time increasing the thickness from something like .12 to .14 (been a year, don't remember). They've been working almost flawlessly for a year so I'm not fixing what ain't broke.The swivel ball for the filament will fall down and you can actually accidentally push the filament out the side, so you have to kind of straighten the ball before you thread the filament, but I've really had no issues with that and love the setup. I also learned I need to have the filament so that it rotates with the back end of the roll moving up, not the top end of the roll moving back… the MMU2 can pull the filament no problem that way all the way from the bottom shelf, through all my PTFE tubing and filament routes, up into the MMU.Printed in PET. With 2 screws. And some drilling of your Sunlu dryer.
With this file you will be able to print Sunlu Rear Filament Route with your 3D printer. Click on the button and save the file on your computer to work, edit or customize your design. You can also find more 3D designs for printers on Sunlu Rear Filament Route.