Sunhokey Prusa i3 OctoPrint Box
thingiverse
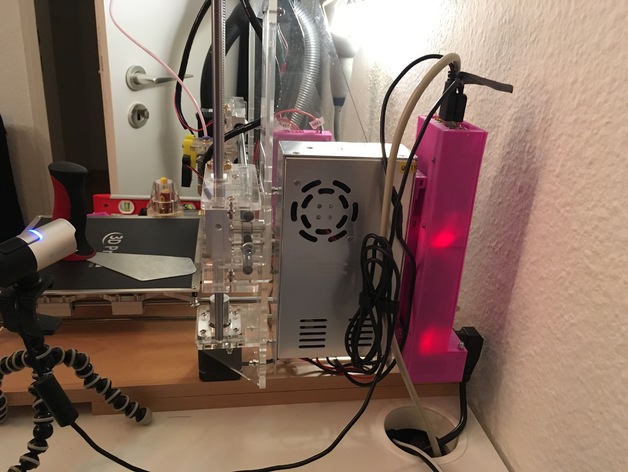
Update 2016.04.04: I reworked everything from scratch using FreeCAD, but some parts are still botched. The Raspberry Pi Case isn't my favorite thing, yet it works - all without needing support materials. Control Box for my Prusa i3 printer holds: - A proper power plug with a switch purchased at Conrad.de - A Raspberry Pi computer - A 5V powersupply unit - A 230V relay for controlling the printer's powersupply bought from Amazon.de - A 7-hole luster terminal For wiring the relay, check out the Octoprint Wiki: Controlling a Relay Board from Your RPi. Print Settings: Printer: Prusa i3 Rafts: None Supports: None Post-Printing Steps: * Remove excess plastic from holes holding nut parts. * Secure everything by screwing in M3 nuts into their designated pockets. * Secure the power case with its respective nuts. * Wire up all components. * Bolt the relay firmly using 4 M2 screws and 4 matching nuts - this part can be tricky, thanks to missing nut-pockets! * Apply double-sided tape to the 5V powersupply unit. * Mount the Raspberry Pi securely using 4 M2 screws and 4 matching nuts, then connect it to the relay.
With this file you will be able to print Sunhokey Prusa i3 OctoPrint Box with your 3D printer. Click on the button and save the file on your computer to work, edit or customize your design. You can also find more 3D designs for printers on Sunhokey Prusa i3 OctoPrint Box.
