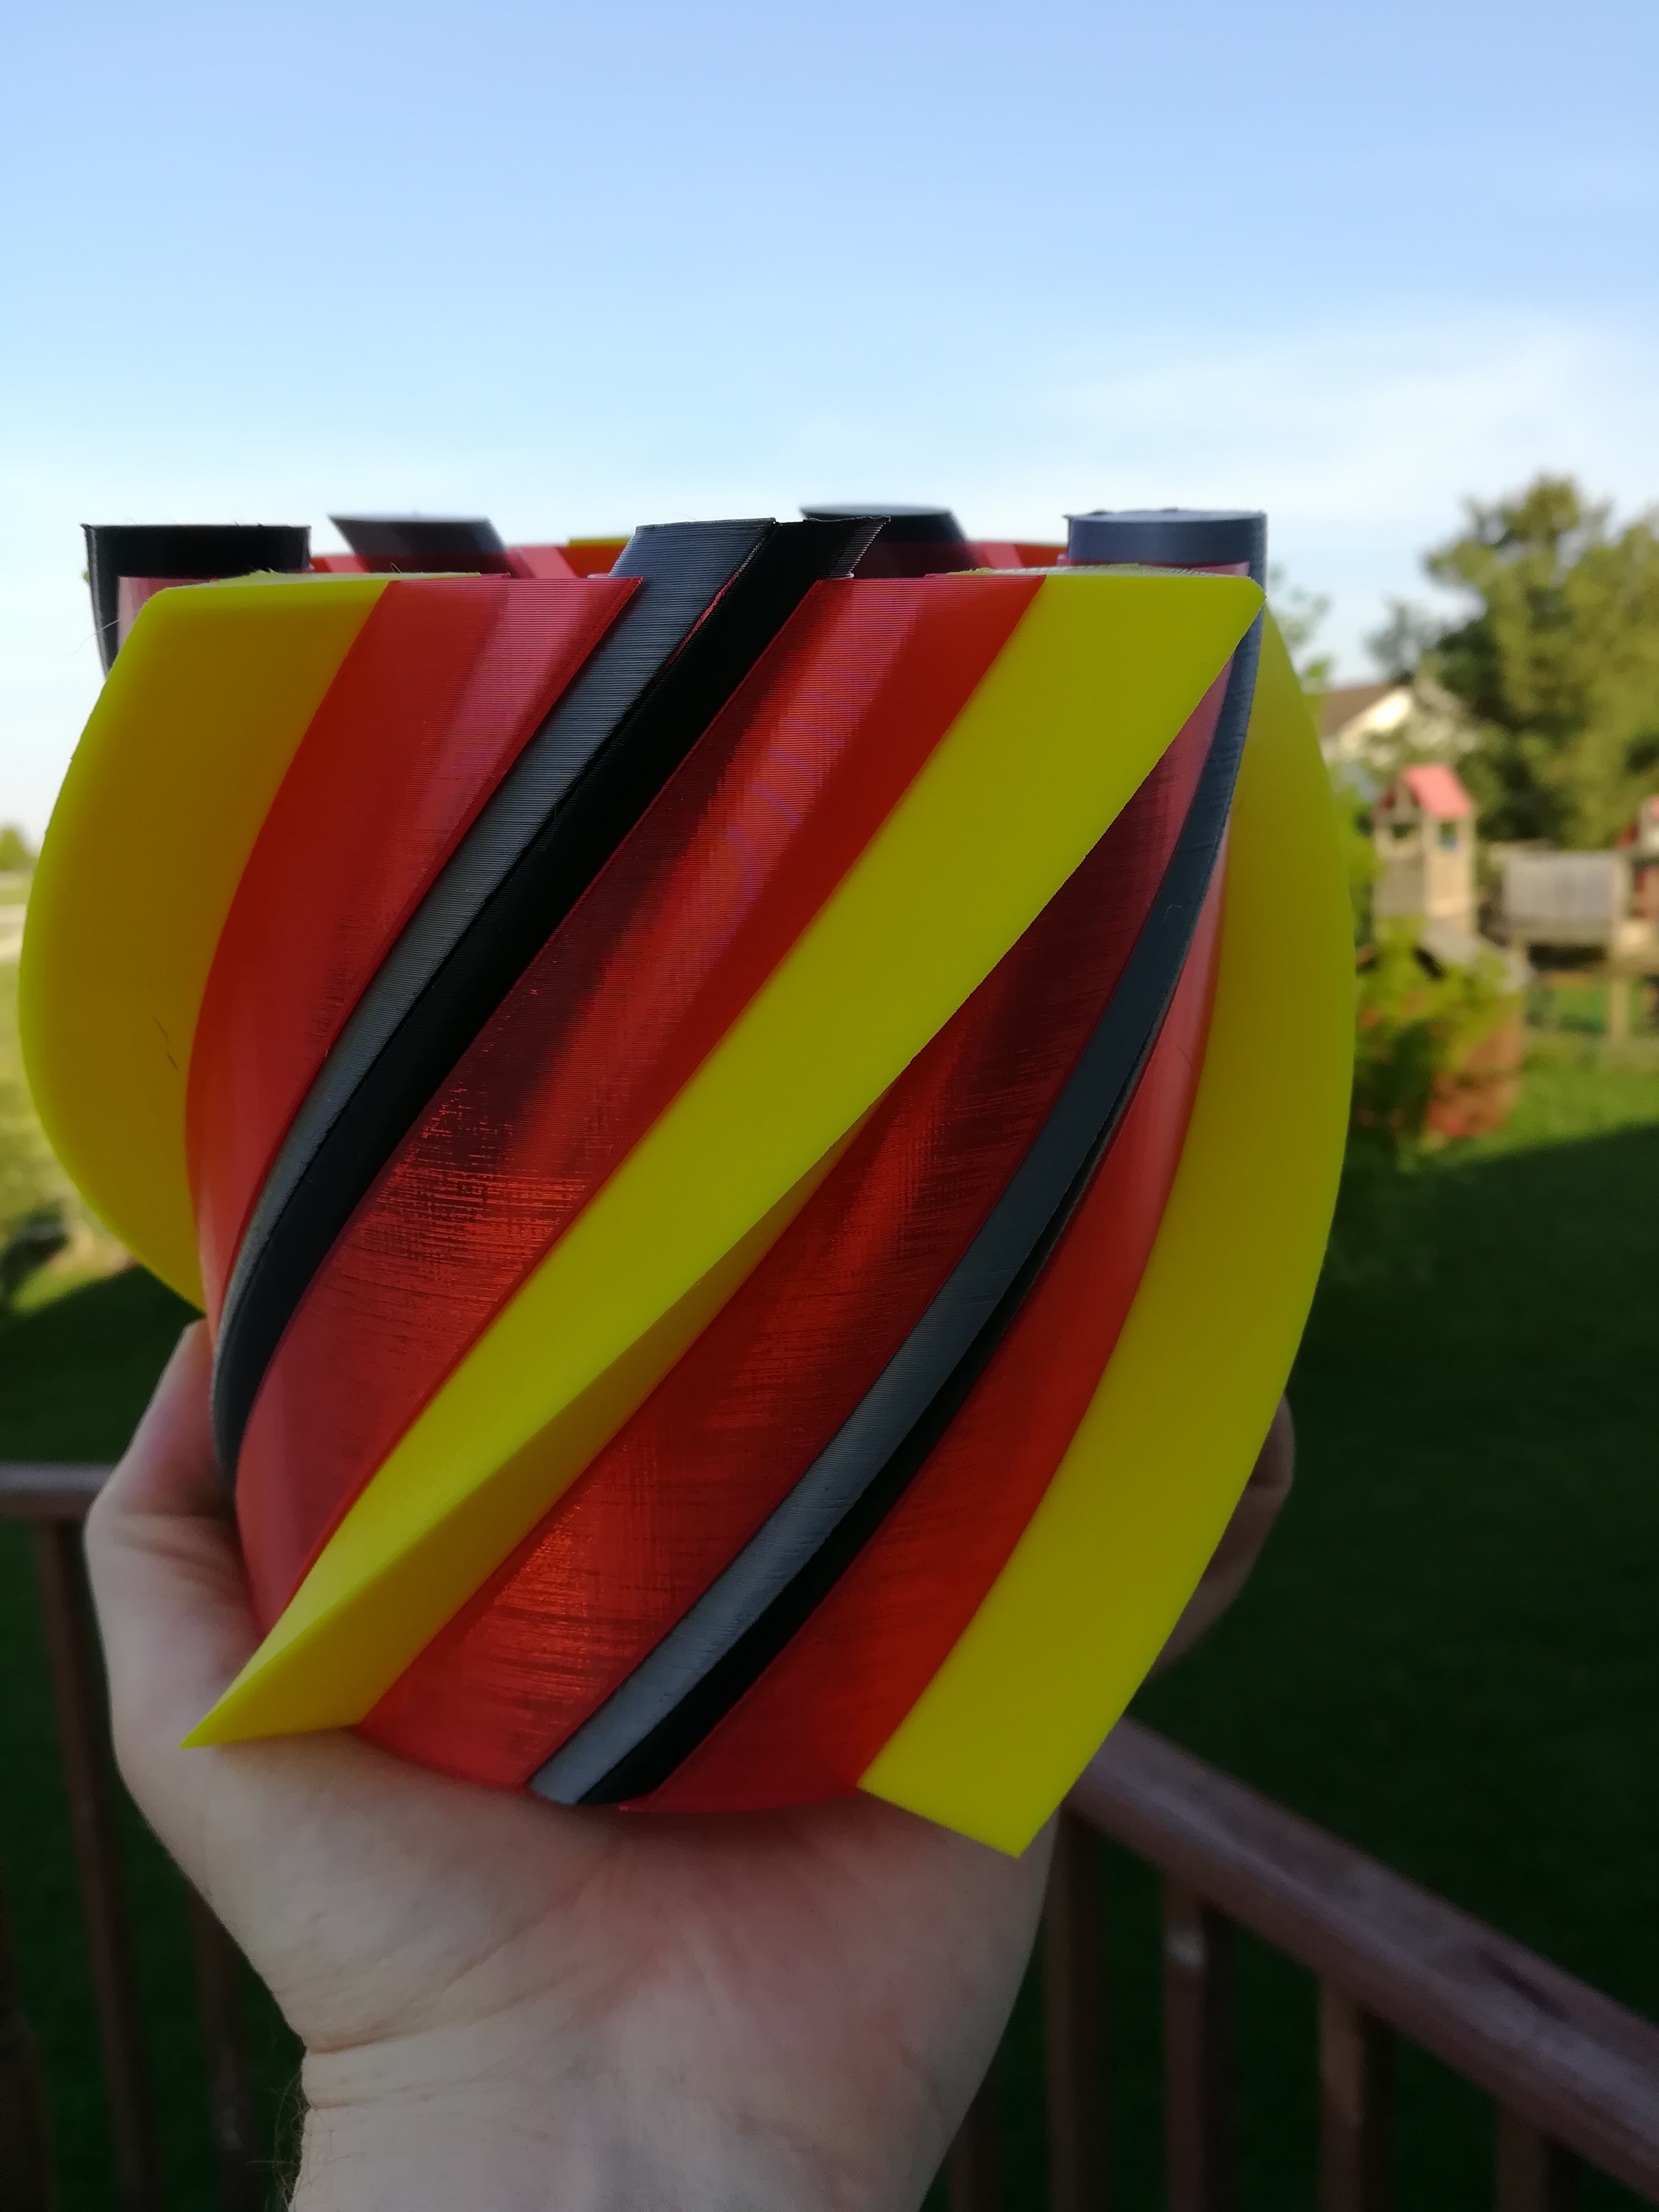
Sun and moon container
prusaprinters
<h3>That's No Moon!</h3> <p>Rather, it's a sun/moon container!</p> <p>I love helical twist containers and I was playing around with some ideas when I got the idea for a container with recesses to hold decorative accents. The idea ballooned into something a bit more grand - what about...</p> <h3> Something Astronomical?</h3> <p>I appreciate the sun. We don't ever seem to get enough of it in winter and, in my area, clouds can often obscure it from view. Springtime is my favorite time of the year and celebrating it with something sunny seemed appropriate...</p> <p>But I also love the moon and its phases. Each offers something unique - the new moon promises new light in just a short while. A crescent moon smiles its Cheshire Cat smile. The half-moon can't decide what it wants to be. The gibbous moon with its gluttonous bulge. The full moon with its light that casts shadows at night.</p> <p>So like that indecisive half-moon, I thought I would design something that incorporates both of our major heavenly bodies.</p> <h3> Not to scale...</h3> <p>...but this is certainly big enough to hold a few things. Maybe some wrapped candies? (Please don't use it for unwrapped food!) Perhaps loose change? A few spare Lego? A collection of buttons?</p> <p>You decide. All the while, the sunny look can add an accent to the area in which it sits.</p> <h3> You only need one extruder!</h3> <p>This is designed for those of us with only one extruder on hand. Choose your colors and go nuts! Be creative! No worries on clearances - there should be plenty for nearly any decently-calibrated printer to produce parts that fit neatly into one another.</p> <p>I suggest printing slow and steady to avoid unnecessary vibration. Translucent filaments benefit from running a tad hotter and slower. Oh, and don't bother with infill - if you have a part cooling fan the tops of the parts should look just fine. Mine do! Besides, you have the option of flipping the inserts upside down if you wish to show off the shiny bottom layer!</p> <h3> Enjoy</h3> <p>If this appeals to you and you print it, please share your print with me and others! I<em>love</em> seeing what other people do and it inspires me to do more.</p> <p>Should you feel inclined to tip me, I would be most grateful and I pinky promise to spend it only on filament for new projects. HOWEVER, do so<em>only</em> if you are particularly inclined to.</p> <p>God bless.</p> <h3>Print instructions</h3><h3>Category: Containers Print Settings</h3> <p><strong>Printer Brand:</strong> Prusa</p> <p><strong>Printer:</strong> <a href="http://amzn.to/2rqZ6Uo">i3 MK3</a></p> <p><strong>Rafts:</strong> No</p> <p><strong>Supports:</strong> No</p> <p><strong>Resolution:</strong> 0.2mm</p> <p><strong>Infill:</strong> 0%</p> <p><strong>Notes:</strong></p> <p>The sun core should be printed in vase mode. Choose a nice, reasonable, steady pace for good results.</p> <p>The sun ray (print 5 of them!) can print without skirts should you have decent adhesion and keep the speed fairly low to avoid intense vibration. I used 2 shells, 0% infill, and 5 top layers to ensure a smooth top finish.</p> <p>The parts of the moon phases should definitely be printed with a skirt to help with adhesion. The crescents have particularly small contact patches and could certainly shake loose if things vibrate. Again, 2 shells, 0% infill and 4-5 top layers should be sufficient. You need only print one of each part. File names suggest colors - if it starts with a "D" you might consider using a dark color; if it starts with an "L" you might consider a light color. Technically, the new and full moon are identical in form so you could get away with printing one of those twice but if you are like me, it helps to have file names to guide you along.</p> <p>In my case, I kept things slow and the entire project took about 30 or so hours in total to print. You might be able to shave that down a bit but at the risk of some rougher sidewalls or even a failed print.</p> <p>If I think of any other tips, I'll be sure to put them here but if you have questions, please post them and I'll do my best to answer promptly!</p> <h3> How I Designed This</h3> <p>This was designed in my go-to CAD program, OnShape. It's easy to use, it has just about the right amount of power for me, and it saves my bacon should something crash.</p>
With this file you will be able to print Sun and moon container with your 3D printer. Click on the button and save the file on your computer to work, edit or customize your design. You can also find more 3D designs for printers on Sun and moon container.
