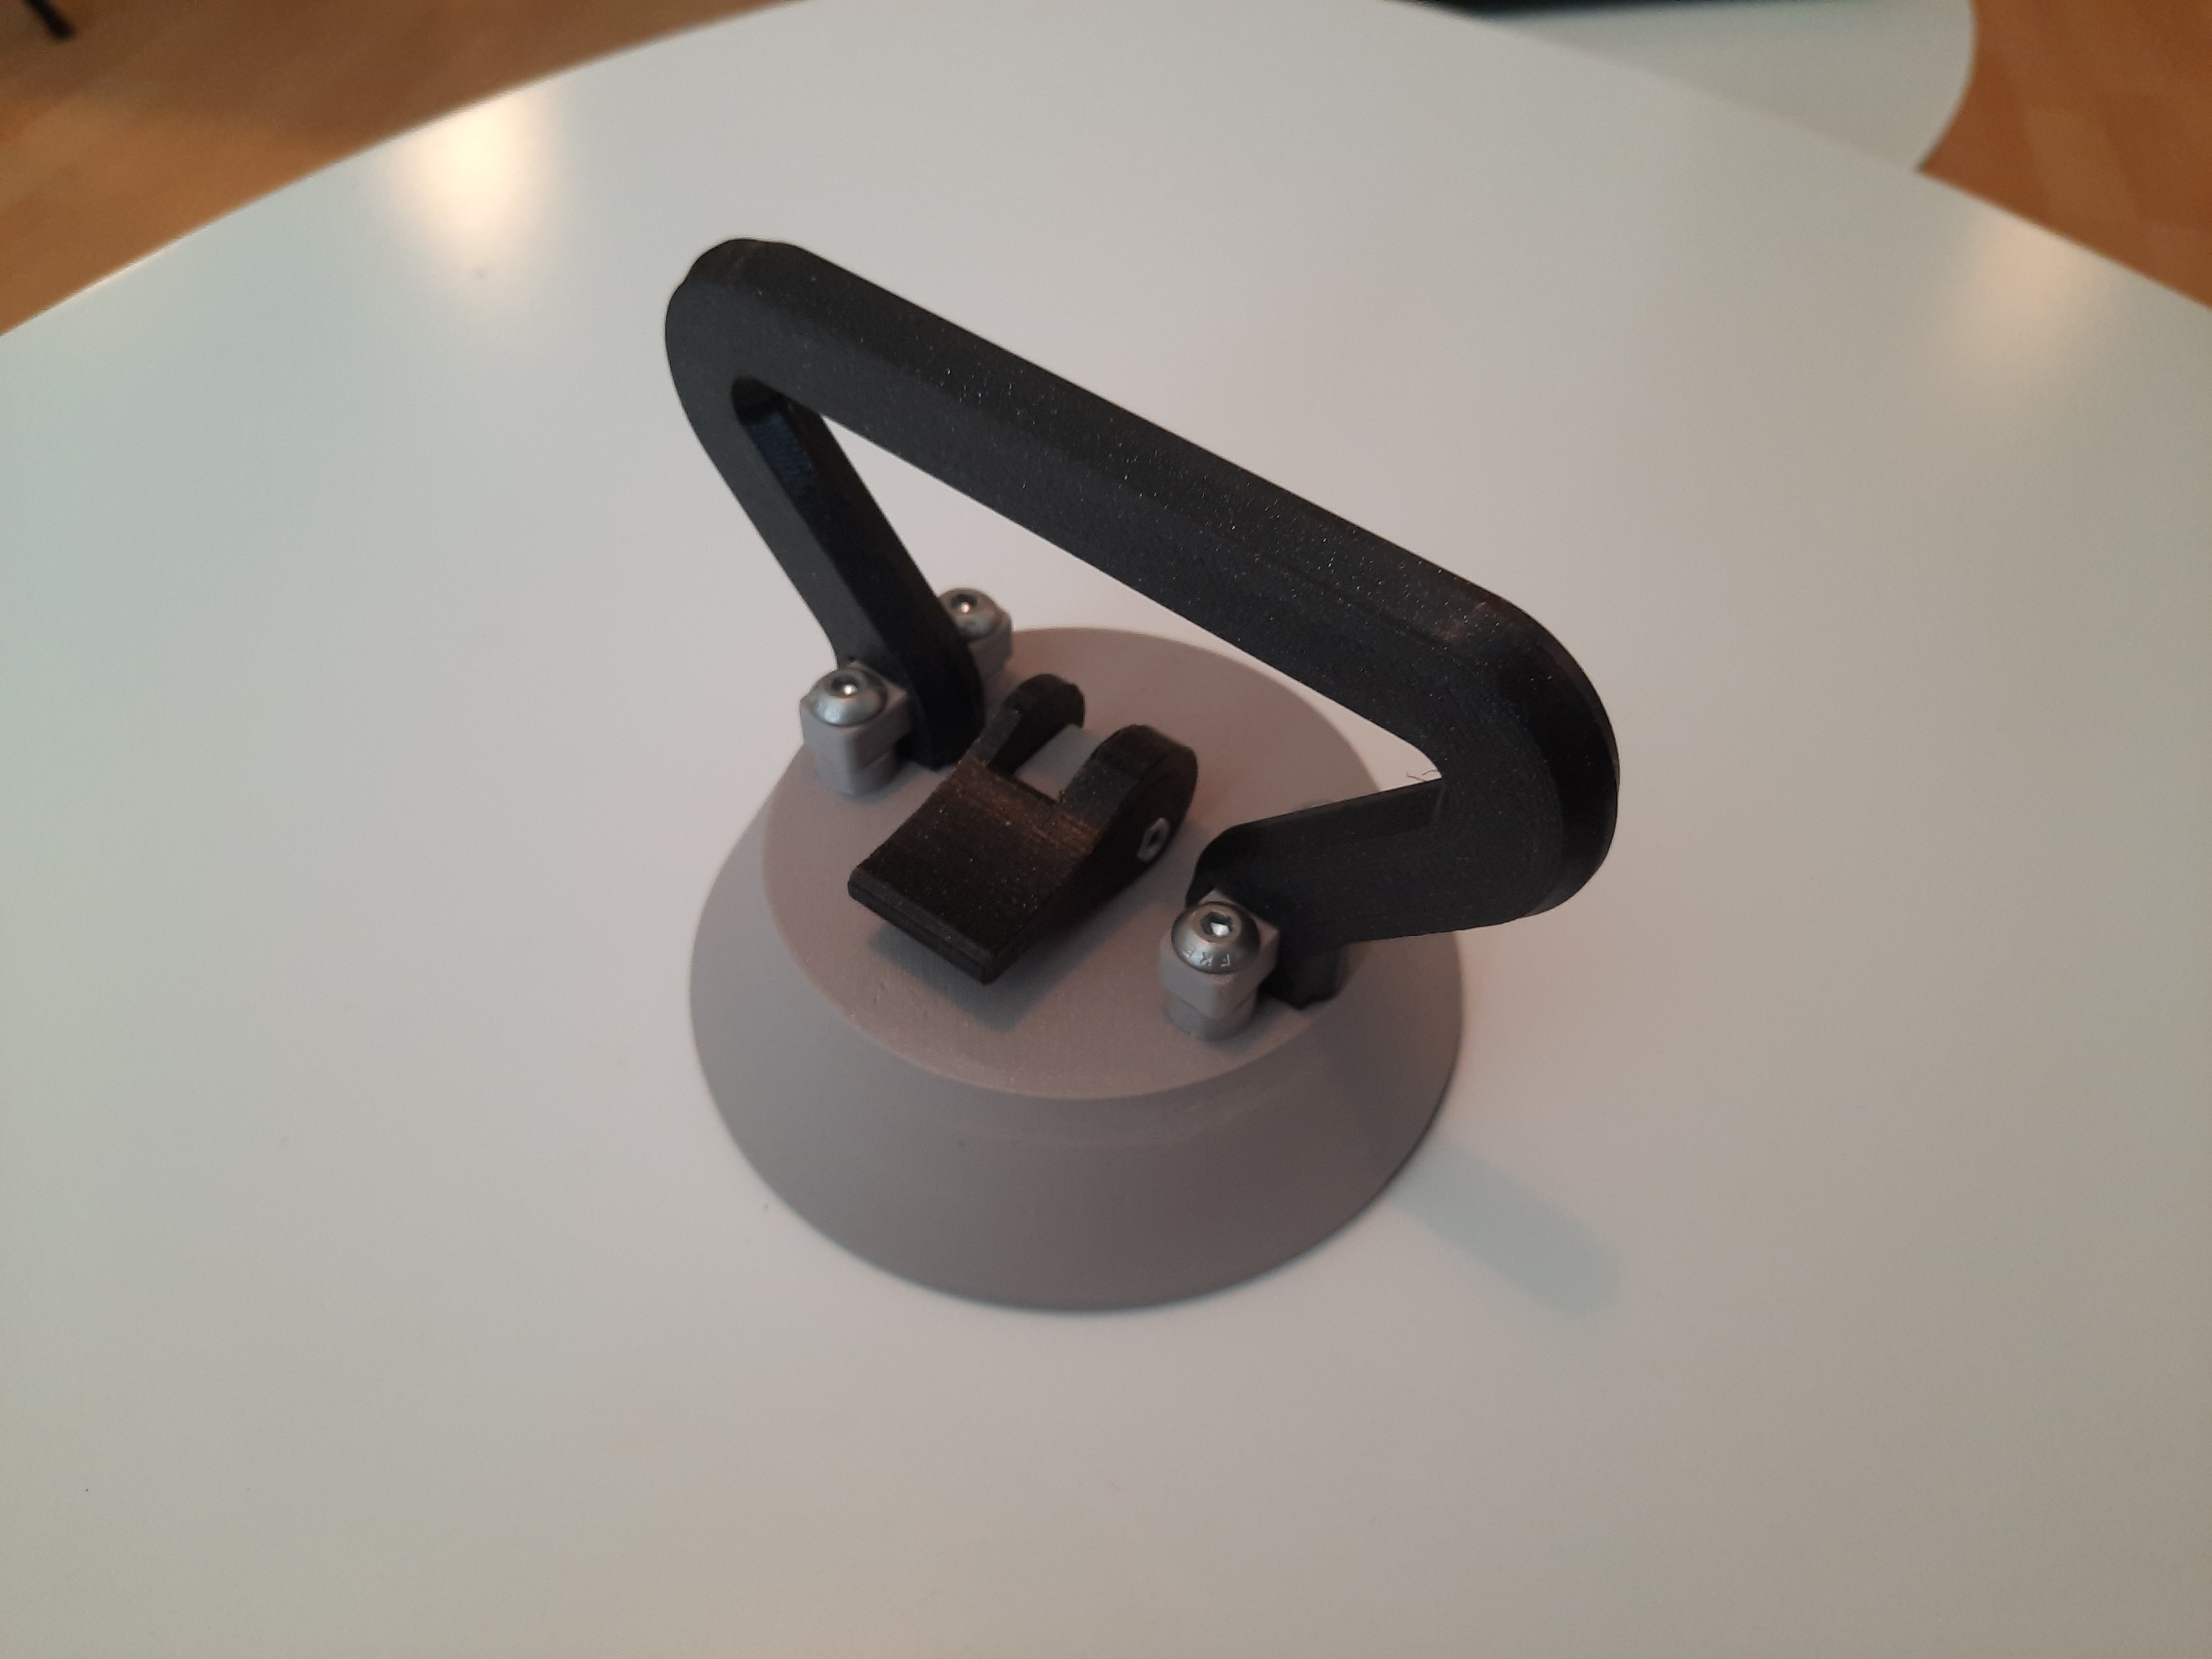
Suction Cup
prusaprinters
<p>This suction cup can be used to lay tiles or moved stuff with smooth surfaces, or just for fun!</p><p>The only things you need to make the suction cup is a rigid filament, a flexible filament, 1 M3x20 bolt + nut and 4 M5x20 bolt plus nuts.</p><figure class="image image_resized" style="width:50.12%;"><img src="https://media.prusaprinters.org/media/prints/70715/rich_content/437f3cc0-be43-4821-ae4d-f857deff1475/20210706_085700.jpg#%7B%22uuid%22%3A%2242f1d533-1383-44a0-b055-227c565c10b8%22%2C%22w%22%3A4000%2C%22h%22%3A3000%7D"></figure><p>The cup should be printed in the softest flexible filament you can get, I used TPU 85A, and it is important that it is printed on a smooth print sheet. The rest of the components should be printed in PETG or some other strong rigid filaments.</p><p>Once the parts are printed they simply needs to be assembled, start out by mounting the lever to the coupling by the use of the M3x20 bolt and its nut.</p><figure class="image image_resized" style="width:54.42%;"><img src="https://media.prusaprinters.org/media/prints/70715/rich_content/df51680f-afb3-42c3-b736-0b0be3635289/20210706_102149.jpg#%7B%22uuid%22%3A%2291f96492-35e7-4610-8422-f1c4f912d799%22%2C%22w%22%3A4000%2C%22h%22%3A3000%7D"></figure><p>The we need to mount the handle, this done by putting the two holders through the two holes in the bottom of the handle, the 4 spacers are then placed on top of the housing, onto which the handle fits. The M5x20 bolts are then put trough the holder, the spacer and the housing to be connected with a nut on the inside of the housing. </p><figure class="image image_resized" style="width:70.47%;"><img src="https://media.prusaprinters.org/media/prints/70715/rich_content/8315122a-3daa-4e18-9af9-c107419fec41/20210706_102248.jpg#%7B%22uuid%22%3A%2234a79020-4933-4a3f-b838-705f37cbd999%22%2C%22w%22%3A4000%2C%22h%22%3A3000%7D"></figure><figure class="image image_resized" style="width:69.81%;"><img src="https://media.prusaprinters.org/media/prints/70715/rich_content/33d007f7-0e8a-457c-821a-ffdc36a7cbd0/20210706_102309.jpg#%7B%22uuid%22%3A%22f8c99e68-d8e1-4659-8510-f19767e64f48%22%2C%22w%22%3A4000%2C%22h%22%3A3000%7D"></figure><figure class="image image_resized" style="width:69.05%;"><img src="https://media.prusaprinters.org/media/prints/70715/rich_content/aa0cfcee-f3d8-4a05-a88d-5c442d37ecbd/20210706_102448.jpg#%7B%22uuid%22%3A%22082c80e4-306b-438d-8923-fa9a66ce8ac4%22%2C%22w%22%3A4000%2C%22h%22%3A3000%7D"></figure><figure class="image image_resized" style="width:68.46%;"><img src="https://media.prusaprinters.org/media/prints/70715/rich_content/2338f847-4e47-4389-8c99-fc0e67abc620/20210706_102454.jpg#%7B%22uuid%22%3A%2214c8c90e-8932-4085-ba48-0fb51137fa10%22%2C%22w%22%3A4000%2C%22h%22%3A3000%7D"></figure><p>The coupling can now be put through the hole and connected with the flexible cup, make sure the knob of the cup is properly placed in the holder.</p><figure class="image image_resized" style="width:69.29%;"><img src="https://media.prusaprinters.org/media/prints/70715/rich_content/0b64cc3d-a553-4abc-a209-d6af8c6b16a7/20210706_102516.jpg#%7B%22uuid%22%3A%225d83515a-80d3-4f00-9b25-76fc5ed0d45b%22%2C%22w%22%3A4000%2C%22h%22%3A3000%7D"></figure><figure class="image image_resized" style="width:68.33%;"><img src="https://media.prusaprinters.org/media/prints/70715/rich_content/33f603fa-2a30-4573-93c5-b066655783ae/20210706_102629.jpg#%7B%22uuid%22%3A%22456b47b2-01b9-4636-b222-e4860889c3b4%22%2C%22w%22%3A4000%2C%22h%22%3A3000%7D"></figure><p>And then you are done!</p><p>You can then place the suction cup on a smooth surface and flip the lever to activate the power of suction!</p><p><strong>Good Luck and Happy Printing!!!! </strong>and don't forget too share you results</p>
With this file you will be able to print Suction Cup with your 3D printer. Click on the button and save the file on your computer to work, edit or customize your design. You can also find more 3D designs for printers on Suction Cup.
