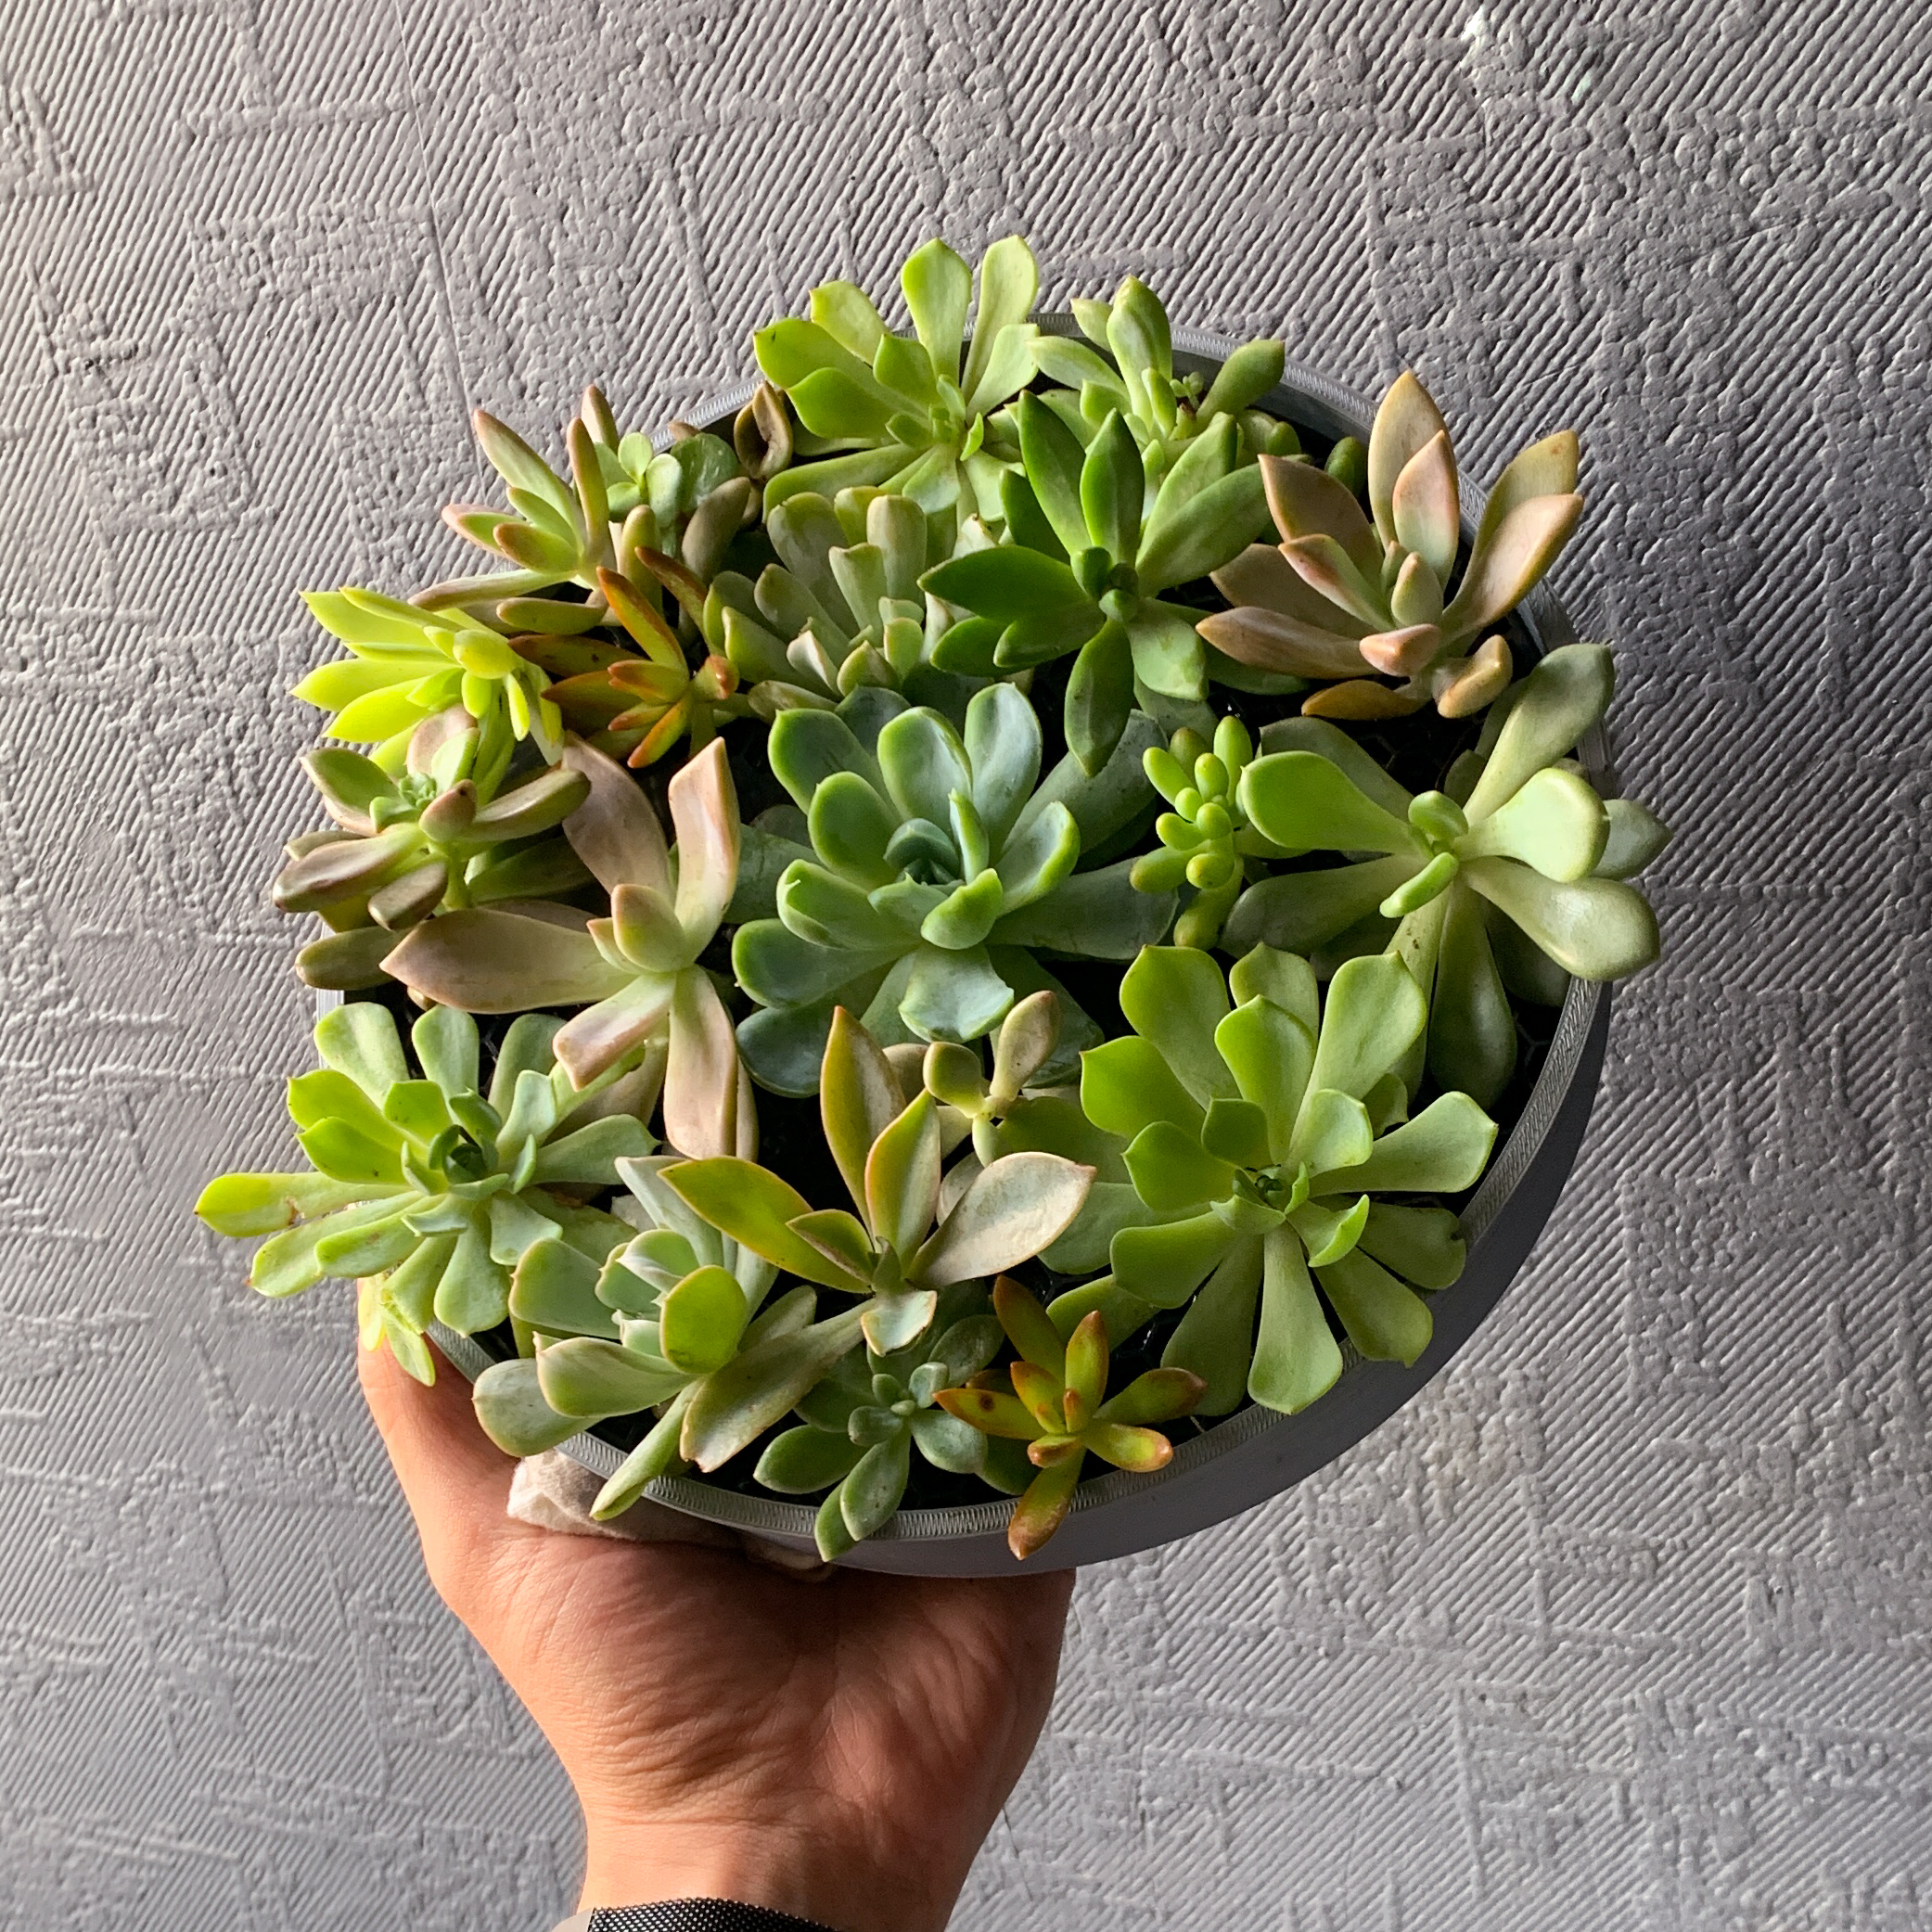
Succulent Wall Frame from Prusament Spool
prusaprinters
<p>Give your Prusament Spool a new life as a home for succulents, upcycle the side of a Prusament Spool as a mesh in with the succulents can grow and then be hung on a wall for them to live and be displayed.</p> <p><h3>What you'll need</h3></p> <ul> <li>Side face of a Prusament Spool</li> <li>3D printed Frame</li> <li>18 Succulent (it depends on the size of the ones you can get)</li> <li>Succulent soil [Buy at <a href="https://www.homedepot.com.mx/jardin/fertilizantes-y-abonos/cuidados-complementarios/sustrato-cactus-y-suculentas-8-l-122427"> MX - home depot</a>]</li> <li>Side Cutters</li> <li>Long nose pliers</li> <li>Drill with 7mm drill bit</li> <li>Metal spoon</li> <li>Old toothbrush/li> </li></ul><p><h3>How to build it</h3><br/> <br/></p> <p><h4>Step 1:</h4><br/> Disassemble the Prusament Spool and fill the 3D printed frame with soil <b> don't pack it</b>, then grab the prusament spool and fit it inside the frame, if needed remove the soil that got in the inside grooves of the spool with the toothbrush.<br/> <br/> <i>Pro tip: You can use the plastic bag of the Prusament Spool as a working surface to avoid getting your table full of soil</i><br/> <br/></i></p> <p><img alt="Step1" height="450" src="https://raw.githubusercontent.com/TheCesarMillan/SucculentFrame/master/Step1.jpg" width="600"/><br/> <br/></p> <p><h4>Step 2:</h4><br/> Grab your plants and squish them by the sides slightly to loosen the soil, then with your hands open the soil to <b> carefully</b> reveal the roots of your succulent, once you remove most of the soil wash the remaining with water, be careful to keep most of the roots intact.<br/> In case the root is too long you can cut it at a 45º angle and leve them out to cure.<br/> <i>Pro tip: Sprinkle the fresh cut with cinnamon to help it cure faster and safer </i><br/> <br/></i></p> <p><img alt="Step2.1" height="450" src="https://raw.githubusercontent.com/TheCesarMillan/SucculentFrame/master/Step2_1.jpg" width="600"/><br/> <img alt="Step2.2" height="450" src="https://raw.githubusercontent.com/TheCesarMillan/SucculentFrame/master/Step2_2.jpg" width="600"/><br/> <br/></p> <p><h4>Step 3:</h4><br/> Make room for the roots or the stem in the Prusament Spool, some will fit nicely in the mesh but others may require to enlarge the holes, you can do this by cutting the adjacent holes with side cutters to make a bigger one or with a drill bit enlarge the existing one (this is useful in the holes closer to the center of the spool).<br/> <br/><br/> <img alt="Step3" height="450" src="https://raw.githubusercontent.com/TheCesarMillan/SucculentFrame/master/Step3.jpg" width="600"/><br/> <br/></p> <p><h4>Step 4:</h4><br/> Repeat steps 2 and 3 until you fill most of the spool, remember to leave the center one empty until the end.<br/> <br/><br/> <img alt="Step4" height="450" src="https://raw.githubusercontent.com/TheCesarMillan/SucculentFrame/master/Step4.jpg" width="600"/><br/> <br/></p> <p><h4>Step 5.1:</h4><br/> Carefully get the succulents out of the Prusament Spool and place them just outside of the spool (take some pictures to remember the positions of the succulents) and place the spool on the 3D printed frame. Lastly get the succulents back in place.<br/> <br/><br/> <img alt="Step5" height="450" src="https://raw.githubusercontent.com/TheCesarMillan/SucculentFrame/master/Step5.jpg" width="600"/><br/> <br/></p> <p><h4>Step 5.2:</h4><br/> Grab the center succulent an remove the soil from it (but not all, leave some near the root), then with your spoon put succulent soil in the center hole of the spool and then place your center succulent in its place.<br/> <br/><br/> <img alt="Step5.1" height="600" src="https://raw.githubusercontent.com/TheCesarMillan/SucculentFrame/master/Step5_5.jpg" width="450"/><br/> <br/></p> <p><h4>Step 6:</h4><br/> That's it, you have finished your succulent wall frame, now comes the most important final mini steps:</p> <ul> <li>Water it once you finish (you can leve it to dry on top of the filament plastic bag)</li> <li><b>Don't hang it!</b>, wait at least 4 weeks for the stems to root inside the substrate</li> </ul><p><h3>Maintenance </h3><br/> Succulents are very resilient, but they need to be in the morning sun at least 6 hours, be careful to no over water them as it's the main reason they might die and if you can water them with a long narrow watering can, as many succulent may get their leafs with spots if you water them directly.</p> <ul> <li>Unmount it from the wall and water it once a week and in winter once every 10 days.</li> <li>Remove any dead leafs</li> <li>In about a year check to see it it's to crammed, and if so rearrange your succulents.</li> </ul><p><h3>Bonus!</h3><br/> Grab all the leafs that fell during the process and place them in the Prusament box open for them to dry, in about 5 days you can place them on a plastic tray (or use <a href="https://www.prusaprinters.org/prints/37372-succulent-propagator">my succulent propagator</a>) and spray them with water on a daily basis until roots come out of them. You can have free succulents in a couple of months!<br/> <br/><br/> <img alt="Bonus" height="600" src="https://raw.githubusercontent.com/TheCesarMillan/SucculentFrame/master/BonusW.jpg" width="450"/></p> <h3>Print instructions</h3><p>20% infill with 2 or more perimeters, if it's going to be hung on exteriors ASA or PETG is recommended</p>
With this file you will be able to print Succulent Wall Frame from Prusament Spool with your 3D printer. Click on the button and save the file on your computer to work, edit or customize your design. You can also find more 3D designs for printers on Succulent Wall Frame from Prusament Spool.
