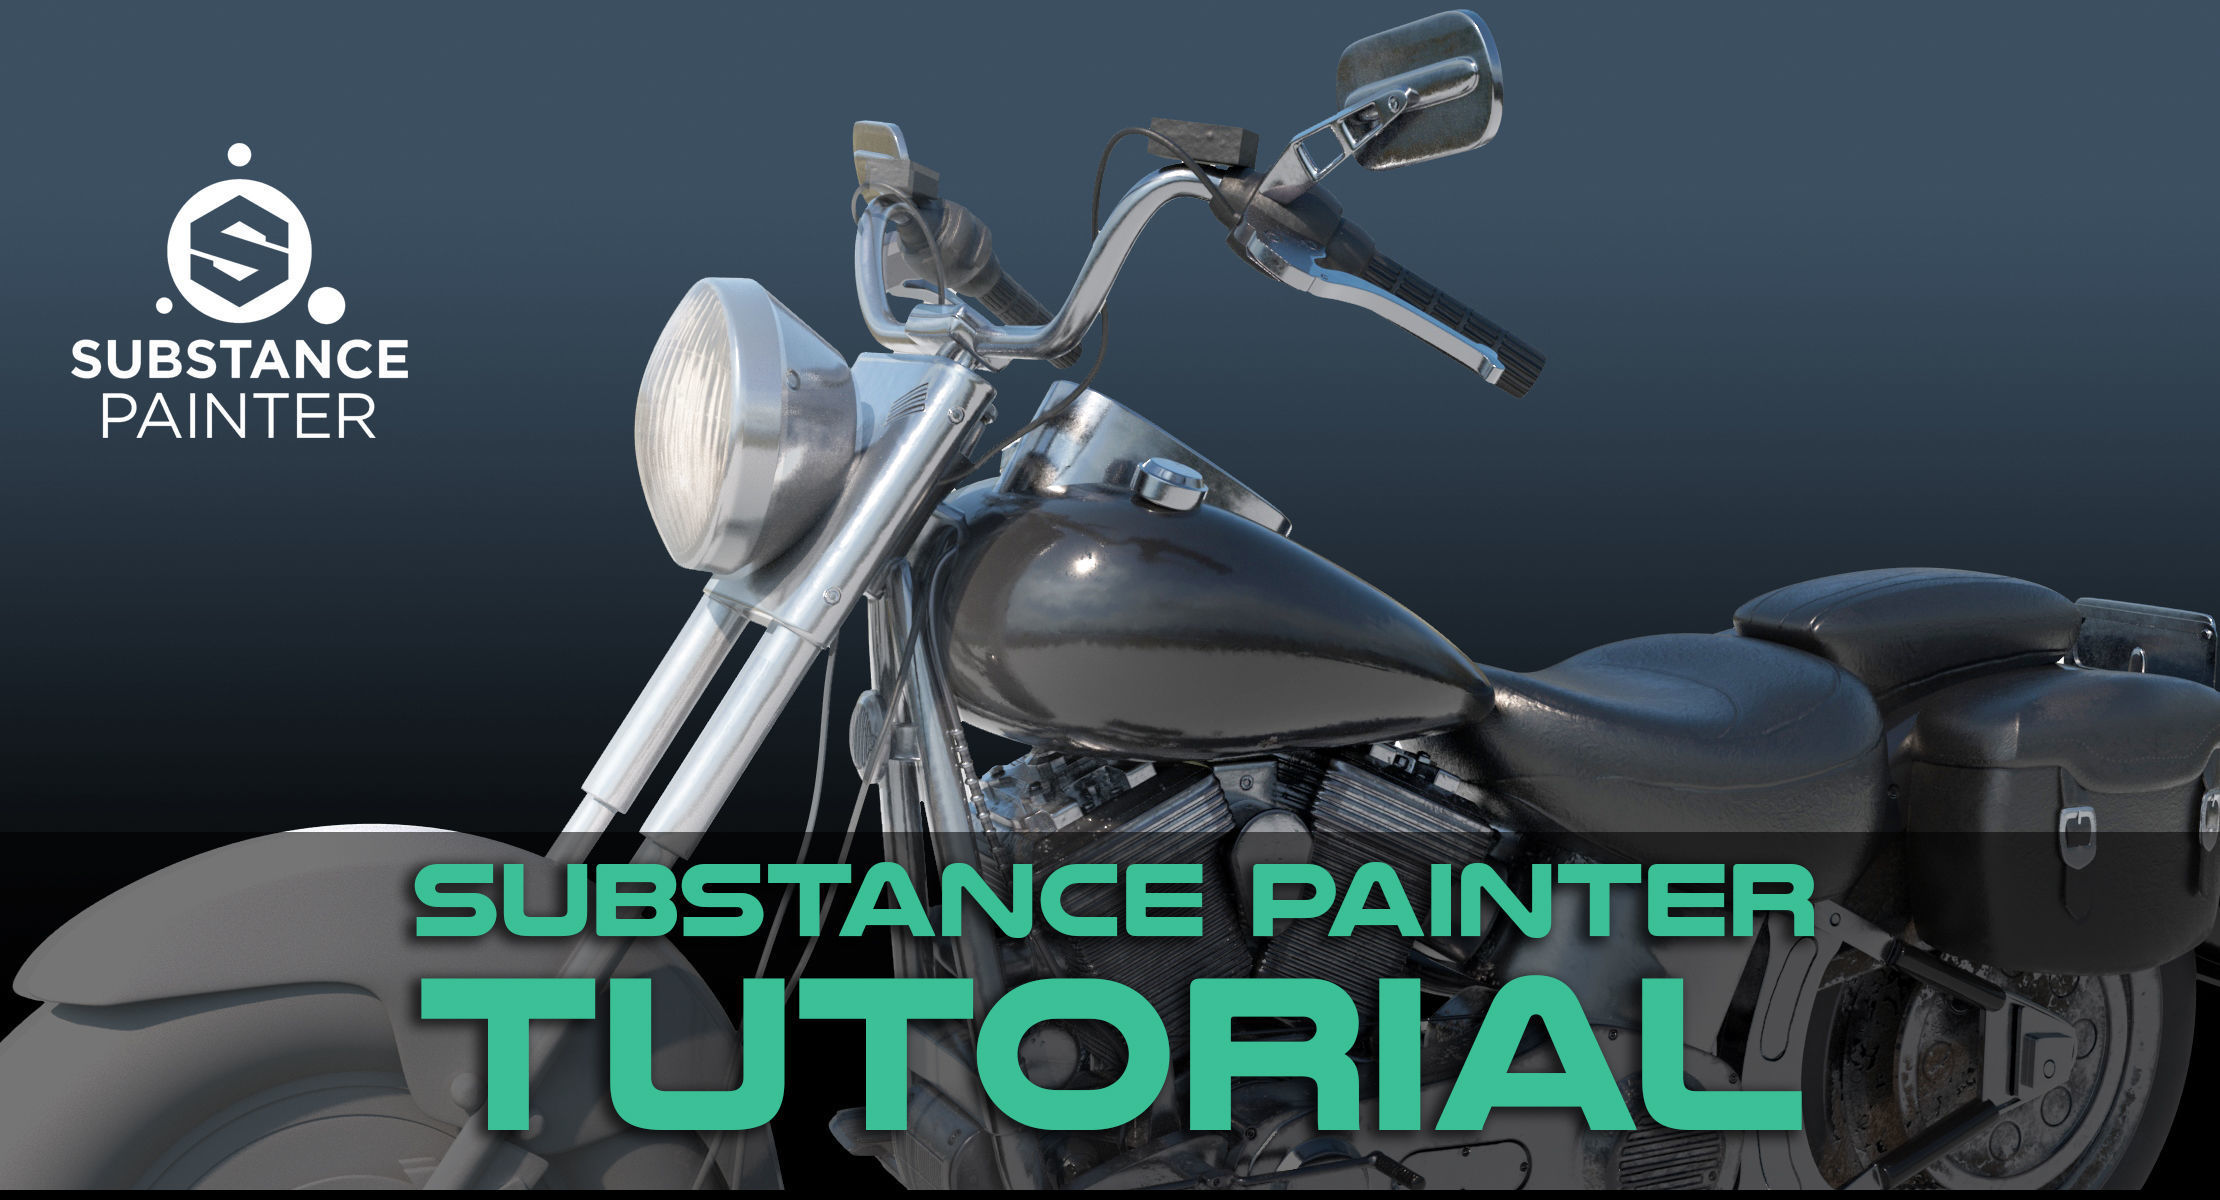
Substance Painter Tutorial - All Levels 3D model
cgtrader
Realistic Materials - Substance Painter Tutorial [1hr 46min] Project Files Included This comprehensive tutorial provides a step-by-step guide on utilizing Substance Painter for all texturing and material needs. By following this lesson, you will gain the knowledge required from importing models to exporting final texture maps. You will learn how to bake maps, work with multiple texture sets, use generators, create emissive maps, utilize smart masks, add materials to specific color IDs, and more. Video Tutorials Lesson 1: [2 min] Launching Substance Painter Get started with Substance Painter by launching the software and setting up your project. Lesson 2: [10 min] Baking Maps Discover how to bake maps in Substance Painter and understand their importance in the texturing process. Lesson 3: [9 min] Materials on Color IDs Learn how to add materials to specific color IDs, allowing you to fine-tune your textures. Lesson 4: [13 min] Generators and Paint Masks Explore the use of generators and paint masks in Substance Painter, enhancing your texturing capabilities. Lesson 5: [10 min] Tires and Basket Materials Create realistic tires and basket materials using Substance Painter's features. Lesson 6: [8 min] Emissive Lights Learn how to create emissive lights in Substance Painter, adding depth to your textures. Lesson 7: [11 min] Editing Baked Maps Discover the techniques for editing baked maps in Substance Painter, fine-tuning your textures. Lesson 8: [12 min] Stickers Create realistic stickers using Substance Painter's features. Lesson 9: [13 min] Smart Masks (Adding Dirt) Learn how to use smart masks to add dirt and other effects to your textures. Lesson 10: [11 min] Editing Baked Maps Further refine your baked maps in Substance Painter, ensuring a polished finish. Lesson 11: [8 min] Manual Edits Make manual edits to your textures using Substance Painter's features. Lesson 12: [5 min] Exporting Maps Learn how to export your final texture maps from Substance Painter. Lesson 13: [5 min] Dilation vs No Padding Understand the differences between dilation and no padding in Substance Painter, ensuring optimal results. Files: All files require Substance Painter 2019.2.3 or newer to open. This tutorial is part of the Creating Advanced Hard Surface Vehicles in Maya Series. The series provides a comprehensive workflow from modeling to rendering and lighting but can also be viewed as standalone lessons. Other lessons will continue with modeling, UV mapping, creating color IDs, and rendering and lighting. You will receive proper starting files to follow along.
With this file you will be able to print Substance Painter Tutorial - All Levels 3D model with your 3D printer. Click on the button and save the file on your computer to work, edit or customize your design. You can also find more 3D designs for printers on Substance Painter Tutorial - All Levels 3D model.
