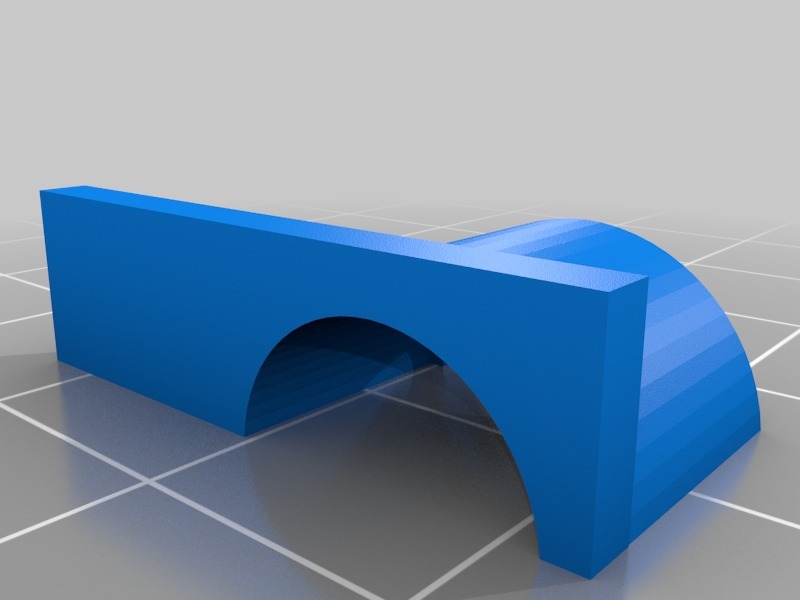
Subaru fuel line disconnector
thingiverse
Subaru Fuel Line Disconnector ================================ Disconnecting the fuel line on a Subaru car is a straightforward process that requires minimal tools and expertise. The following model provides a step-by-step guide to achieve this task with confidence. Materials Needed: * A set of wrenches (socket and adjustable) * Teflon tape or pipe dope * Fuel line disconnect tool (available at most auto parts stores) Step 1: Locate the Fuel Line Identify the fuel line that runs from the fuel tank to the engine. It is usually located near the front of the car, attached to the frame or suspension components. Step 2: Remove the Fuel Line Nut Use a wrench to loosen and remove the nut that holds the fuel line in place. Be careful not to damage the surrounding components. Step 3: Disconnect the Fuel Line Once the nut is removed, use the fuel line disconnect tool to pry the fuel line off the engine or other connected component. Take care not to spill any fuel when disconnecting the line. Step 4: Clean and Prepare the Connection Use a rag to wipe away any dirt or debris from the connection area. Apply a small amount of Teflon tape or pipe dope to the threads to ensure a secure seal when reconnecting the fuel line. Step 5: Reconnect the Fuel Line Place the fuel line back onto the engine or other connected component, ensuring it is securely seated. Tighten the nut in a clockwise direction until snug, but do not overtighten. Step 6: Test the Connection Start the car and check for any leaks around the connection area. If everything seems secure, you're done!
With this file you will be able to print Subaru fuel line disconnector with your 3D printer. Click on the button and save the file on your computer to work, edit or customize your design. You can also find more 3D designs for printers on Subaru fuel line disconnector.
