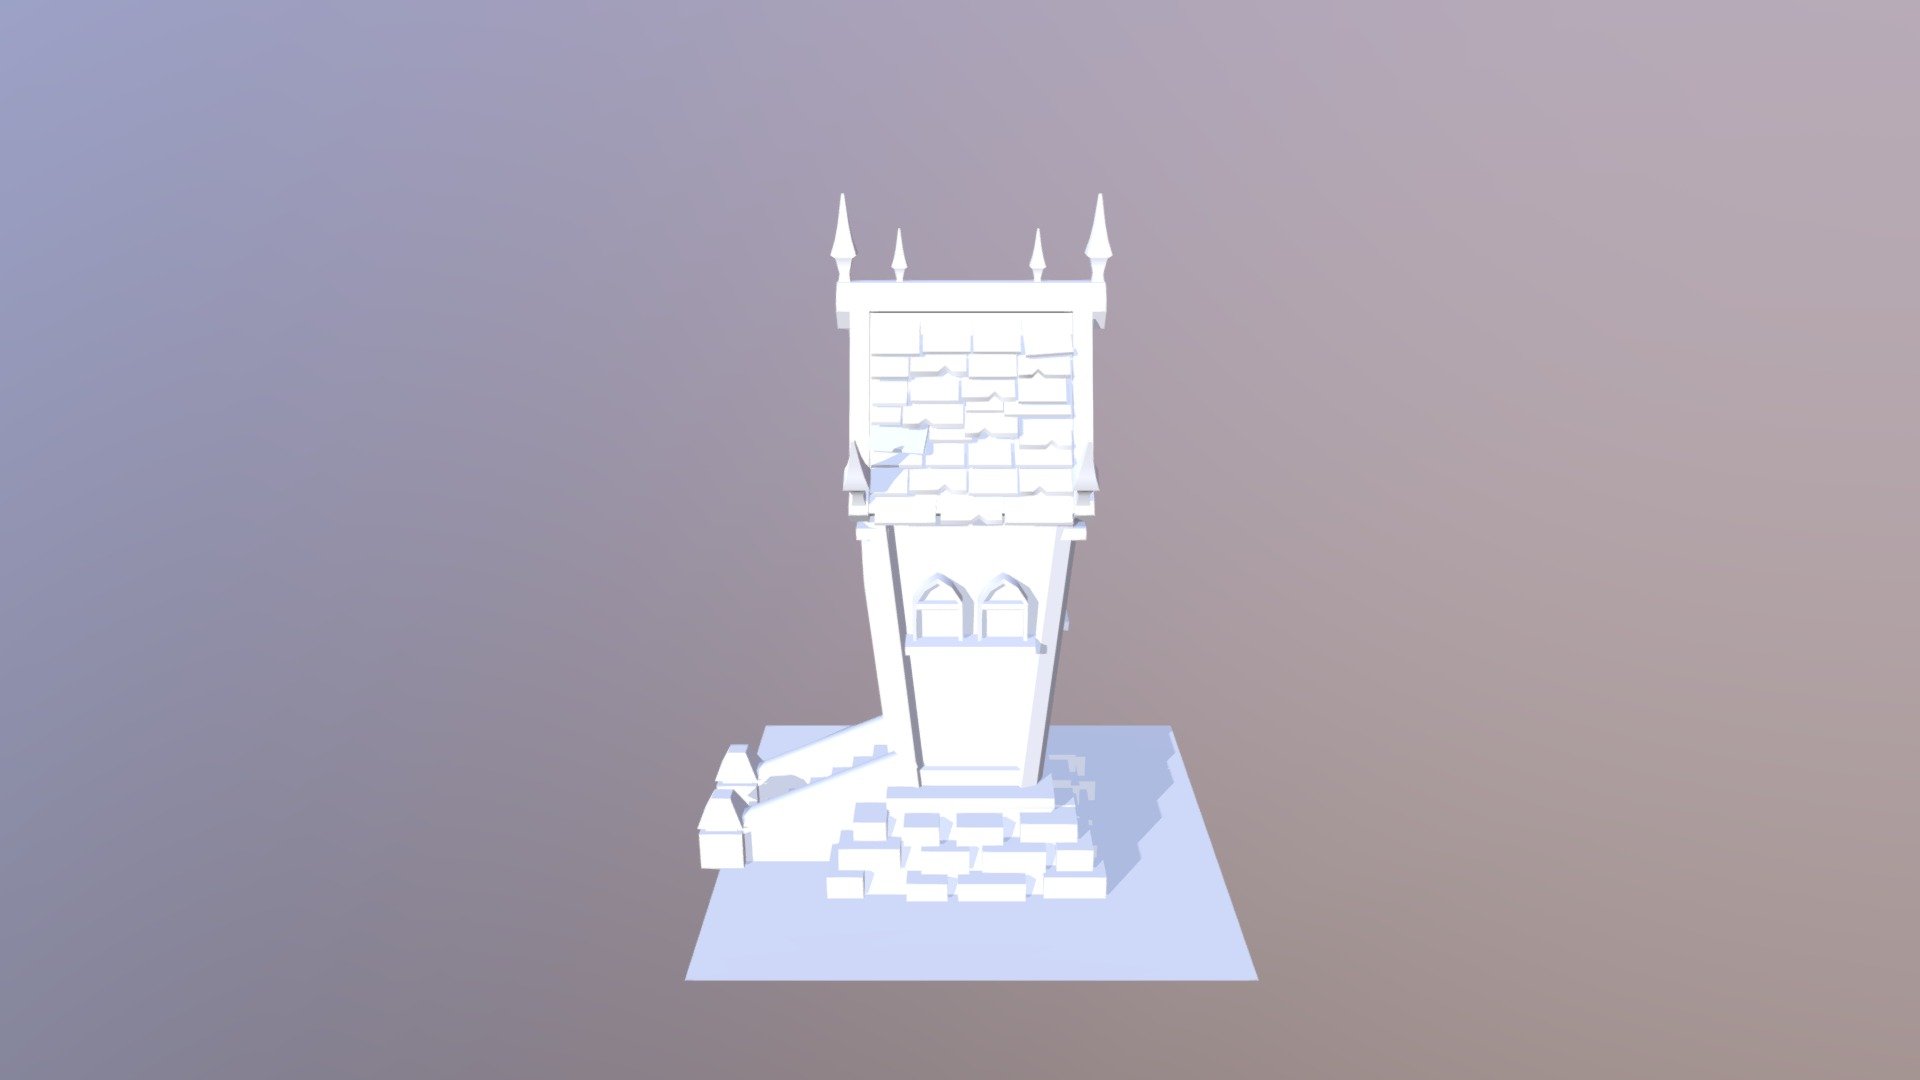
Stylized House
sketchfab
Let's Get Started with Setting Up Your Environment First things first, we need to get your development environment set up and running smoothly. This will be the foundation of our project, so pay close attention. Step 1: Install a Code Editor or IDE You'll need a code editor or Integrated Development Environment (IDE) to write and run your code. Popular choices include Visual Studio Code, IntelliJ IDEA, and Sublime Text. Step 2: Set Up Your Project Structure Create a new folder for your project and add the following files: * A `README.md` file that explains what your project does * A `requirements.txt` file that lists the dependencies required by your project Step 3: Install Dependencies Navigate to your project folder in your terminal or command prompt and run the following command to install the dependencies listed in your `requirements.txt` file: ``` pip install -r requirements.txt ``` That's it! You now have a basic environment set up for your project. In the next tutorial, we'll dive into writing code.
With this file you will be able to print Stylized House with your 3D printer. Click on the button and save the file on your computer to work, edit or customize your design. You can also find more 3D designs for printers on Stylized House.
