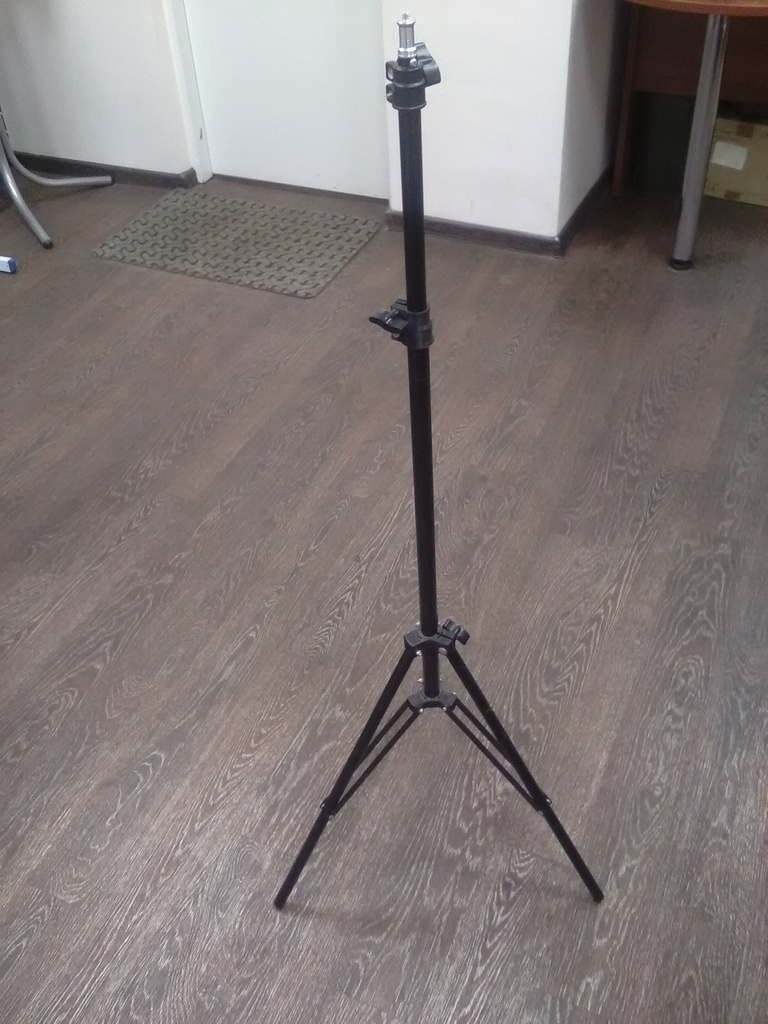
Studio light tripod repair
thingiverse
Professional photographers and videographers frequently experience malfunctions with their studio light tripods due to careless usage, wear and tear, or improper storage. When this occurs, it is crucial to identify the root cause of the problem before attempting any repairs. The first step involves inspecting the tripod's legs for any visible signs of damage or corrosion. If a leg appears bent or severely damaged, it may need to be replaced entirely. On the other hand, if only minor scratches are present, a gentle cleaning with a soft cloth and some mild soap should suffice. In cases where the tripod's head is malfunctioning, it may be necessary to replace the entire assembly. However, if the issue lies within the quick-release mechanism or other smaller components, these can often be repaired or replaced separately. Regardless of the issue, it is essential to follow proper safety procedures when working with electrical components. This includes ensuring that the tripod is turned off and unplugged before attempting any repairs. Additionally, wearing protective gloves and eyewear can help prevent accidental injuries from falling parts or other hazards. By taking a systematic approach to troubleshooting and repair, photographers can extend the lifespan of their studio light tripods and minimize downtime spent on maintenance.
With this file you will be able to print Studio light tripod repair with your 3D printer. Click on the button and save the file on your computer to work, edit or customize your design. You can also find more 3D designs for printers on Studio light tripod repair.