Straight Telegraphic Key
prusaprinters
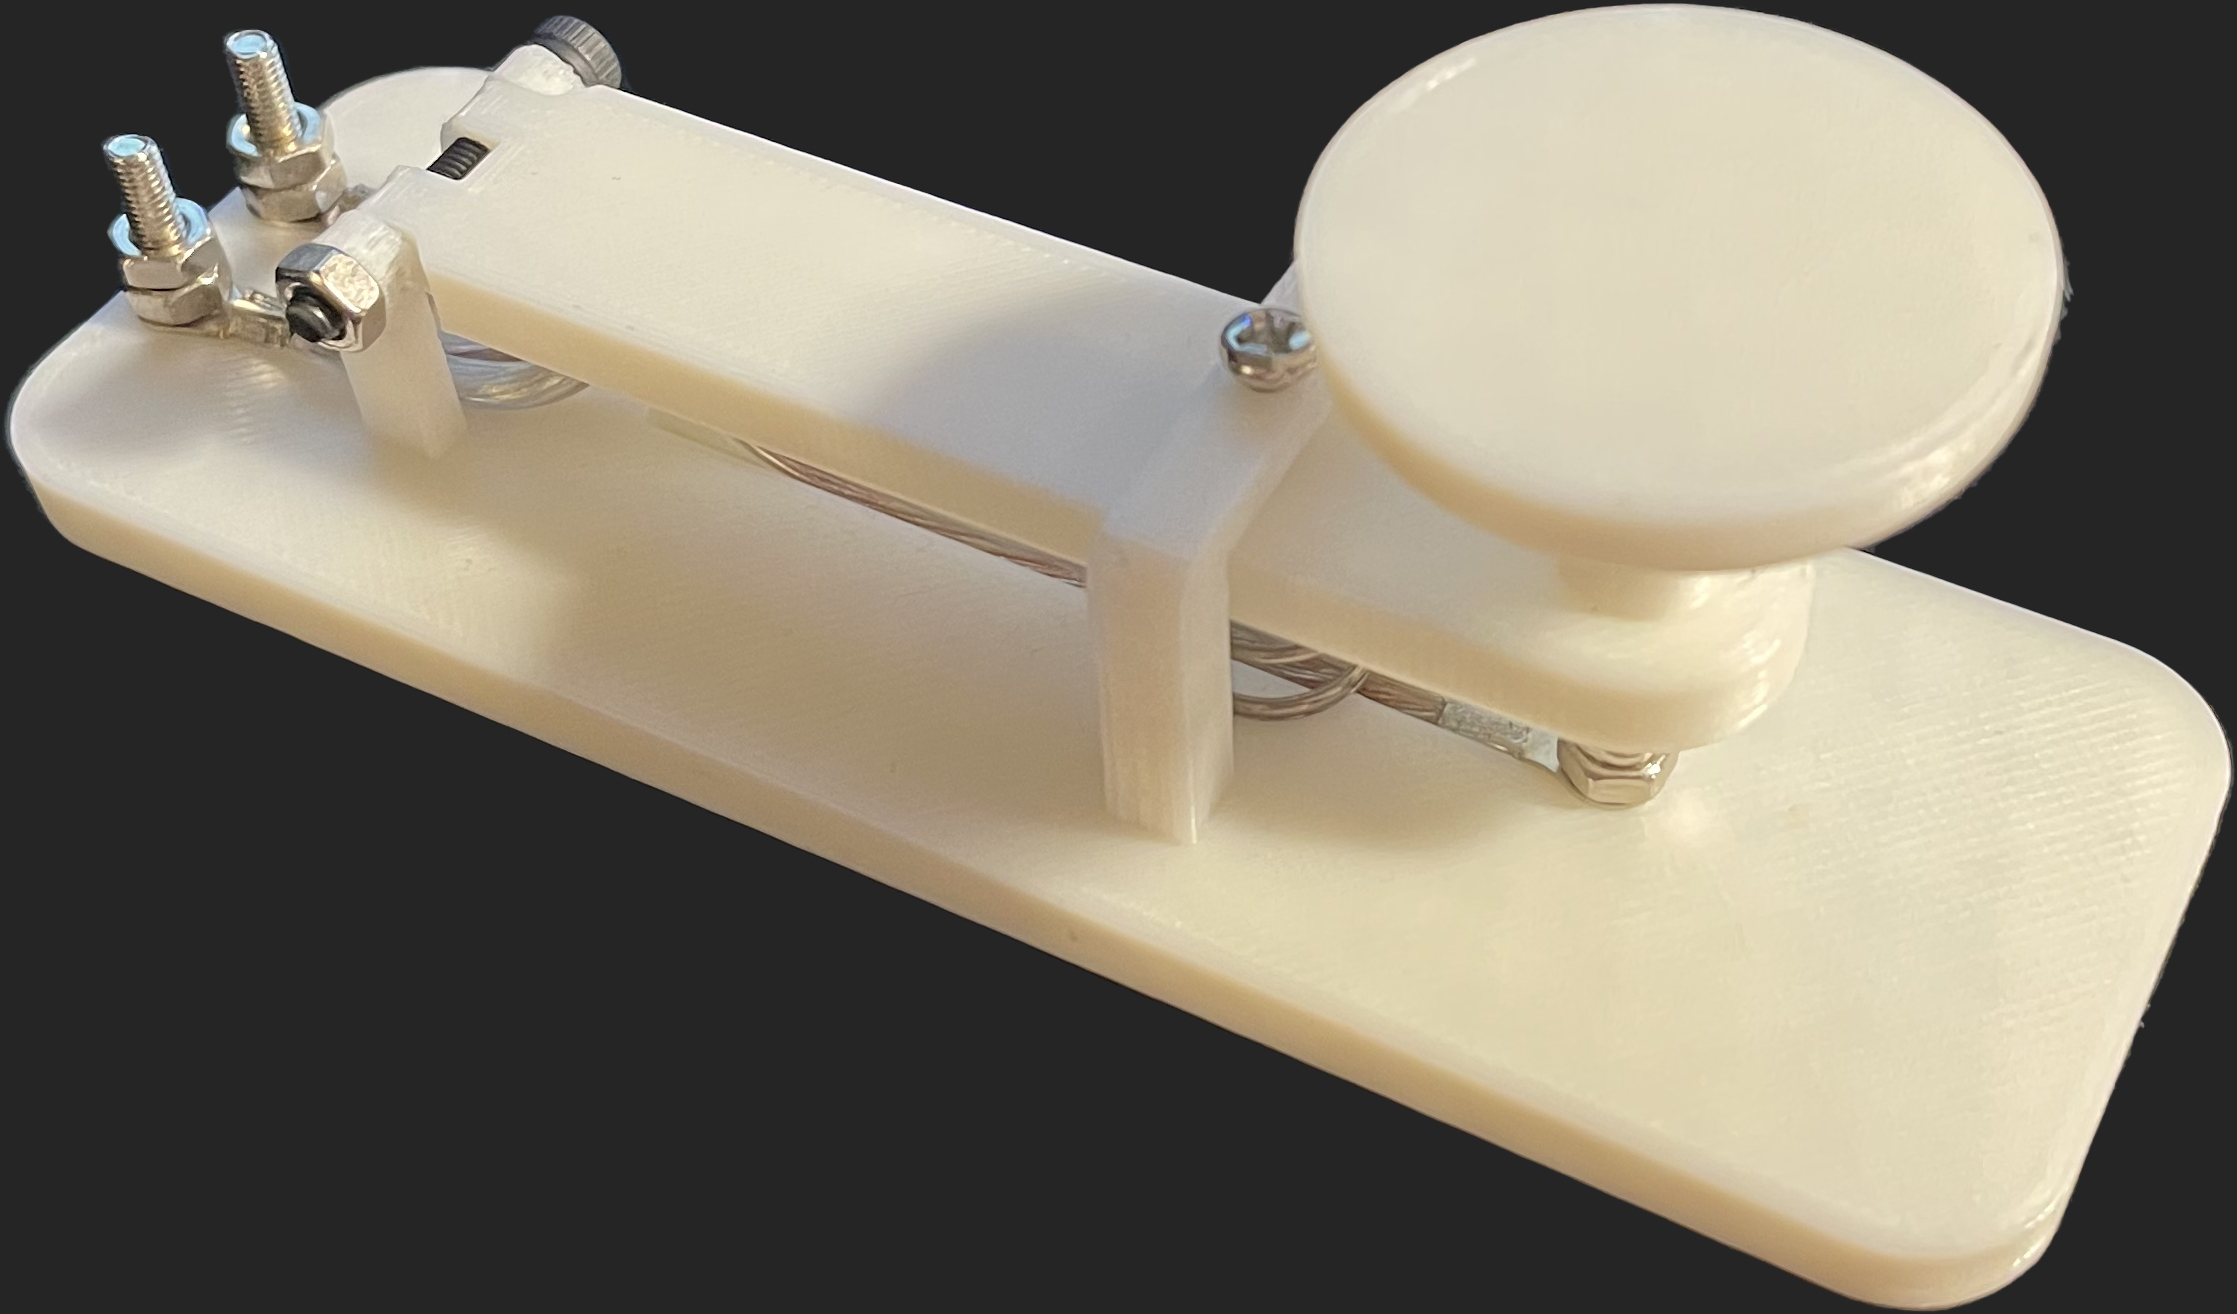
<p>CQ CQ CQ.</p><p>This is a telegraphic key, a straight key for transmitting morse code.</p><h4>Assembly instructions</h4><p>You will need the following additional pieces for assembly:</p><ul><li>4x M3x6mm bare metal screws</li><li>3x M3x12mm bare metal screws</li><li>1x M3x22mm screw</li><li>7x M3 bare metal nuts</li><li>6x M3 ring lugs</li><li>1x 11mm diameter by 15mm tall spring</li><li>14 AWG insulated wires</li></ul><h5>Assembly steps</h5><ol><li>Prep the wires. Cut two pieces of 14 AWG wires to 90mm long, strip both ends by 3mm and crimp on ring lugs.</li><li>Install the wiring posts. On the rear of the base, put in two 12mm screws to the pair of holes from the bottom.</li><li>Install the base wire. Put a nut through a 6mm screw to thicken the head. Take one of the two prepped wires, then use this screw to hold down one end of the wire to the hole in the front. Make sure the wire is routed through the trench. Use a nut to secure the other end of the base wire to one of the connection posts.</li><li>Install the lever wire. Put a nut through a 12mm screw to similarly thicken its head. Use the screw to similarly hold down the other piece of prepped wire to the head of the lever. Also make sure the wire is routed through the trench.</li><li>Install the knob. Screw the knob to the screw end that poked through the lever.</li><li>Install the lever. Bring the lever and the base together, witht he screws facing each other. The lever should fit inside the posts on the base. Use the 22mm screw and a nut to secure the pieces at the hinge.</li><li>Install the spring. The matching indentations on the base and the lever are for the spring. Put the 11mm spring in the indentation and bring the hinge to a close, the spring should fit in both indentations.</li><li>Install the bridge and set screw. Hold the bridge against the spring and screw it into the base from the bottom using two 6mm screws. Put a 6mm screw in the hole on the top of the bridge. This is the set screw to adjust how long the key travel is.</li><li>Hook it up to your radio. Strip and crimp the two final ring lugs to a piece of appropriate wiring for your radio's key connector. Use the two final screws to secure the wire to the key.</li></ol>
With this file you will be able to print Straight Telegraphic Key with your 3D printer. Click on the button and save the file on your computer to work, edit or customize your design. You can also find more 3D designs for printers on Straight Telegraphic Key.