stomp!GYROID
prusaprinters
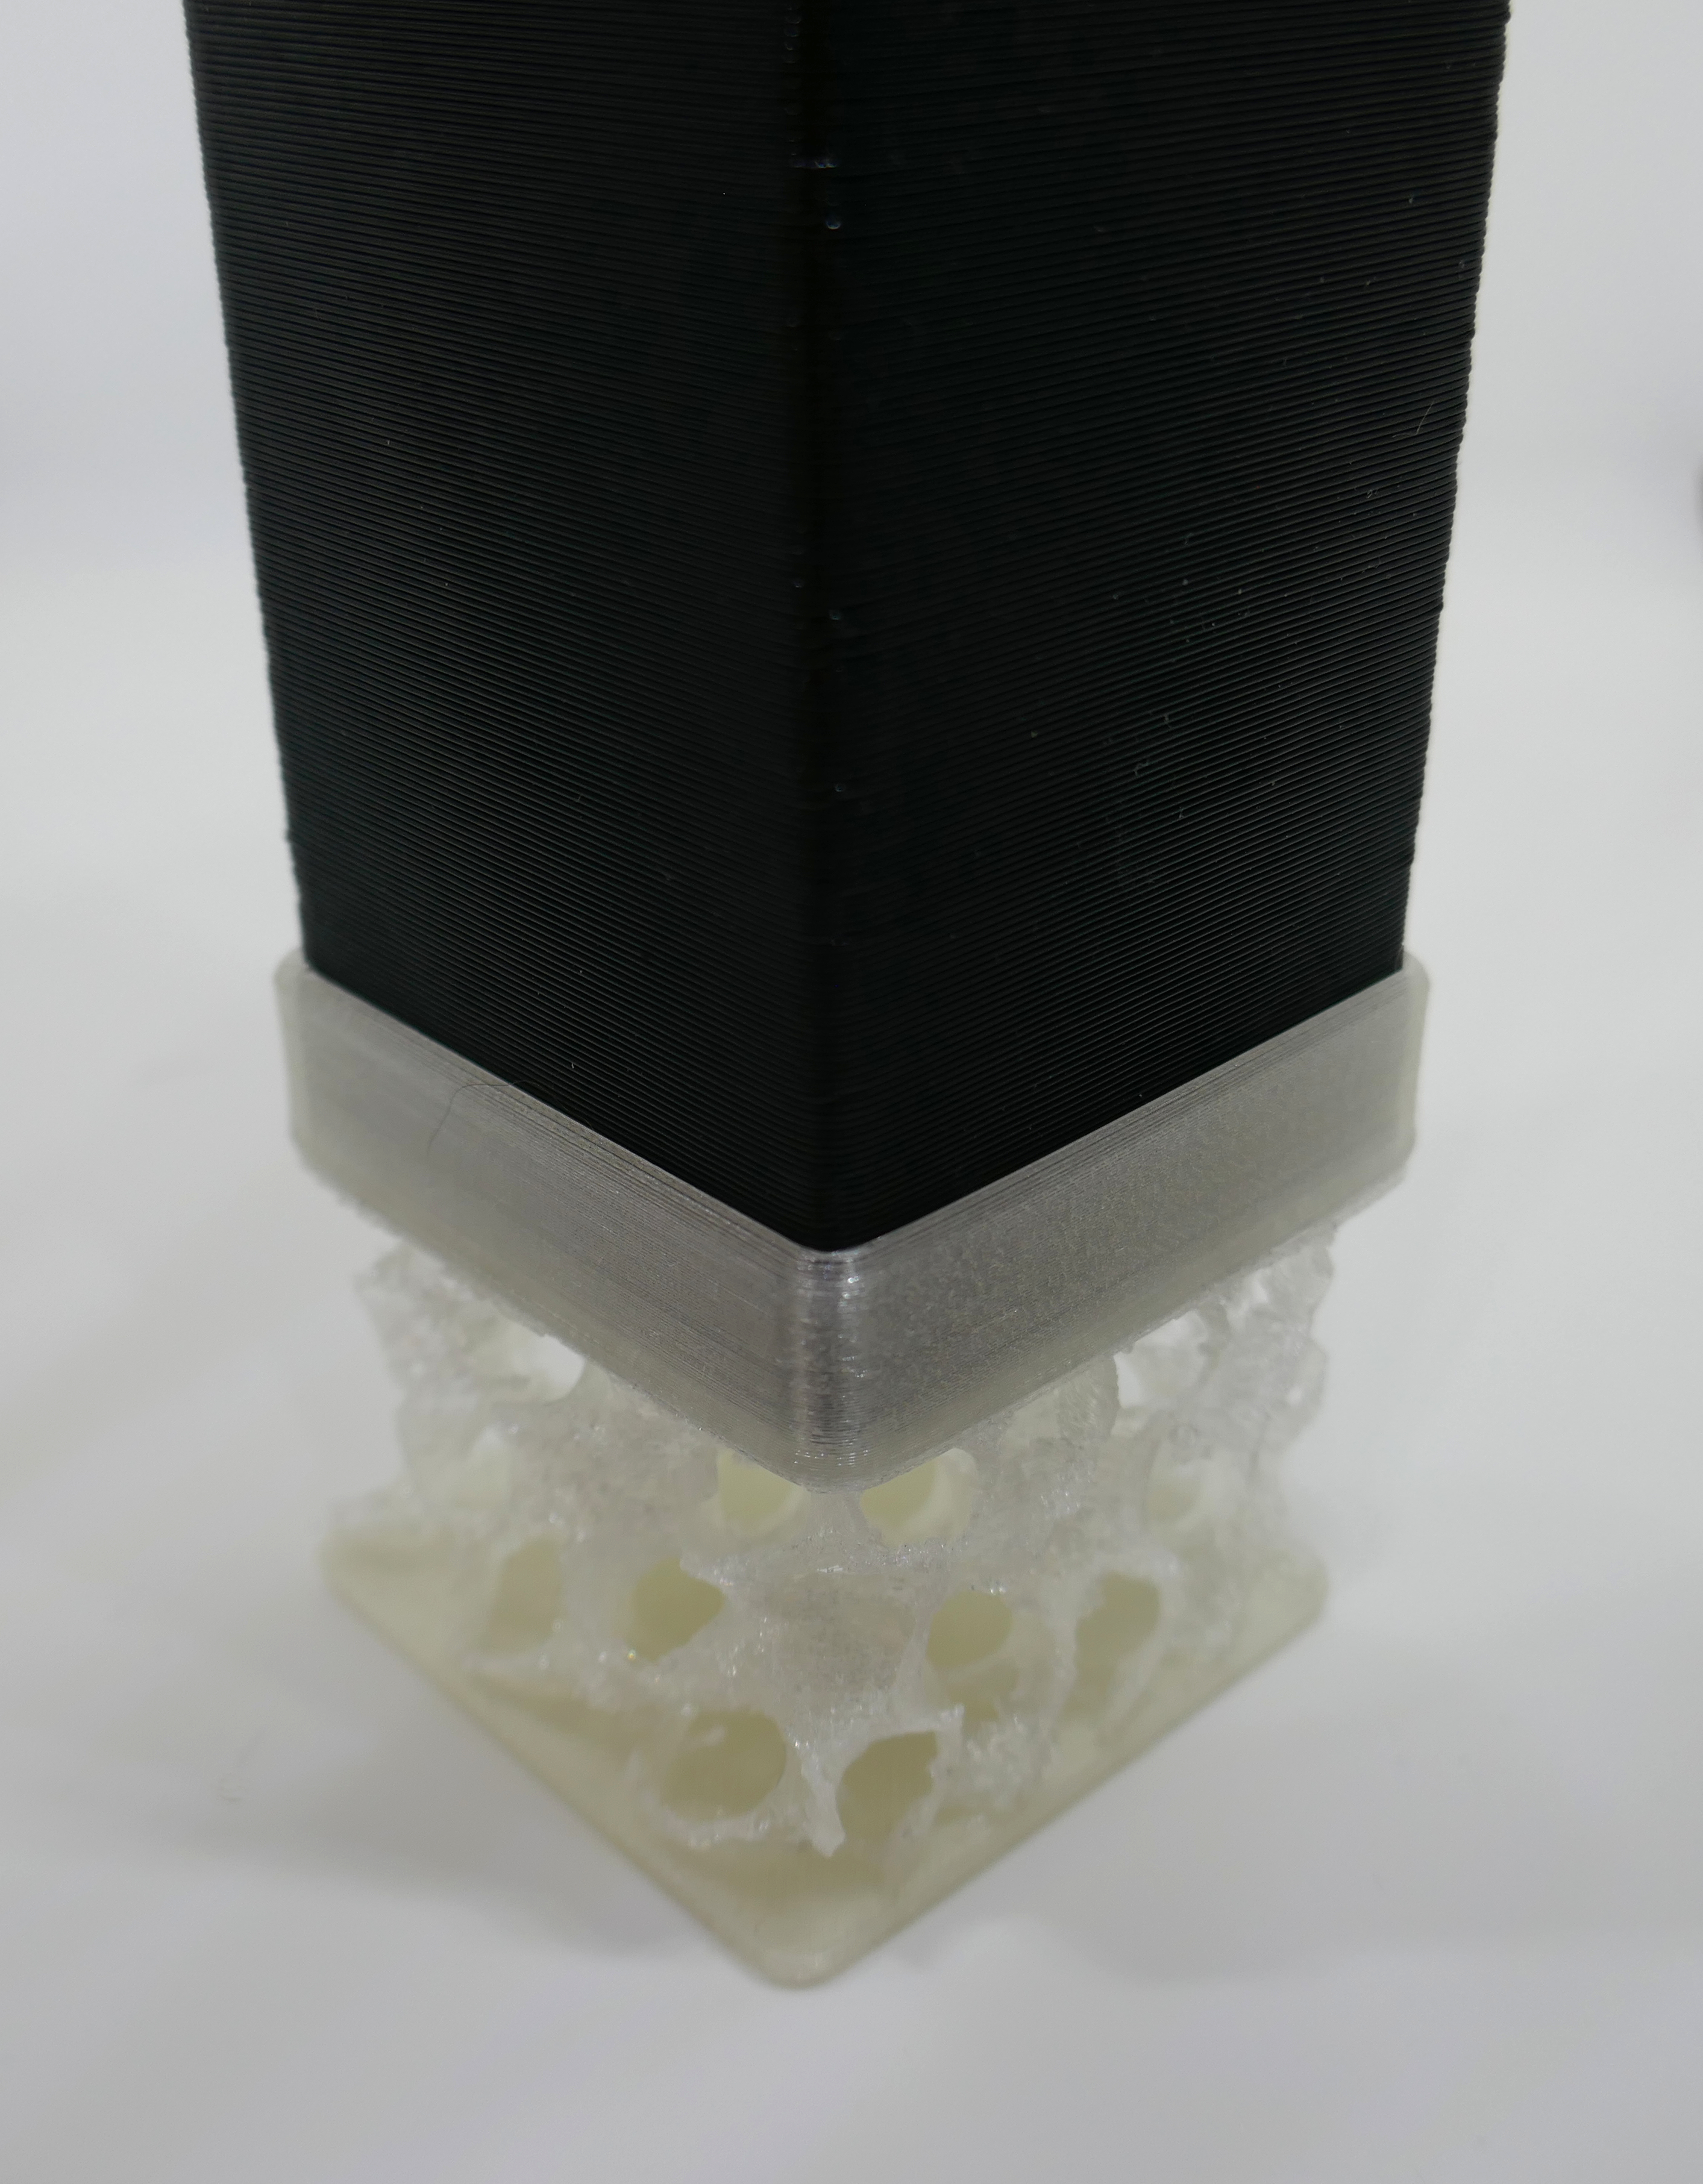
<p><strong>Design</strong></p><p>We love gyroid infill, not only for its properties but also because it is so nice, almost a meditation, to sit and watch it printing (and honestly, haven't you done that?). So why not show this mesmerizing structure and make use of it in a way that was probably not intended originally? Picking up Ikea Lack's proportion the part represents a cubic shape as whole with the gyroids lifting the top from the base. </p><p><strong>Construction</strong></p><p>Getting this design done is a bit tricky and it makes use of some of the advanced features of PrusaSlicer. It consists of three parts that need to be printed together. The bottom, a simple plain with rounded edges, the shell which has a one perimeter thick wall that acts as a support for the top that slides on the Ikea Lack's leg and a core that is the shape for the gyroid and has an offset of one perimeter from the shell's support wall, in order to prevent it from connecting to anything else than the bottom and the top (of the shell). Both core and shell have little ‘legs’ at one corner that keep the parts at the right z-coordinate when loaded into slicer. These legs (see below) will later have to ‘erased’ with negative volumes during slicing. Once printed the skin of the shell part is removed and the gyroid structure is visible (see pics).</p><p><strong>Files</strong></p><ul><li>nologo_design_stomp_gyroid.3mf - Contains all the parts, negative volumes, a recycling logo with all the preset slicing settings applied.</li><li>nologo_design_stomp_gyroid.gcode - Is sliced ready to be printed on a MK3/S/S+ with TPU filament</li><li>nologo_design_stomp_gyroid.stl - Contain all three individual object placed in the right positions, in case you want to do your own slicing with a different software / settings</li><li>nologo_design_stomp_gyroid_bottom.stl - Bottom part only needed if you make changes to the design</li><li>nologo_design_stomp_gyroid_shell.stl - Shell part only needed if you make changes to the design</li><li>nologo_design_stomp_gyroid_core.stl - Core part only needed if you make changes to the design</li></ul><p><strong>Slicing & Printing</strong></p><p>Following general settings need to be changed from the standard (0.4mm nozzle, 0.20mm layer height):</p><ul><li>Print Settings<ul><li>Infill<ul><li>Fill density: 5%</li><li>Fill pattern: Gyroid</li><li>Maximum length of the infill anchor: 0</li></ul></li><li>Speed<ul><li>Infill: 25mm/s (or matching your bridging settings)</li></ul></li></ul></li><li>Filament Settings<ul><li>Enable<ul><li>Keep fan always on: On</li><li>Enable auto cooling: Off</li></ul></li><li>Fan settings<ul><li>Fan speed minimum: 100%</li><li>Bridges fan speed: 100%</li></ul></li></ul></li></ul><p>The following settings need to applied to the individual parts:</p><ul><li>Bottom<ul><li>The recycle logo ‘Other’ as a negative volume</li></ul></li><li>Core<ul><li>A negative volume to ‘erase’ the leg (height 1.8mm)</li><li>Layers and perimeters<ul><li>Bottom solid layers: 0</li><li>Perimeters: 0</li><li>Top solid layers: 0</li></ul></li></ul></li><li>Shell<ul><li>A negative volume to ‘erase’ the leg (height 1.8mm)</li></ul></li></ul><p>Sounds a bit complicated but actually the parameters are dialed in quickly and as a result the shells wall is a one perimeter thick support for the top plane and the core is printed without any walls or bottom / top planes, just the gyroid, as we want it. Anyway all of that is already in place in the 3mf-file, ready to slice… Once the print is finished just tear or cut a away the shells wall and slide it on you Ikea Lack!</p>
With this file you will be able to print stomp!GYROID with your 3D printer. Click on the button and save the file on your computer to work, edit or customize your design. You can also find more 3D designs for printers on stomp!GYROID.
