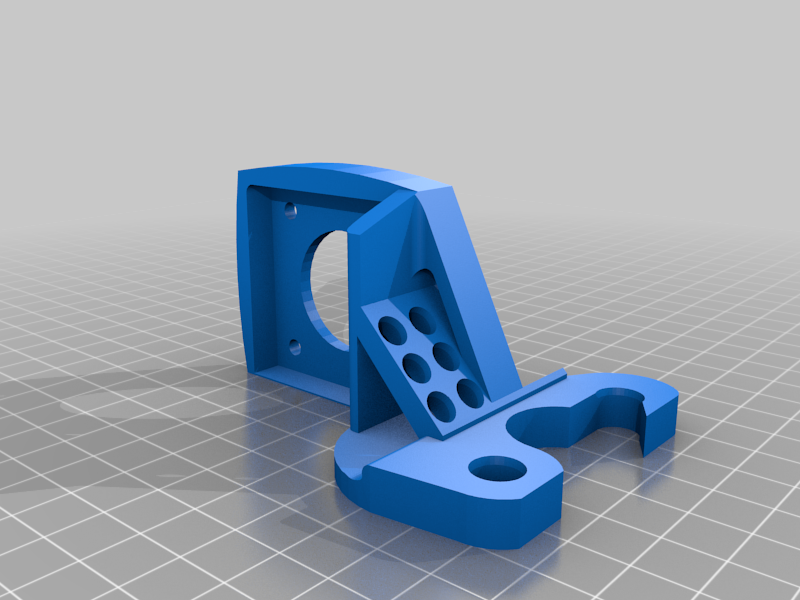
Stock direct drive extruder mount for ender 3 herome gen 3 e3d v6 with quick install hook on
thingiverse
1. To install the mount, remove only the left screw, bearing wheel, spacer and nut on the X carriage. You do not have to remove the hotend or herome. 2. You may want to install your motor and extruder on the mount at this point. The arm of the extruder needs to face upwards. Remove any pneumatic fitting that is present. 3. Next, install the metal spacer from step 1 only in the open left hole on the bottom of the mount. 3/B (For a hot swap option) Go to Home Depot and look for a "#10 ID x 5/16 in OD x 3/8 in L" metal spacer. Grind it down to 8.4mm to fit in the mounts left side permanently. Keep the OEM spacer if you need to remove the mount. 4. Next, take the mount and slide the opened right slot onto the right bearing spacer behind the carriage. 5. Tilt the mount clockwise to lock the slot on the bearing spacer. 6. Use this time to cut your PTFE to size and install it. The only pneumatic fitting should be on your hotend. If you measure from the top of the hotends pneumatic fitting, 35mm should be fine. Tilt the extruder clockwise to wedge the PTFE tube into place and counter-clockwise to fit it in the extruders pneumatic fitting hole. 7. Make sure the PTFE tube is set. Reinstall the left screw, bearing wheel, and nut on the Y carriage. 8. You are done. Connect the motor and re-calibrate if needed.
With this file you will be able to print Stock direct drive extruder mount for ender 3 herome gen 3 e3d v6 with quick install hook on with your 3D printer. Click on the button and save the file on your computer to work, edit or customize your design. You can also find more 3D designs for printers on Stock direct drive extruder mount for ender 3 herome gen 3 e3d v6 with quick install hook on.
