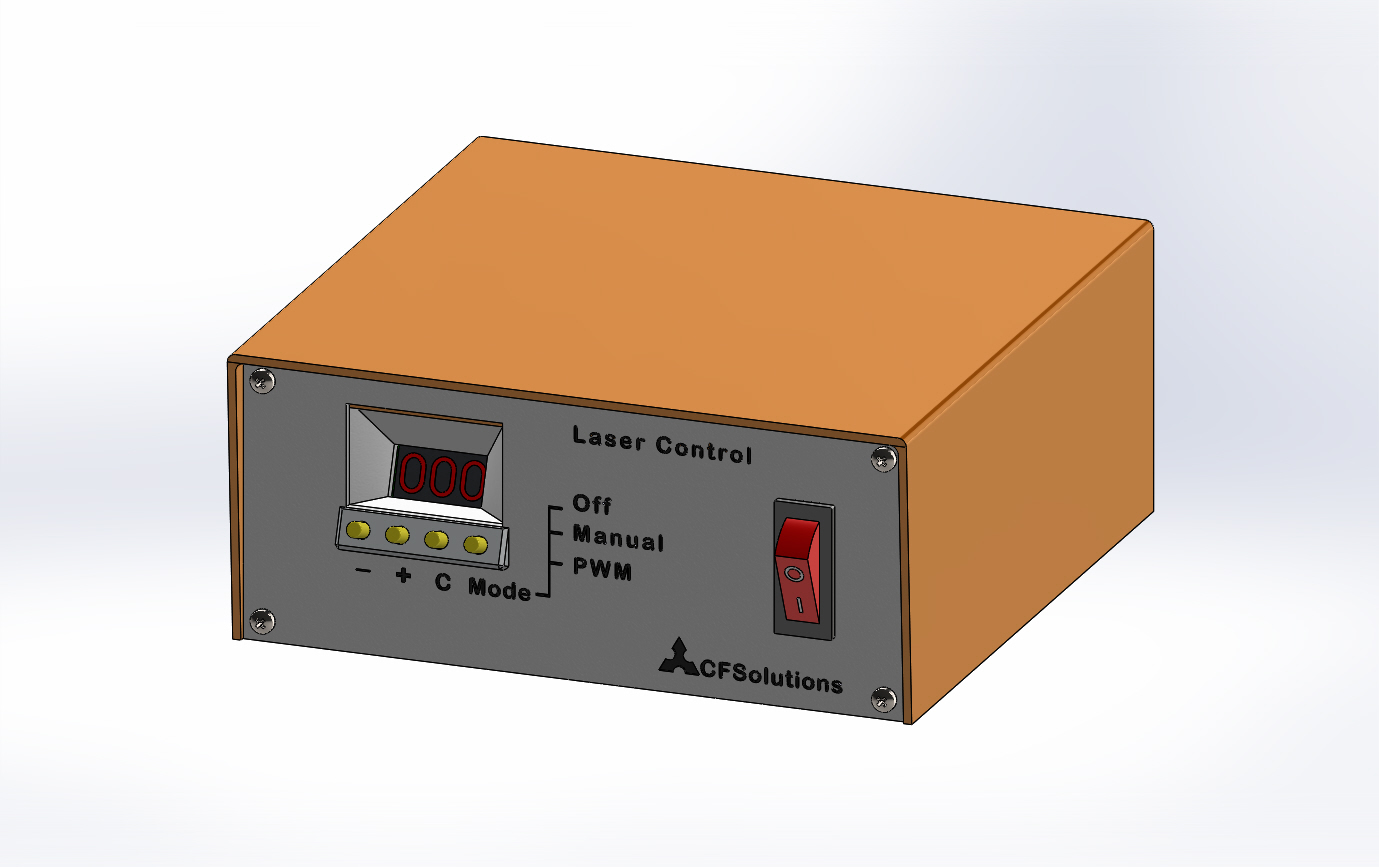
Stepcraft style NeJe Laser control box
prusaprinters
<h4>This is a NeJe 20W Laser and tester control box.</h4><p>The NeJe Laser pakkage include a test and control board. But to leave the PCB without a housing isn't a good idea. I decided to make a control housing for it. Because I own a Stepcraft machine for CNC works I found it natural to use their style control boxes.</p><p>This is an update of my control box on Thingiverse, now all parts can be printed. https://www.thingiverse.com/thing:4686693</p><h5>Features:</h5><ul><li>manual set the Laser power or use PWM control, check laser temp and off </li><li>parallel in-out on DS 15 connectors (in from CNC controlboard, out to aux)</li><li>Input to use only PWM signal from DS15 pins 2 (gnd) and 13 (signal) from Stepcraft</li></ul><p>This box will fit in the enclosures made by Stepcraft.</p><h5>Hardware:</h5><ul><li>DS 15 connector female (signal out)</li><li>DS 15 connector male (signal in)</li><li>Mono 3,5mm jack mount (only PWM in)</li><li>DC 12V jack mount (external 12V supply min 2A)</li><li>DC 12V jack plug to power control board</li><li>Rocker switch (for main on/off)</li><li>GX 12 or 16 4 pole mount and plug (for laser cable extensinon)</li><li>JST XH (2,54mm) plug to connect PWM wire on control board</li><li>JST PH (2,0 mm) plug for Laser connection to control board </li><li>13x M3 6-8mm screws</li><li>4x spring 6mm x 10mm long</li></ul><h5>Printing the box.</h5><p>All parts are printed with a layer height of 0.2mm and a 0.4mm nozzle. The cover should be printed upside down (no support needed) the front and back are printed with the text on the printing bed. When you want to colour the text, change filament color after the first 3 layers, no need to change color back you will not see it.</p><h5>Electronics.</h5><p>I made several options for input signals aswell for output.</p><ol><li>The Stepcraft CNC control board has only 1 DS-15 port so if you have more tools that make use of the DS-15 port it is usefull to make a parallel loop in the controlbox. Than you connect the Laser control box to the CNC machine and the other cable from the controlbox to the other tool (e.q. Spindle or Printerhead) make sure to put a on/off switch to that tool or take the power cable out, so a signal will have no effect to that tool.</li><li>If you only will use the PWM power control from your G-code you can use a DS-15 male connector and only solder two wires to pin 2 (GND)=(Laser -) and pin 13 (Relay 1)=(Laser+). On the other end use a mono jack plug or connect it directly to the controlboard with a JST XH 2 pole plug (In that case you can leave the mono jack mount).</li><li>Power the PCB use a DC 12V 2A power supply. You can use a dc jack mount on the box or connect a dc-jack directly to the PCB. I higly recomment to place an On/Off in both cases, this will prevent unwanted activation of the Laser (which is higly dangerous).</li><li>To power the Laser a cable is provided with the Laser if you need to extend that you can make use of GX12 or GX16 4pole mount and plug. Cut the cable provided and solder that to the GX mount. if you need a longer cable you have to use a 4 pole JST PH 2,0mm plug for the connection on the Laser or you the one on the provided cable.</li></ol><p>The electrical scheme will explain.</p><p> </p>
With this file you will be able to print Stepcraft style NeJe Laser control box with your 3D printer. Click on the button and save the file on your computer to work, edit or customize your design. You can also find more 3D designs for printers on Stepcraft style NeJe Laser control box.
