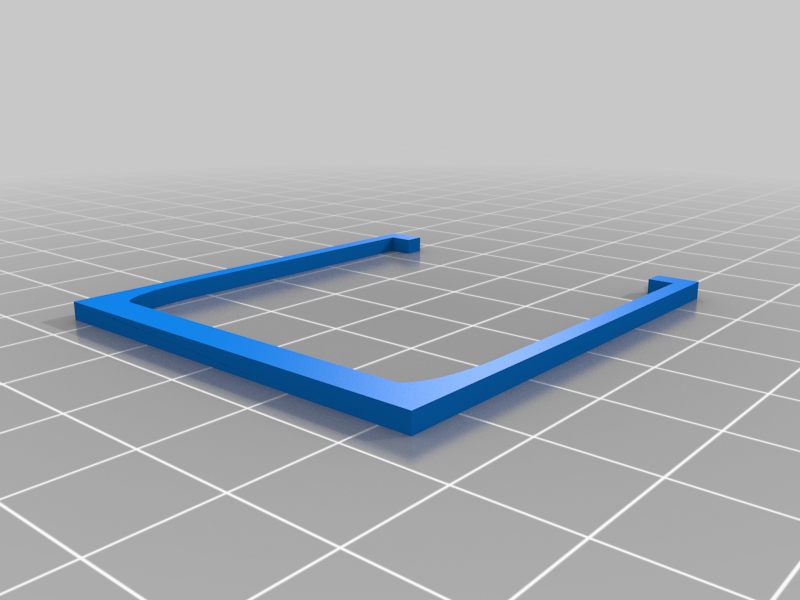
Step by step motor mount for Ender 3 PRO
thingiverse
Step-by-Step Motor Mount Installation Guide for Ender 3 Pro First, locate the extruder and bed mounting points on your Ender 3 Pro. Next, remove any existing screws or clips holding these components in place. This will give you a clear path to install the new motor mount. Mount the extruder first by attaching it to the motor mount using the provided screws. Make sure they are securely tightened to avoid any movement during printing. After securing the extruder, move on to mounting the bed. Attach it to the motor mount using the same screws as before. Be cautious not to overtighten, as this can cause damage to the bed. With both components mounted, proceed to adjust the bed temperature to -45°C. This will ensure a proper print surface. Finally, set your extruder temperature to 200°C and start printing. Estimated installation time is approximately 11 minutes.
With this file you will be able to print Step by step motor mount for Ender 3 PRO with your 3D printer. Click on the button and save the file on your computer to work, edit or customize your design. You can also find more 3D designs for printers on Step by step motor mount for Ender 3 PRO.
