Steampunk Goggle Hex Head Bolt Remix
thingiverse
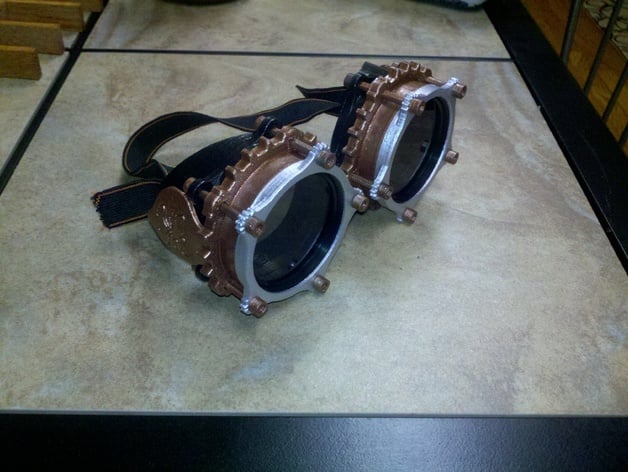
Here's a 3D printing guide for Fake Hex Head Bolts suitable for DAstronomer's Steampunk Goggles. Follow these steps: **Step-by-Step Instructions** After some time has passed, I recall designing this fake hex head bolt. Using an ABS printer at a layer thickness of 0.2mm with support files in the head is my strategy. The ideal shell amount could be one or two layers at 100%, though the specifics escape me. Print each flat side pin individually as they print rapidly and should have time to cool before layer completion. To assemble, simply weld the head onto the pin after support removal. Using a combination of separate prints for both head/bolts and pins worked, but doesn't make much difference in final result; as long as the build platform is large enough for sufficient cooling during printing. Upon attaching to DAstronomer's goggles, holes needed drilling. Possible causes include paint spraying the face shields or another issue with glasses sizing, resulting in a tighter grip between components. I reused the cheap elastic band from my previous face shield purchase at Harbor Freight - which matched my chosen color perfectly - and simply trimmed the strap buckle to size after reapplication of solvent.
With this file you will be able to print Steampunk Goggle Hex Head Bolt Remix with your 3D printer. Click on the button and save the file on your computer to work, edit or customize your design. You can also find more 3D designs for printers on Steampunk Goggle Hex Head Bolt Remix.