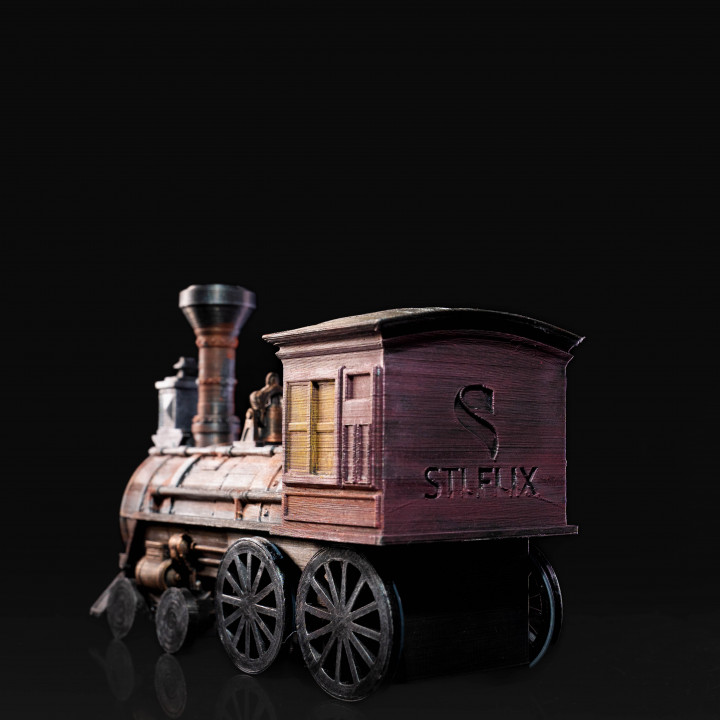
Steam Locomotive
myminifactory
Why pay for this single file when you have it + over 500 more for a lot less? That’s right. STLFLIX is a multi-theme ever-growing library of STL files. Your One-Stop-Shop for Premium 3D-Printing models. Get started with the Ultimate STL platform! Click here to join STLFLIX Steam Locomotive This STL file is recommended for FDM Printers! 3D Printing Time: 1 Day 09 Hours 47 Minutes Welcome aboard the railroad steel;where the train is 3D printed but it rolls like it’s real!Do you like my poem? Even better than my poetry skills is this steam locomotive! It has a winding up system so it will roll around and pick up your passengers without you playing the machinist. Tickets, please? As this piece requires assembly, here are the written instructions and a video of the assembly on this link: https://youtu.be/IHLwe8G_AGE It is recommended that both the written instructions and the video be used together to make the assembly process easier and more efficient. First, print out all the necessary parts. What you’ll need is: 2x Wheel 3 2x Wheel 1 4x Wheel 2 4x Washer 2 4x Washer 1 2x Tire 1 - We recommend use TPU for this piece, as it improves the movement of the wheel. 2x Tire 2 - We recommend use TPU for this piece, as it improves the movement of the wheel. Attach the pair of “Wheels 2” to the bottom part of the locomotive. They are the front wheels. Make sure to add one “Washer 1” to each of them.Place “Wheels 3” in the next following slot, securing them with a “Washer 2” on each.Connect “Gear 4” to “Axle 3” and attach it to the back wheels (Wheels 1) as instructed in the video. Add a “Washer 2” to each wheel after securing them.Attach the “Key” to the end of “Axle 2”.Fit the spring onto “Axle 1”, and then slide “Axle 2” (with the key already attached) through the spring as shown in the video.Connect “Gear 1” to the other end of “Axle 1”. Then, add “Gear 2” to the middle slot. Finally, place “Gear 3” on top of the spring, connecting all three gears. Place the “Ratchet” on top of “Gear 3”.Following the video instructions, attach the assembly to the bottom part of the locomotive.Finish your awesome steam locomotive by adding “Tire 1” to “Wheel 1” and “Tire 2” to “Wheel 2”.Finally, put the “Top Shape” of the locomotive in place to close it up, and you're done! Enjoy your new steam locomotive and happy riding! Recommended Layer Height: 0.20 mm (for bottom_shape and Top_Shape), 0.12 mm (for all the other parts).Recommended Perimeters: 3.Recommended Infill (%): 5% Needs Support: No. The parameters above are recommendations made by our staff; if you prefer, you can adapt them according to your preferences. COPYRIGHT & SELLING RIGHTS This STL file is copyrighted by STLFLIX©, the Ultimate STL Subscription. This means you can print it for yourself, but you DO NOT have the right to sell it. To acquire copyright & selling rights, you must subscribe to our Commercial License. By doing so, you will also get immediate access to over 500 STL files, unlimited downloads, and marketing content for every single file. Go commercial and skyrocket your own store with STLFLIX! GO COMMERCIAL! USEFUL LINKS Get to know us a little better! Website | Instagram | TikTok | Twitter What are you waiting for? Join thousands of other makers from all around the world. **HAPPY PRINTING!**
With this file you will be able to print Steam Locomotive with your 3D printer. Click on the button and save the file on your computer to work, edit or customize your design. You can also find more 3D designs for printers on Steam Locomotive.
