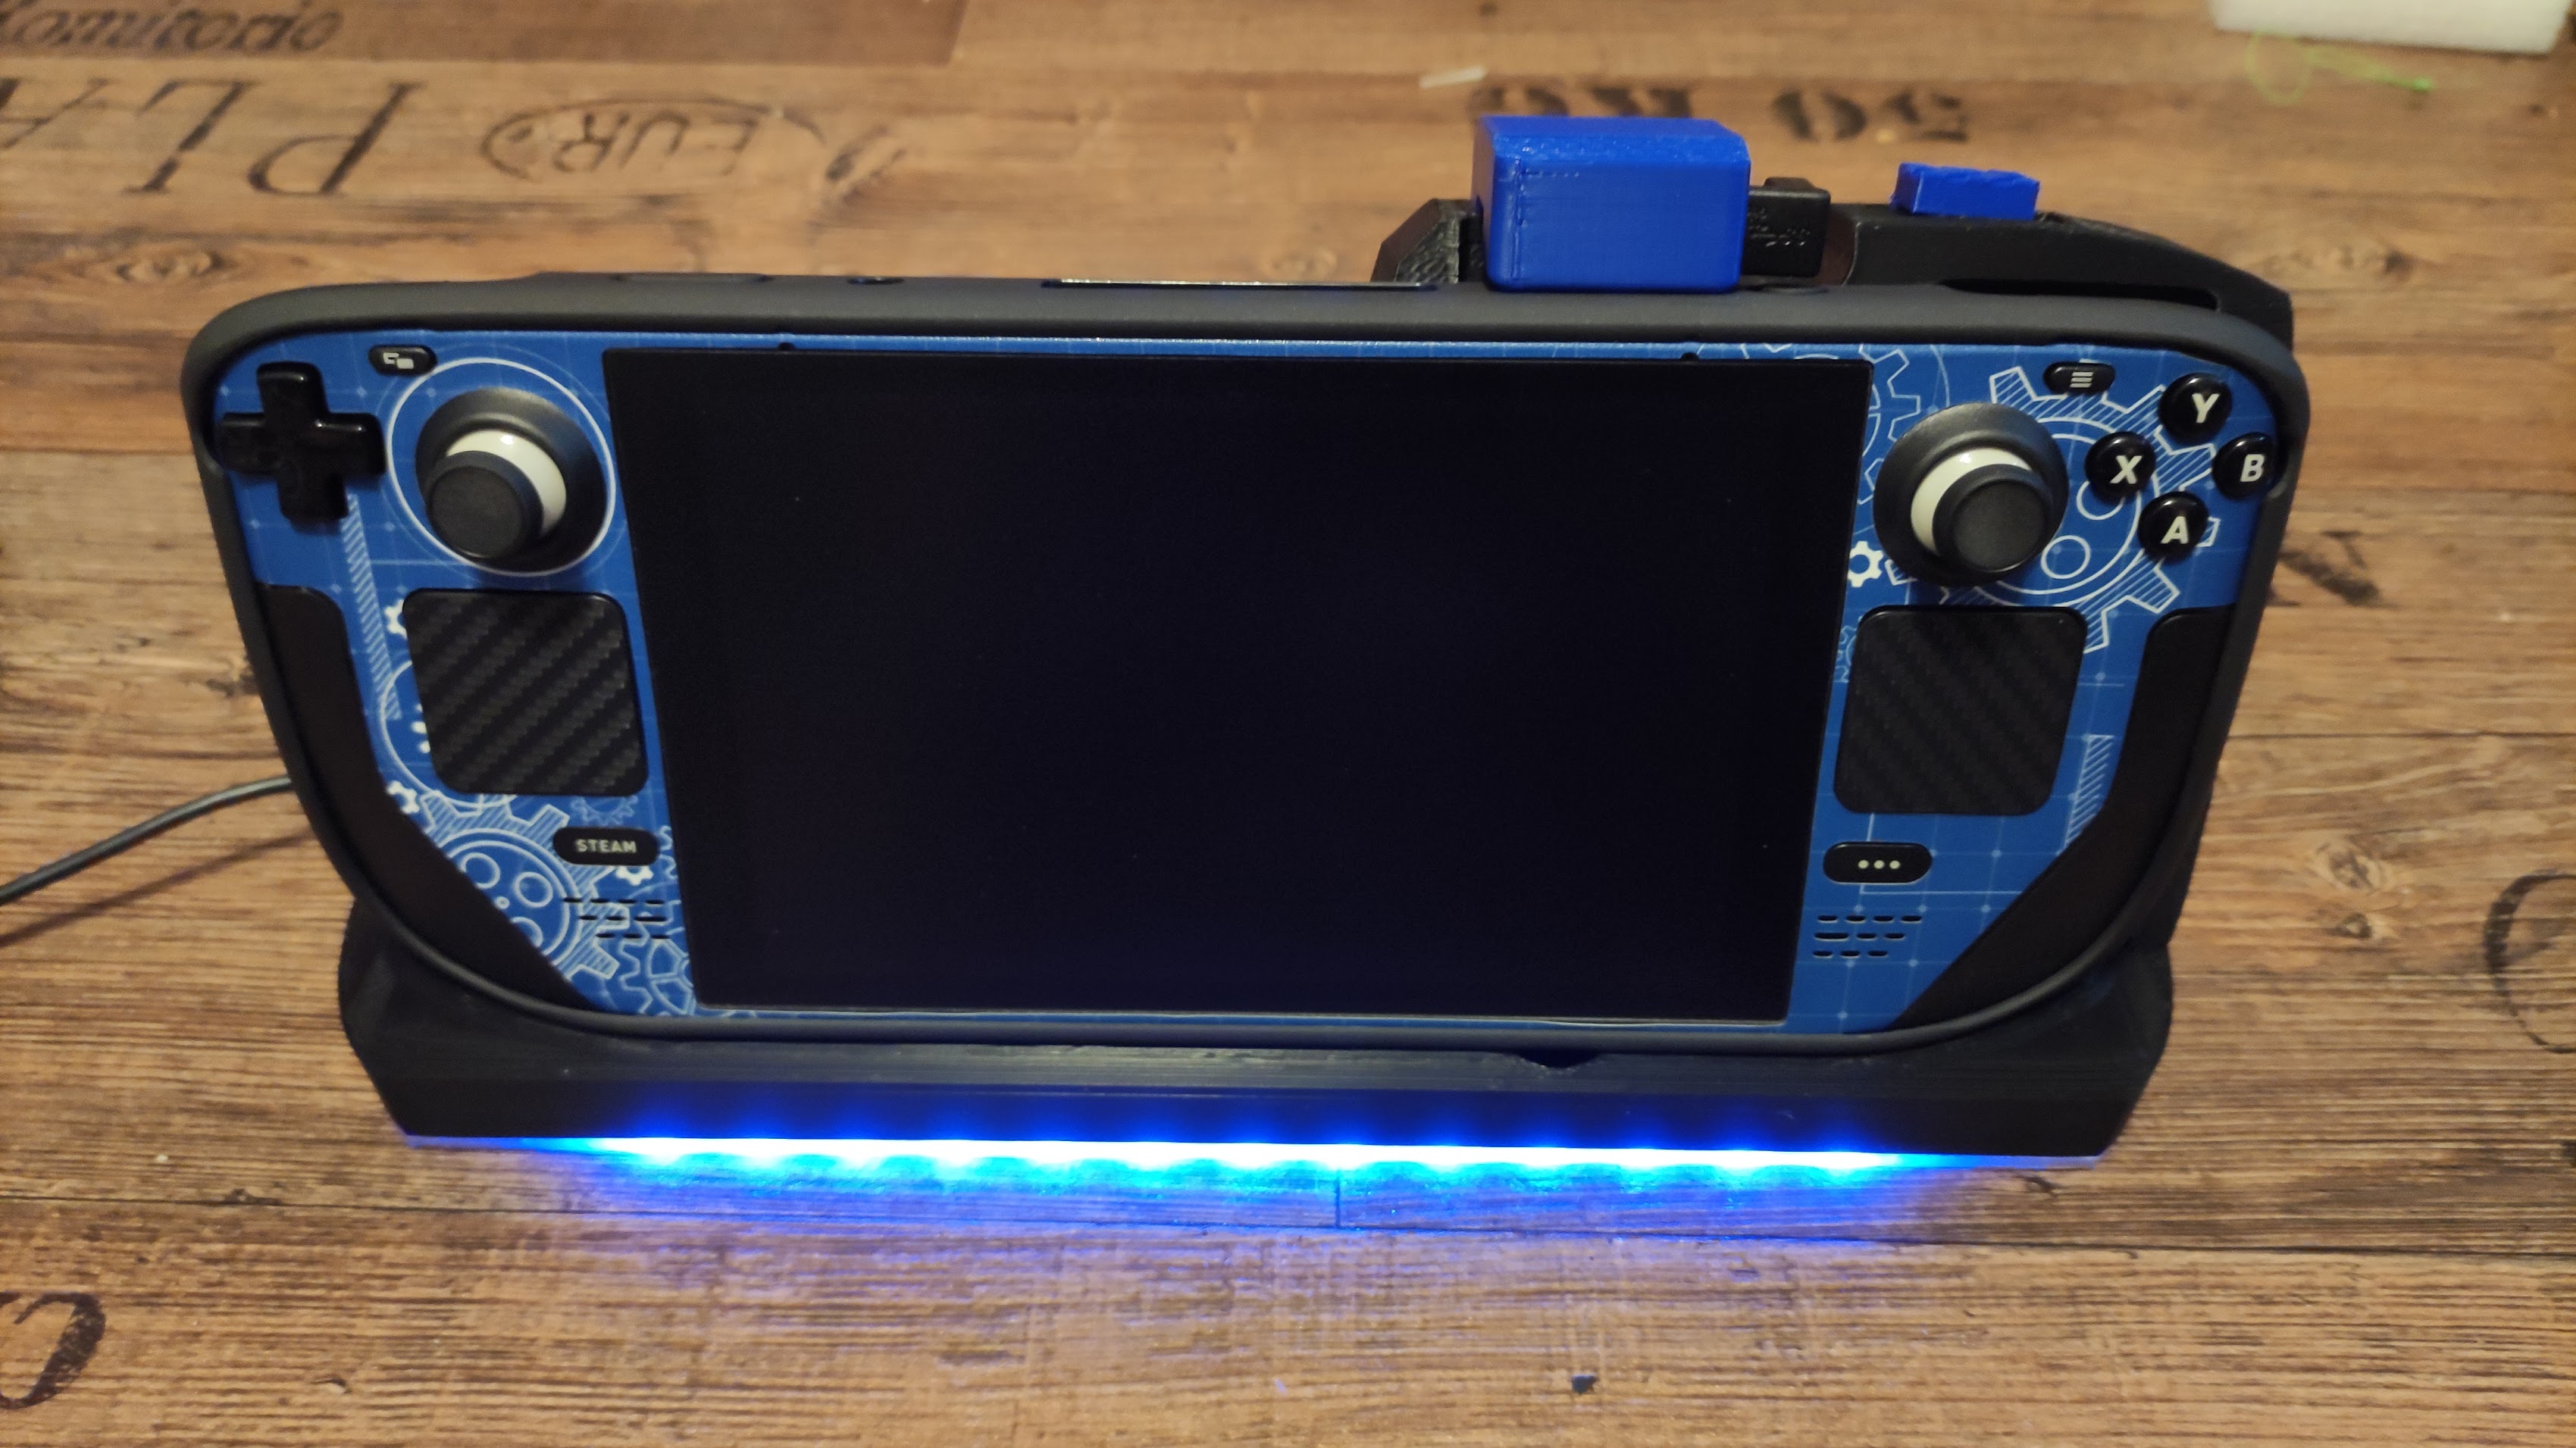
Steam Deck GAUSS magnetic docking Station (Variant2)
prusaprinters
<p>UPDATE 18.08.2022</p><p>Added a slider compatible with the Steam deck TPU cover, with it the deck fits so nicely in the dock that no clamp or guidance clamp is needed. Check Pictures and video below to see what type of tpu case/sleeve is neede.</p><p> </p><p>Welcome to this tutorial, its gonna be quite a bit, but I promise you will love the outcome ;) </p><p>HOWTO Video on the bottom! </p><p>You have a small printer? then please refer to the “Base” print parts signed with “Split” </p><p>you have a big boy printer? well then the “Base full” is the print for you</p><p>If you want to make it two colors there is also an upper and lower part available in the files. </p><p> </p><p>Is the “Guidance_Clamp” clip on part on the Deck mandatory?! NO it also functions without it when you dialed in everything precisely. You can leave it or use it to be absolutely sure that your deck is perfectly centered. </p><p> </p><p>Parts you are going top need for this build: </p><p>Universal USB C dock, pretty much every universal dock should do, the one I used on this build is the following: </p><p><a href="https://www.amazon.de/gp/product/B08BRJD561/ref=ppx_yo_dt_b_asin_title_o06_s00?ie=UTF8&psc=1">https://www.amazon.de/gp/product/B08BRJD561/ref=ppx_yo_dt_b_asin_title_o06_s00?ie=UTF8&psc=1</a></p><p> I designed its own cage, but I also added a universal mounting plate so you can attach whatever USB C dock you want to use in that size range. </p><p>90° USB C adapter: </p><p><a href="https://www.amazon.de/gp/product/B09Y1DXBXJ/ref=ppx_yo_dt_b_asin_title_o08_s00?ie=UTF8&psc=1">https://www.amazon.de/gp/product/B09Y1DXBXJ/ref=ppx_yo_dt_b_asin_title_o08_s00?ie=UTF8&psc=1</a></p><p>Another type of 90° USB C adapter: </p><p><a href="https://www.amazon.de/gp/product/B09KGGBN67/ref=ppx_yo_dt_b_asin_title_o03_s00?ie=UTF8&psc=1">https://www.amazon.de/gp/product/B09KGGBN67/ref=ppx_yo_dt_b_asin_title_o03_s00?ie=UTF8&psc=1</a></p><p>6x3mm Magnets: (10 pieces minimum) </p><p><a href="https://www.amazon.de/-/en/UTOMAG-Multi-Use-Neodymium-Magnets-Whiteboard/dp/B08F7HNG45/ref=sr_1_5?keywords=6x3+mm+magnet&qid=1656875794&sprefix=6x3mm+mag%2Caps%2C89&sr=8-5">https://www.amazon.de/-/en/UTOMAG-Multi-Use-Neodymium-Magnets-Whiteboard/dp/B08F7HNG45/ref=sr_1_5?keywords=6x3+mm+magnet&qid=1656875794&sprefix=6x3mm+mag%2Caps%2C89&sr=8-5</a></p><p>1x compression spring with a diameter of 5mm, if you dont have a fitting one you can improvise or get one of the many sets available from amazon, ebay, hardwarestore. </p><p><a href="https://www.amazon.de/-/en/McDrill-Compression-Springs-246-Piece/dp/B00GN3BJT4/ref=sr_1_7?crid=A6JHFOB28I10&keywords=druckfeder+set&qid=1656876014&sprefix=compression+spring+set%2Caps%2C95&sr=8-7">https://www.amazon.de/-/en/McDrill-Compression-Springs-246-Piece/dp/B00GN3BJT4/ref=sr_1_7?crid=A6JHFOB28I10&keywords=druckfeder+set&qid=1656876014&sprefix=compression+spring+set%2Caps%2C95&sr=8-7</a></p><p>Superglue or any other glue that will do the job and is capable of binding PLA parts.</p><p>3 xM3 screws with different lengths. you can use any M3 screw no matter if cylinder hat, flat, etc. You dont have to buy them in the following specific length, simply cut it with a side cutter and use a fail to bring the tip back in shape. </p><p>1 x with a shaft length of 11mm ( without the head) </p><p>1x with a shaft length of 15mm (without the head) </p><p>1x with a shaft length of 4mm (without the head, yeah that one is super short) </p><p>There is a long cutout underneath the Docks base, if you want to add some quality weight to the dock you can use some metal rod or threaded rod and fill that gap with it. </p><p>Some epoxy sculpt, or any form of 2 component epoxy you can easily form and manipulate with your hands. we are going to need it to make the angled USB C that gets slotted into the Decks USB C Port to align perfectly accordingly to your build. </p><p>You know every printer is a bit different and like that you can not be sure that my measurements will be the exact same on your printer, and when its about less then 1mm as in our case as we try to slide in our USB C angled adapter into the deck it really needs to be precise to spec as we dont want to break the usb C socket. </p><p>I am going to make an extra video to explain the precise steps we need to take to ensure a flawless working mechanism. </p><p>For breathing light mod your going to need an Arduino Uno and a WS2812 Led stripe with 13 leds. You can get it for cheap on ali express or ebay. The Breathing light code is added to the files, you can easily manipulate the values to choose the color you want it to be</p><p> </p><p>Print settings: </p><p>Align the objects flat to the ground before slicing, </p><p>The guidance clamp needs to be printed laying on its side ( check the little pyramid preconfigured support at the lower end of the clamp that shout lay flat on the print bed when printing) also make support “everywhere” in the slicer settings, there are two thin alignment bars that grip in the decks air intake slots, those keep the whole clamp secured and aligned so its important that they are there and nicely printed its a tight fit maybe needs a bit of taking off the edge with a knive to make it slot in nicely in the decks air intake cutouts! ) </p><p> </p><p> </p><p>PROS and CONS about the GAUSS Deck: </p><p>1.) "0 strain" on the usb C port as docking always happens perfectly aligned and secured!<br>2.) no scuff marks or scratches from sliding motion when docking <br>3.) Modular design, can be adjusted to work with or without sleves or cases!!<br>4.) Easy magnetically detachable dock for easy access and adjustments <br>5.) Optional RGB base ( fully customizable 13 addressable LEDs) <br>6.) fancy yet easy magnetic locking mechanism ( no mechanical parts) </p><p>About the Cons………you cannot order it from Amazon xD<br> </p><figure class="media"><oembed url="https://youtu.be/L5eTi0tInrs"></oembed></figure><figure class="media"><oembed url="https://www.youtube.com/watch?v=f78wZvvMslM"></oembed></figure><figure class="media"><oembed url="https://youtu.be/dVVvCnCmq3o"></oembed></figure>
With this file you will be able to print Steam Deck GAUSS magnetic docking Station (Variant2) with your 3D printer. Click on the button and save the file on your computer to work, edit or customize your design. You can also find more 3D designs for printers on Steam Deck GAUSS magnetic docking Station (Variant2).
