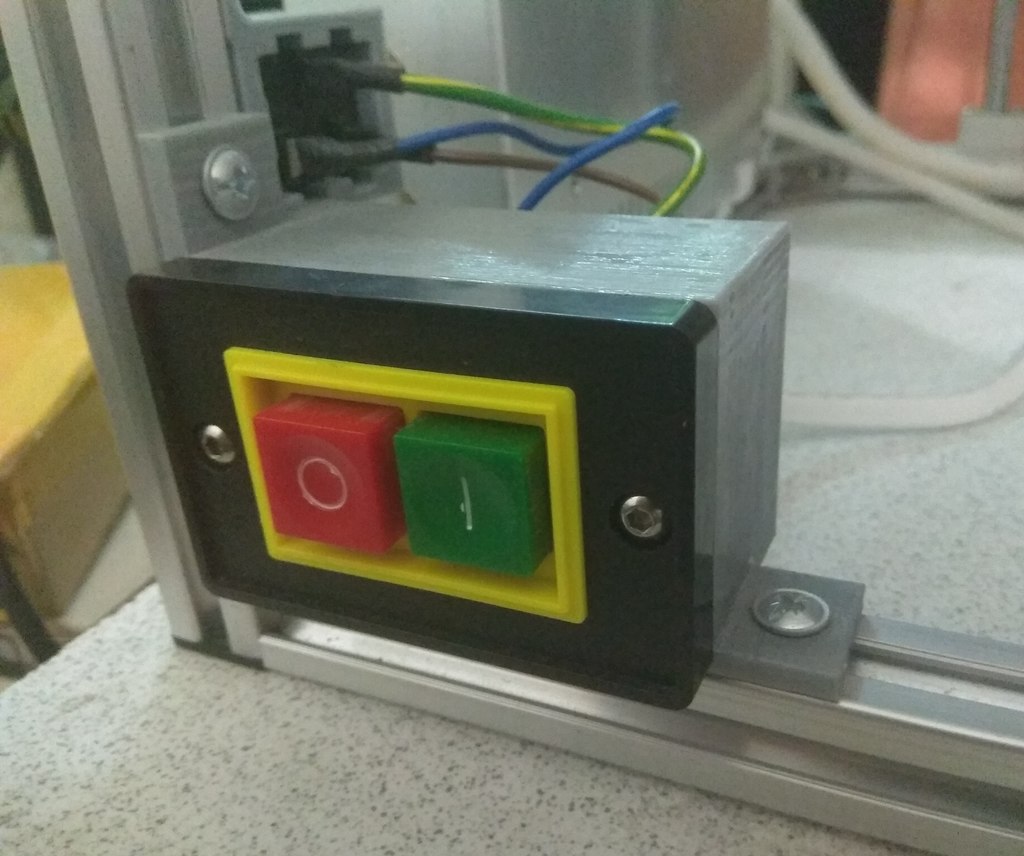
Start Stop Push Button Switch - installation on printer
thingiverse
Installation of the On/Off Switch on the Flying Bear P-902 Printer Fitting a start stop push button switch is a relatively simple process that requires some basic tools and knowledge. First, make sure you have all the necessary components including the switch itself, a mounting bracket, and any required screws or adhesives. To begin, locate the area where you want to install the switch on your printer. This could be on the front panel, near the power button, or anywhere else that makes sense for your design. Mark the spot with a pencil or marker so you can easily find it later. Next, take the mounting bracket and attach it to the printer using screws or adhesive. Make sure it is securely fastened to prevent any movement during use. Then, place the switch into the bracket and secure it in place with more screws or adhesives if necessary. Finally, connect the wires from the switch to the appropriate terminals on your printer's circuit board. Consult your printer's manual for specific instructions on how to do this correctly. Once everything is connected, test the switch by turning it on and off a few times to ensure it is working properly. If you're having trouble finding the right spot or connecting the wires, consider consulting online tutorials or seeking help from a professional electrician. With these steps, you should be able to successfully install a start stop push button switch on your Flying Bear P-902 printer.
With this file you will be able to print Start Stop Push Button Switch - installation on printer with your 3D printer. Click on the button and save the file on your computer to work, edit or customize your design. You can also find more 3D designs for printers on Start Stop Push Button Switch - installation on printer.
