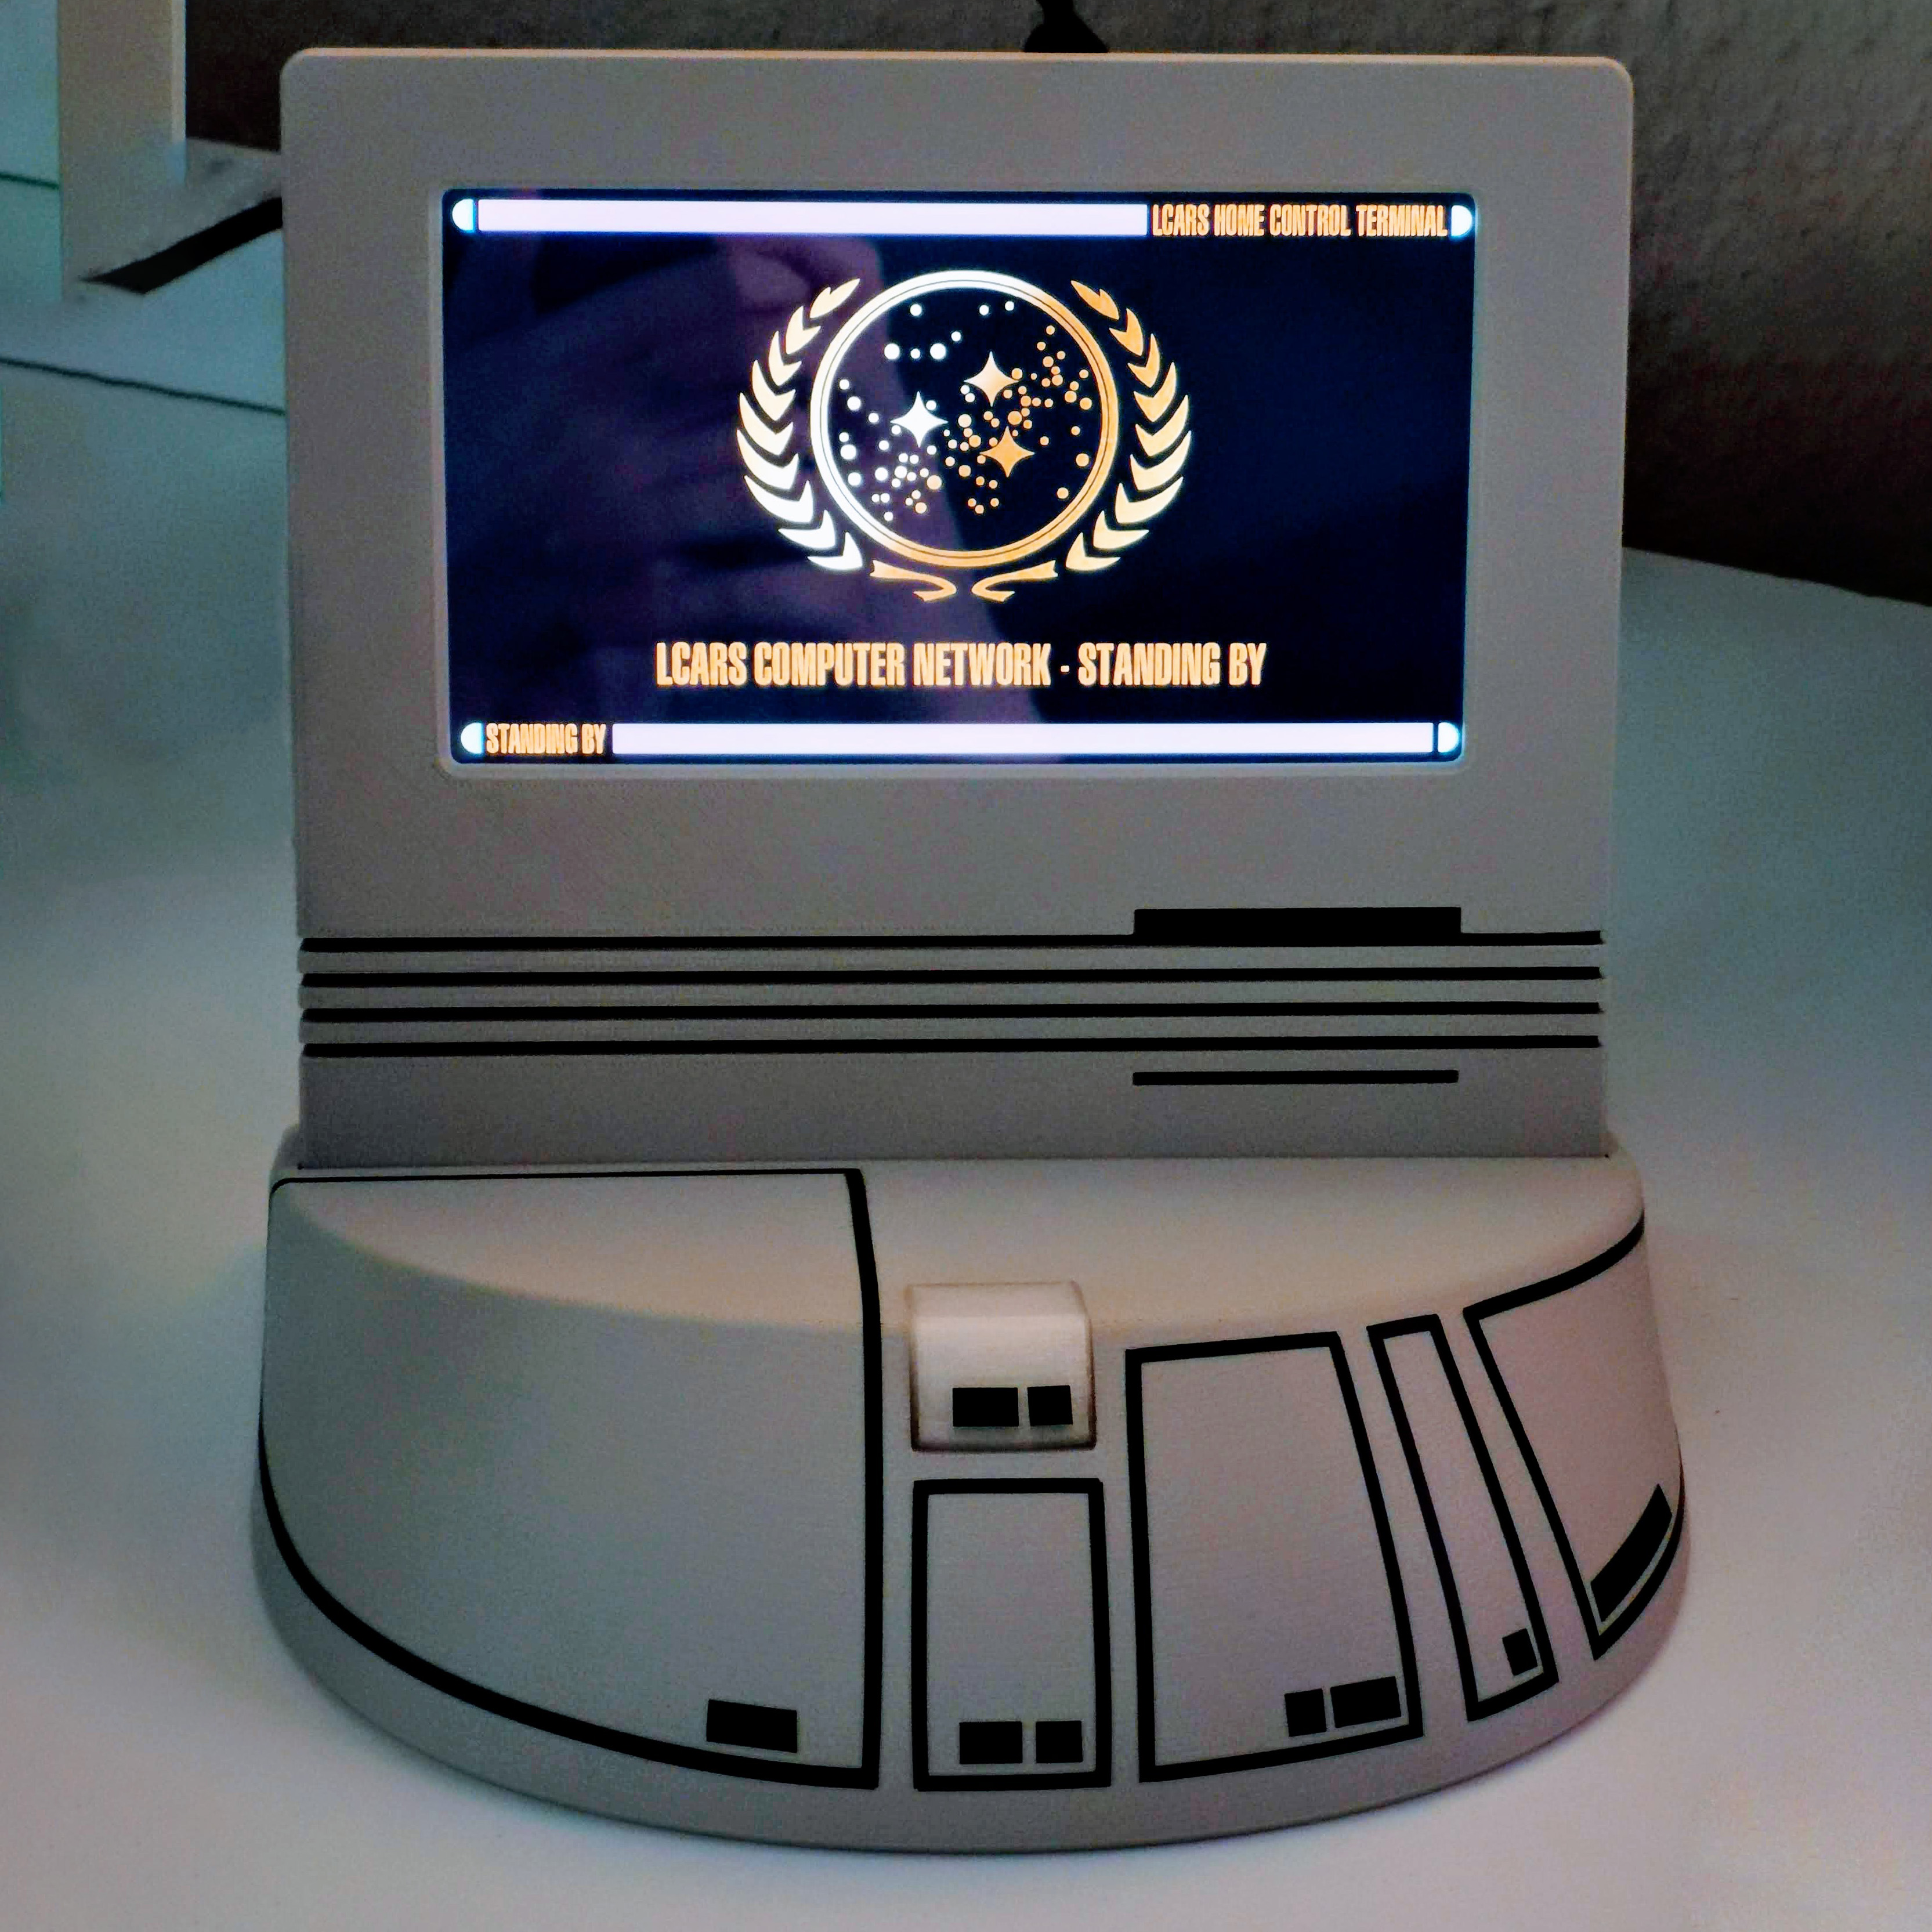
Star Trek TNG Computer Terminal
prusaprinters
<h3>Star Trek - The Next Generation Desktop Computer Terminal</h3><p>In an effort to create a small Raspberry PI based desktop computer for things like time logging, I got inspired by the iconic design of the computer props in many Next Generation episodes. </p><p>The form and shape of the small desktop computer terminals in many crew quarters or in Jean-Luc Picard's ready room appeared to be a great fit so that this model was born. This terminal often comes in black with white details but I chose light grey with black details for my version.</p><p>As I wanted to mount a small touch monitor in the display part, I just had to increase the bezel size a bit and changed the original more or less 4:3 form factor to something near 16:9.</p><h4>Parts to print & Detailing</h4><p>The model is composed of four printed parts that do need supports, occasionally:</p><ul><li>Base</li><li>Display Front Panel</li><li>Display Back Plate</li><li>Button</li></ul><p>The display front and back panels are designed to be put together with 8 small round 6 x 3 mm magnets so that you can access the internals easily. The combined display part then slides into a slot in the base.</p><p>To create the black details, I used some black self-adhesive vinyl film, cut it into narrow ribbons and placed these on the surface so that they are roughly matching the typical design. With that method instead of painting, it is possible to create a very clean look and sharp lines without too much effort.</p><h4>Electronics</h4><p>If you would like to build an actually working terminal, I'd recommend using any Raspberry PI or similar system of your choice and a small 7-inch touch screen. I was using:</p><ul><li>Raspberry Pi 3B</li><li>Uperfect 7-inch portable touch screen</li><li>HDMI ribbon cable</li><li>USB cable with a 90° angled Micro USB plug for the touch signal</li></ul><p>The Raspberry Pi can be placed in the base and the screen can be mounted in the display housing with four screws. A larger cable canal between the base and display allows routing all cables from the Raspberry Pi to the screen.</p><p>The base also has another small cable canal at the back/ bottom to allow placing power supply cables for both the screen and the Raspberry Pi.</p><h4>Software</h4><p>I am using a custom Python-based program with a PyQT GUI which implements the features that I need. I am afraid that this code is so specifically tailored to my needs and so improvised that I couldn't share anything useful. However, you might also create a web-based interface, your own GUI with any software of your choice or just use a static picture.</p>
With this file you will be able to print Star Trek TNG Computer Terminal with your 3D printer. Click on the button and save the file on your computer to work, edit or customize your design. You can also find more 3D designs for printers on Star Trek TNG Computer Terminal.
