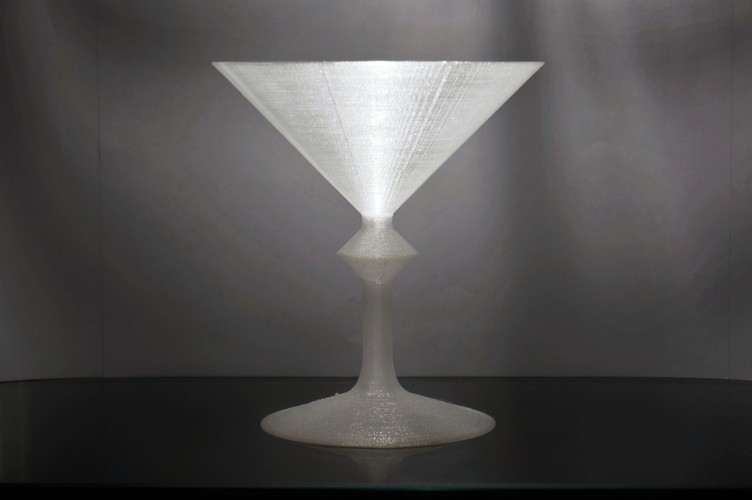
Star Trek Replicated Martini
pinshape
This is a guide on how to 3D print a transparent or translucent object using a specific 3D printing software (Cura) and settings. The author provides detailed instructions on how to achieve a "half-materialized" look, which means the object will appear partially solidified, with some parts still showing through as if it's not fully printed. Here are the key takeaways from this guide: 1. **Wall Thickness**: Set the wall thickness to 0.8 mm or 1 mm, depending on the model's dimensions and your desired level of transparency. 2. **Infill**: Turn off infill entirely for a more diffused look and to save plastic. Infill is the internal structure that adds strength to the print, but it can make the object appear less transparent. 3. **Bottom Thickness**: Consider setting the bottom thickness to 0 mm if you want a more realistic appearance. This will expose any defects or imperfections on the underside of the model, but it won't affect its visual appearance from the top. 4. **Layer Height**: Set the layer height to around 200 microns (0.2 mm) for a good balance between detail and transparency. 5. **Print Speed**: Print at a moderate speed, such as 50 mm/s, to avoid overheating the plastic and causing it to become more opaque. 6. **Fan Speed**: Adjust the fan speed to around 50% to achieve crisp overhangs while allowing the plastic lines to melt together and increase transparency. By following these guidelines, you should be able to print a model with a beautiful, half-materialized look that showcases its translucent properties.
With this file you will be able to print Star Trek Replicated Martini with your 3D printer. Click on the button and save the file on your computer to work, edit or customize your design. You can also find more 3D designs for printers on Star Trek Replicated Martini.