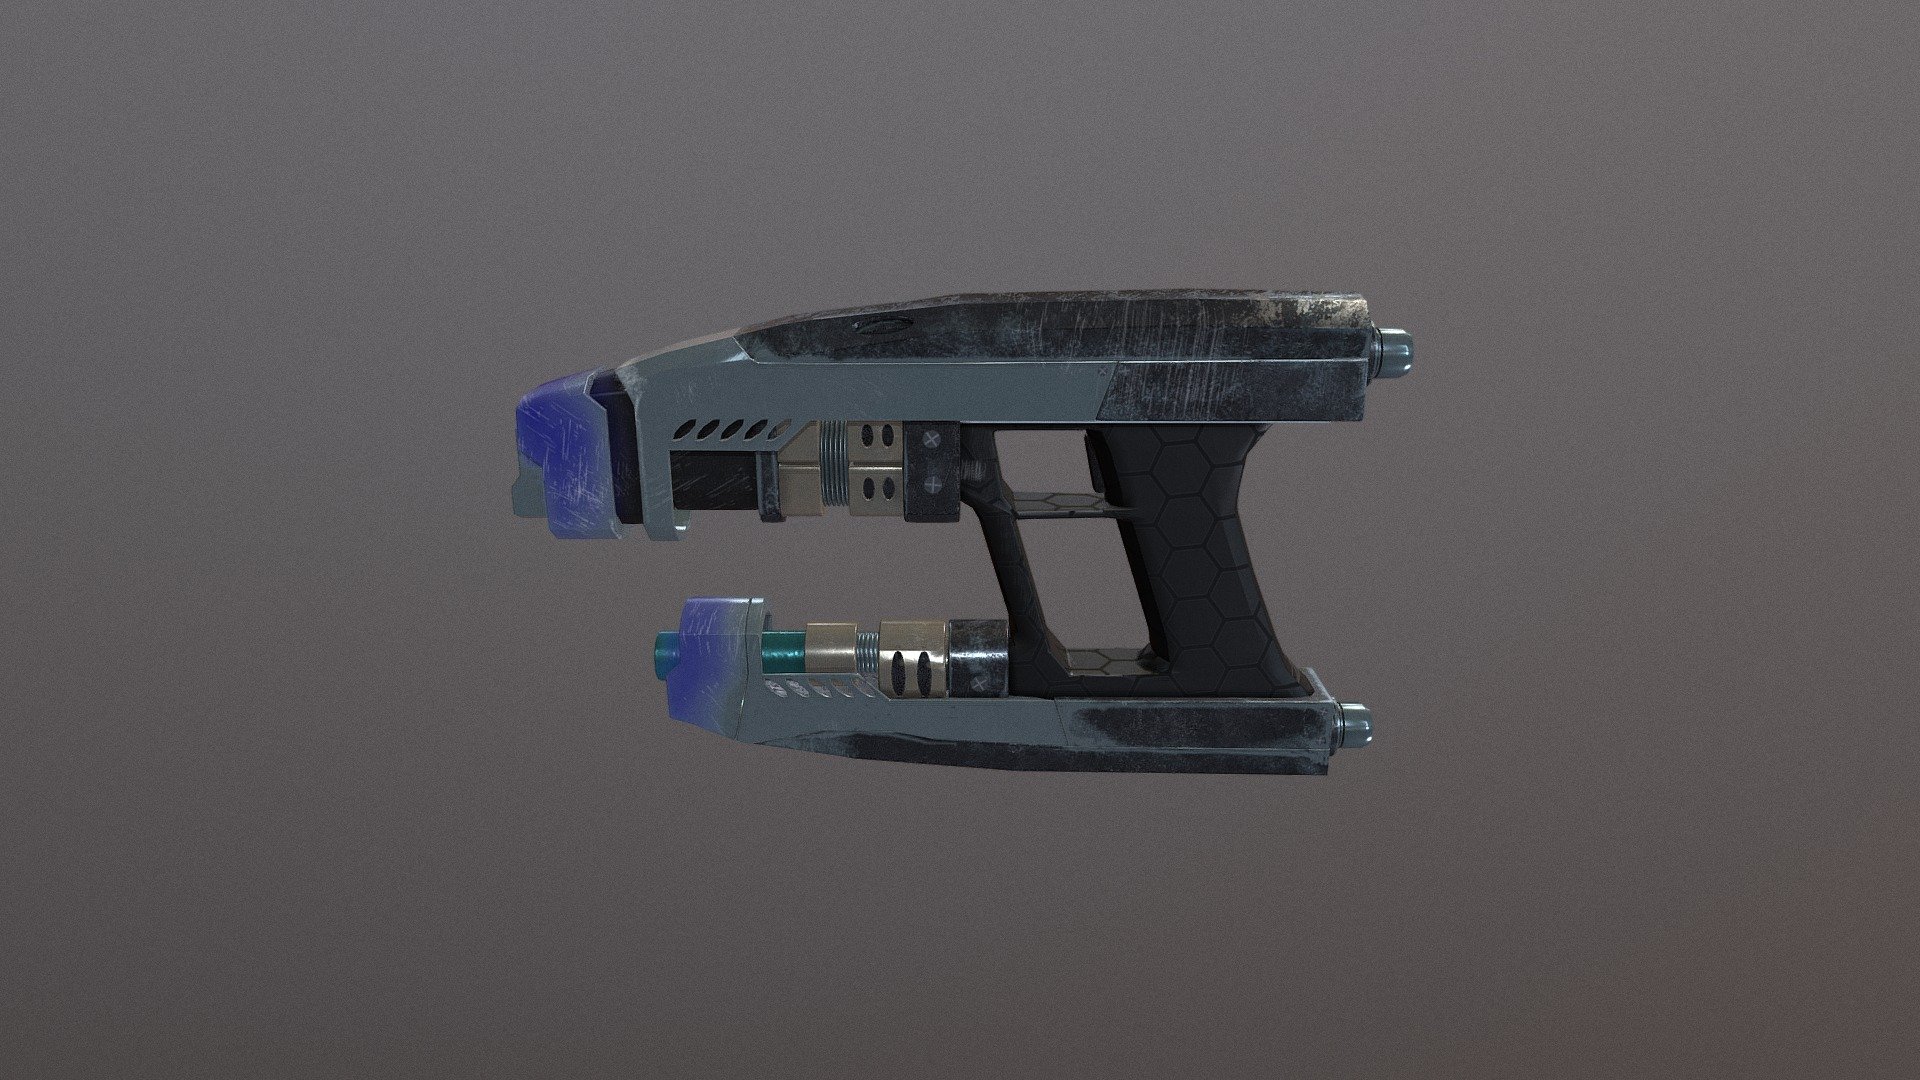
Star Lord Gun
sketchfab
Creating Simple Weapons in Maya: A Beginner's Practice Guide When it comes to 3D modeling and animation, Autodesk's Maya software is a popular choice among artists and designers. One of the most engaging aspects of Maya is its ability to create realistic-looking weapons, from ancient swords to futuristic firearms. In this article, we'll explore how to make simple weapons using Maya, perfect for beginners looking to hone their skills. Step 1: Setting Up Your Scene To begin creating a weapon in Maya, you'll need to set up your scene correctly. This involves creating a new project, selecting the correct units of measurement, and setting the scene's rendering preferences. Don't worry if this sounds daunting – it's easier than you think! Maya's user-friendly interface makes it easy to navigate and create complex scenes. With a few simple clicks, you can set up your scene for weapon creation. Step 2: Creating the Base Shape The next step is to create the base shape of your weapon. This can be as simple as a cube or as complex as a intricately designed sword hilt. Maya's powerful modeling tools allow you to sculpt and refine your shape with ease. Use the "Poly Extrude" tool to create a basic shape, then use the "Subdivide" tool to add more detail. You can also use the "Smooth Tool" to soften any rough edges. Step 3: Adding Details and Texture Once you have your base shape, it's time to add details and texture. This is where Maya really shines – with its vast array of tools and features, you can create realistic textures and detailed models. Use the "Texture Paint" tool to add color and patterns to your weapon. You can also use the "Normal Map" tool to add depth and detail to your model. Step 4: Animating Your Weapon Now that you have a basic shape and details, it's time to bring your weapon to life. Maya's animation tools make it easy to create realistic movements and actions. Use the "Keyframe" tool to set keyframes for your animation. You can also use the "Bake" tool to convert complex animations into simpler ones. Step 5: Rendering Your Final Product The final step is to render your finished weapon. Maya's rendering engine makes it easy to create high-quality images and animations. Use the "Render Settings" panel to adjust your render settings. You can also use the "Batch Render" tool to render multiple scenes at once. And that's it! With these simple steps, you can create realistic-looking weapons using Maya. Whether you're a beginner or an experienced artist, Maya's powerful tools and features make it easy to bring your creative vision to life.
With this file you will be able to print Star Lord Gun with your 3D printer. Click on the button and save the file on your computer to work, edit or customize your design. You can also find more 3D designs for printers on Star Lord Gun.