Stanley Cup with LEDs
thingiverse
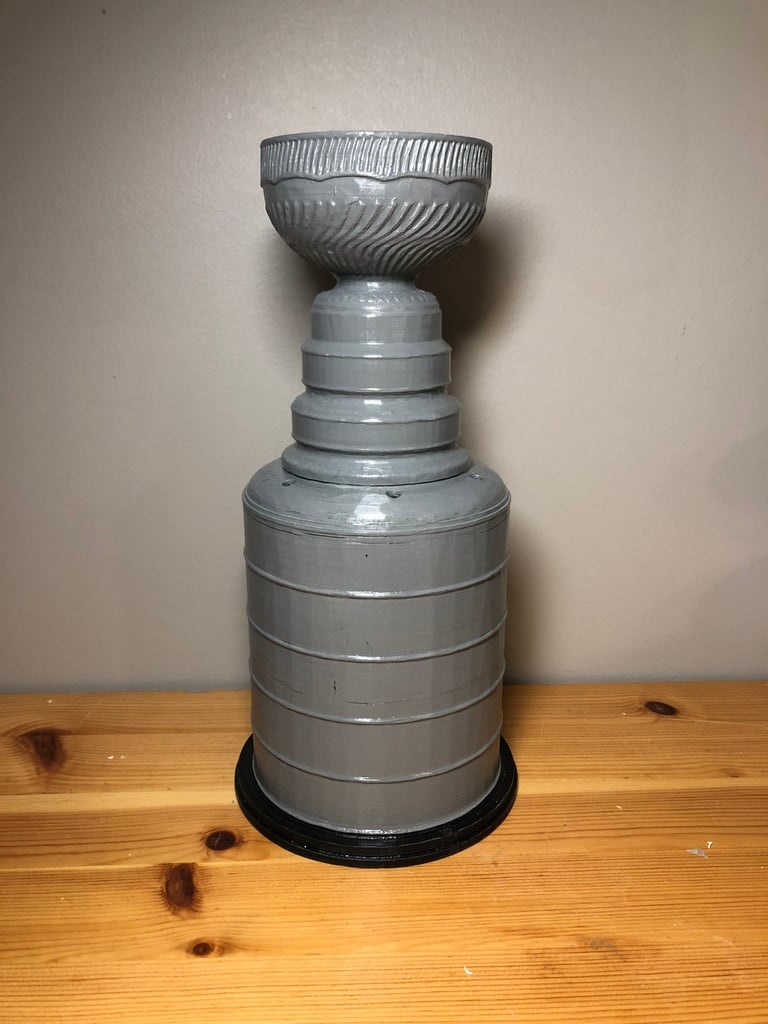
I transformed the basic design by removing material from the cup, allowing for batteries and wiring to be installed inside. I added openings at the top for LED lights, ensuring a sleek appearance. The interlocking bottom and middle sections were designed to facilitate easy access and replacement of batteries in the future. Unfortunately, during creation, I accidentally reverse-engineered the original with left-hand threads on one side and right-hand threads on the other. This means that the pieces need to be loosened in the opposite direction than what's typical. While this isn't a significant issue, as the device won't need to be opened frequently, I apologize for any inconvenience. The print settings require some consideration due to the size of the object. Each piece can take anywhere from 5 to 20 hours to complete, depending on the desired speed and quality level. Given the lack of intricate details in this design, a slightly lower resolution won't significantly impact the overall print quality. I discovered that printing the top section upside down resulted in better outcomes, primarily due to reduced overhangs. Initially, I created the model using ABS but switched to PLA halfway through, necessitating a paint job to conceal the material change. To give this project a personal touch, I chose blue and white LED lights to represent my hometown team, the Winnipeg Jets. Feel free to customize the color scheme according to your preferences – Go Jets!
With this file you will be able to print Stanley Cup with LEDs with your 3D printer. Click on the button and save the file on your computer to work, edit or customize your design. You can also find more 3D designs for printers on Stanley Cup with LEDs.