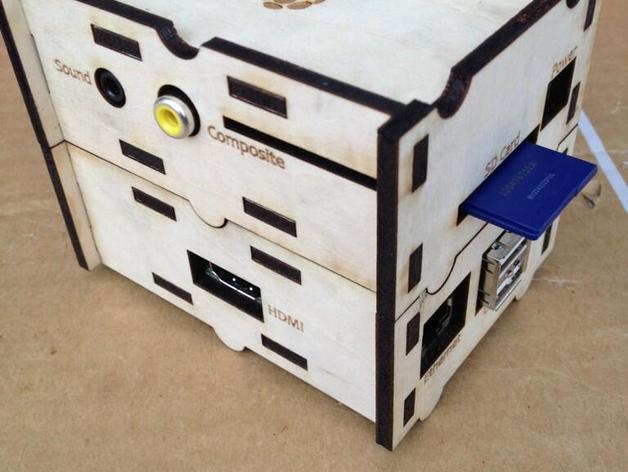
Stacking Pi Case 2
thingiverse
Original case remix with 4mm wood, ensure friction is checked prior. Visit [http://www.thingiverse.com/thing:41999] for inspiration. Be aware that a large HDMI hole may cause issues with certain cables; resize accordingly without clipping. Note that joining panels together can be challenging, so follow these steps: attach the HDMI panel to both top and bottom panels, insert Raspberry Pi, join composite panel to top and bottom panels, attach SD Card panel, and finally join USB panel.
Download Model from thingiverse
With this file you will be able to print Stacking Pi Case 2 with your 3D printer. Click on the button and save the file on your computer to work, edit or customize your design. You can also find more 3D designs for printers on Stacking Pi Case 2.
